In my Blogger Interview, I told a story about a sewing fail related to interfacing. Long story short, I answered that interfacing should be used to stabilize fabric, like when sewing the crotch of a pant in the written portion of a job application. I was WRONG in that nobody in their right mind would want to wear a pair of pants that had interfacing in the crotch (does it make you feel uncomfortable that I keep using that word? ha), because you need a little flexibility there. I was RIGHT in that interfacing is a fabric stabilizer. Thankfully, in conclusion of my little story, I was fortunate enough to get the job anyways, where I’d be using interfacing on a daily basis, and could learn from my mistakes!
Basically, if a fabric is too flimsy for what you need to use it for, using interfacing will help. It’s usually just used on specific pieces of a pattern, rather than the entire project.
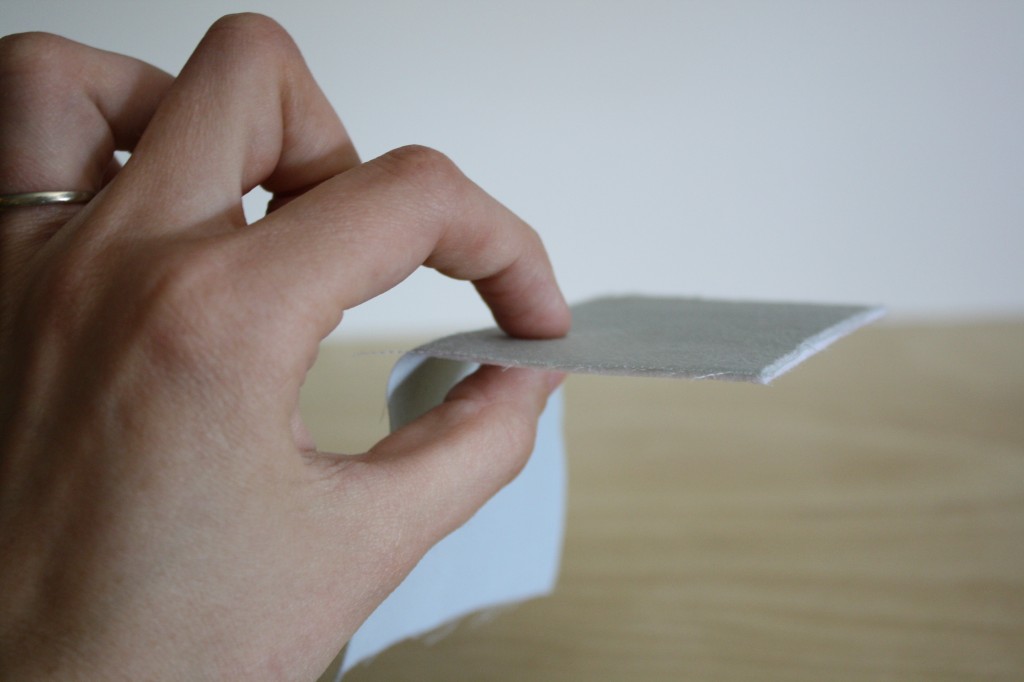
BUYING INTERFACING
There are a lot of decisions to be made when buying interfacing. Should I get sew-in or fusible? Which weight do I need? How much should I buy?
Fusible interfacing has a layer of resin (glue) on the back side that adheres to fabric when ironed in place. It’s quick and accurate. If available, fusible interfacing is the better solution (in my opinion) for any fabric that can be ironed. Some fabrics can’t handle the heat of the iron, or have a texture that would be lost with ironing, if that’s the case you should use sew-in interfacing instead.
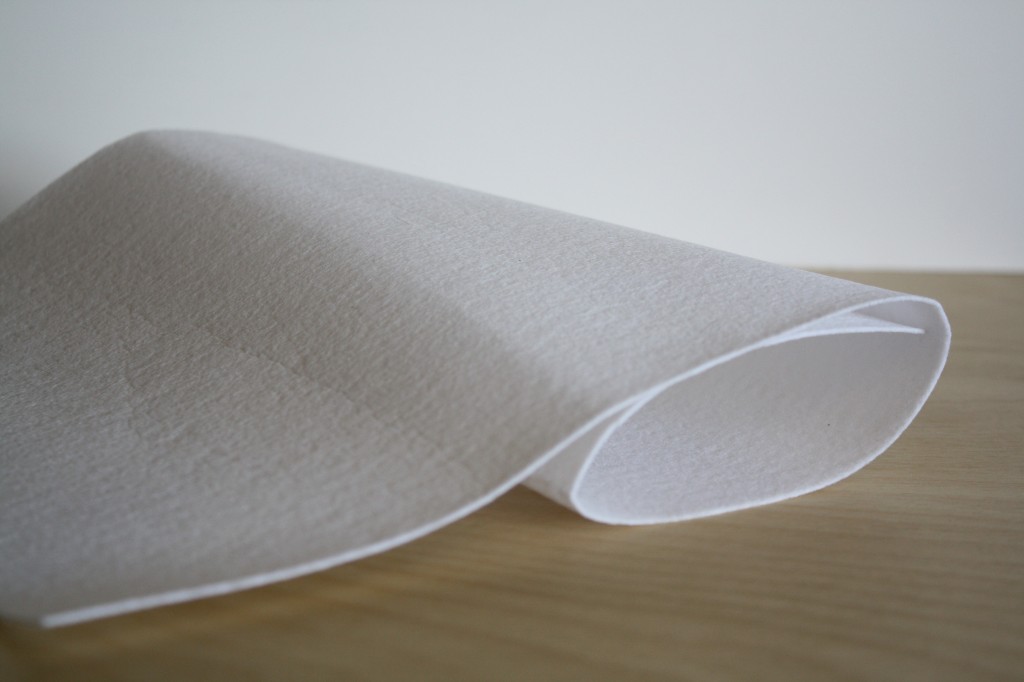
The weight is marked on the bolt at the fabric store. It varies from lightweight to heavyweight. If you’re using a pattern, turn to that first. Patterns that require interfacing should tell you exactly what to use. Otherwise, feel it, and test some on a small piece of fabric to see if it’s what you’re looking for.
Measure out what you think you’ll want and then some. You want to make sure you still have enough after you’ve preshrunk the fabric and experimented a little bit.
FUSIBLE INTERFACING
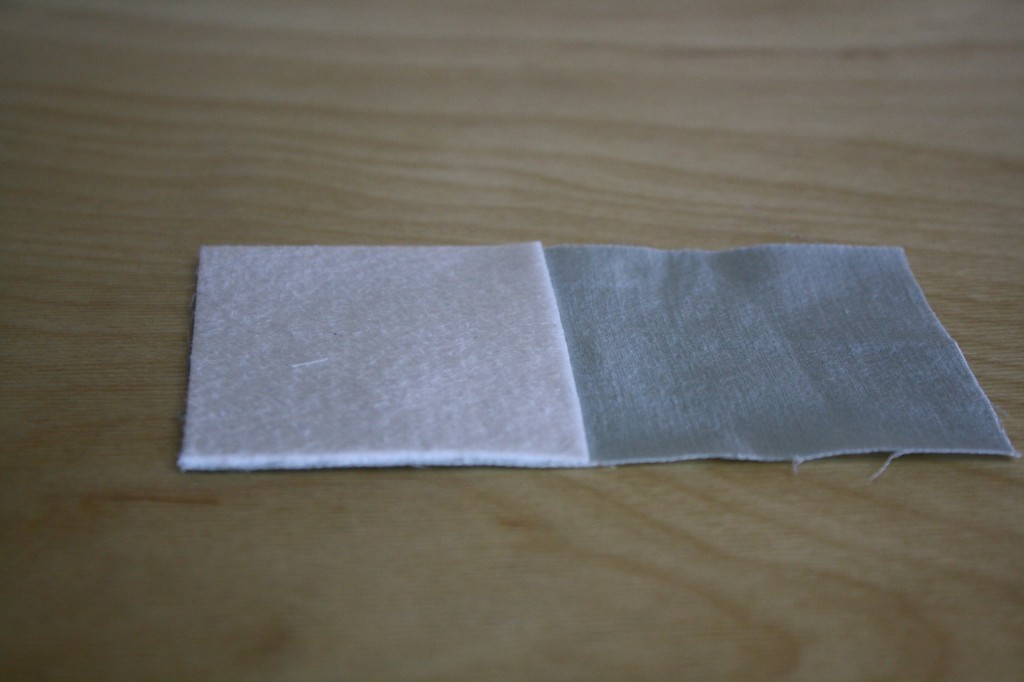
For the sample, cut a piece of interfacing half the size of the sample fabric.
Fusible interfacing has resin (glue) on one side. If you can’t see which side has the glue, you’ll be able to feel it. The glue is scratchy and feels similar to sandpaper. Pay very close attention when using fusible interfacing that the glue is facing the fabric, and not the iron.
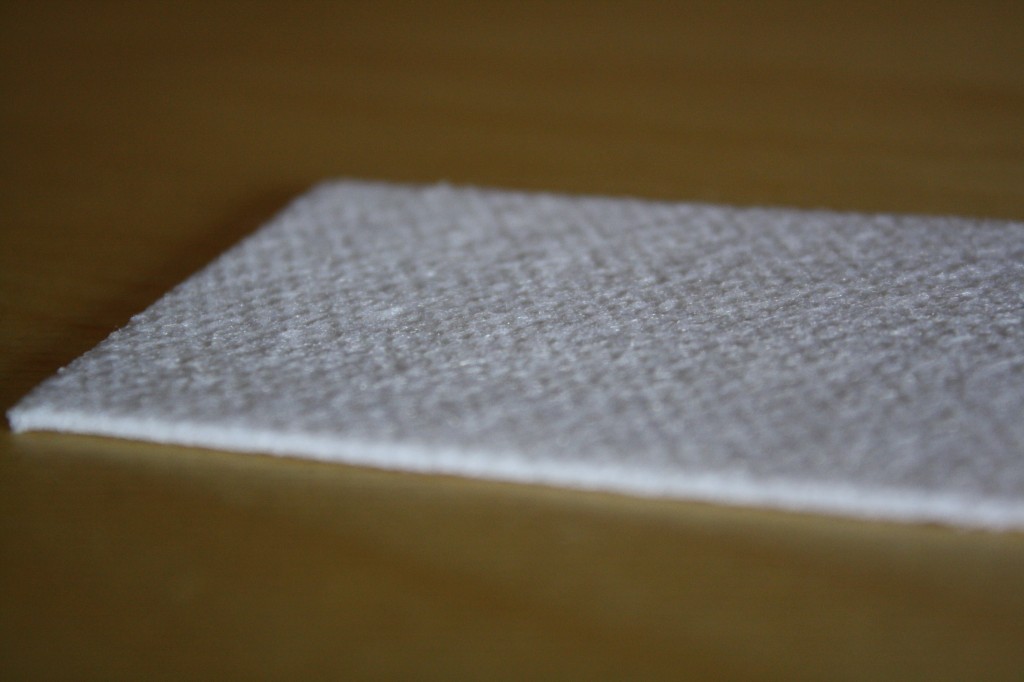
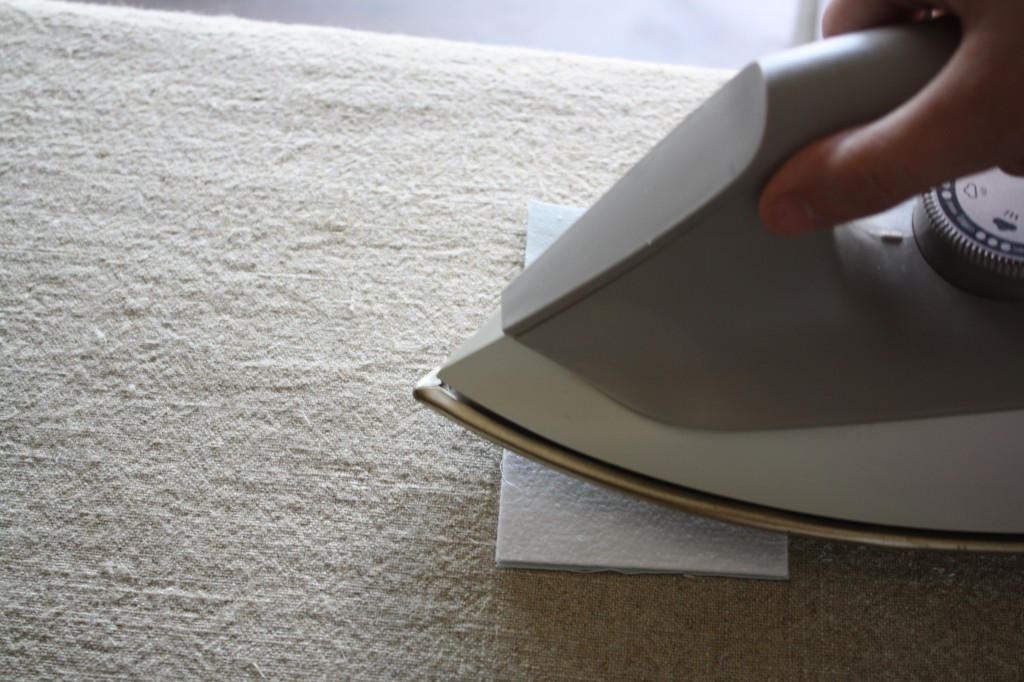
Similar to fabric, before starting a project you’ll want to be sure to preshrink the interfacing. To do this, just set the interfacing on the fabric where you need it, glue side down, and hover the iron over the interfacing while steaming for about 5 seconds. Once it’s been steam-shrunk, you can iron or sew it on according to the instructions on the directions.
SEW-IN INTERFACING
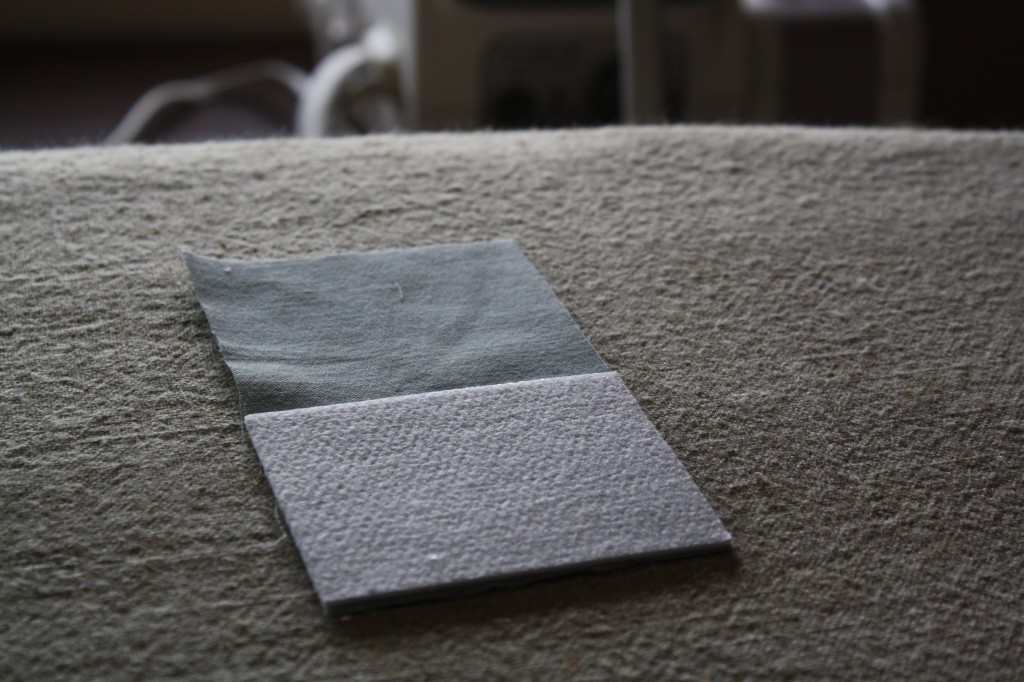
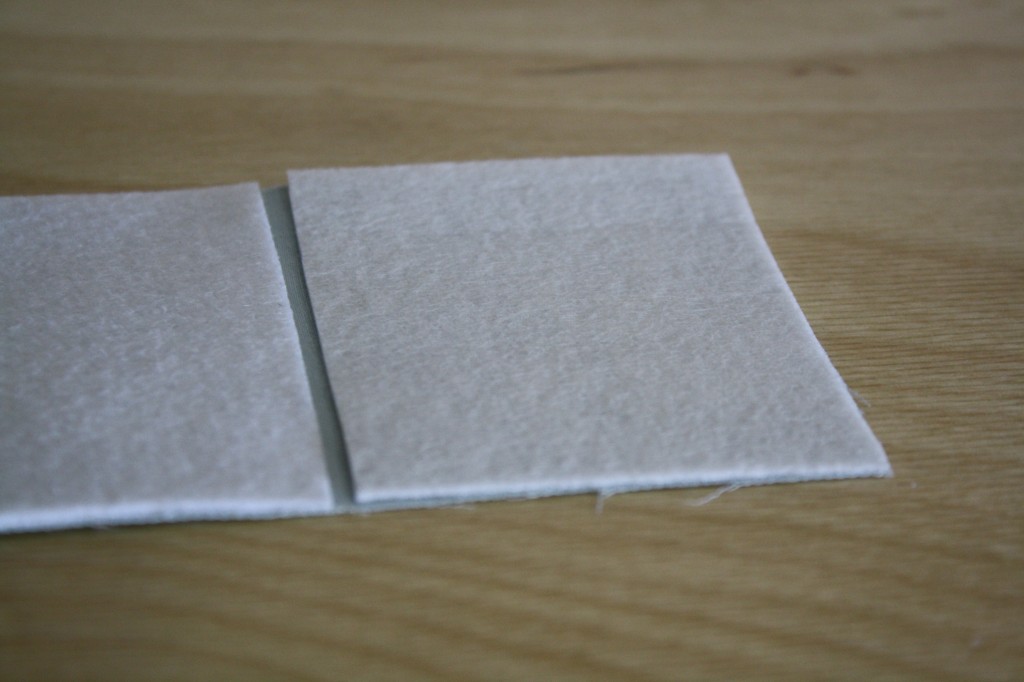
For the sample, cut a piece of sew-in interfacing (if you have any) half the size of the sample fabric.
Sew-in interfacing looks very similar to fusible, but it doesn’t have glue on either side.
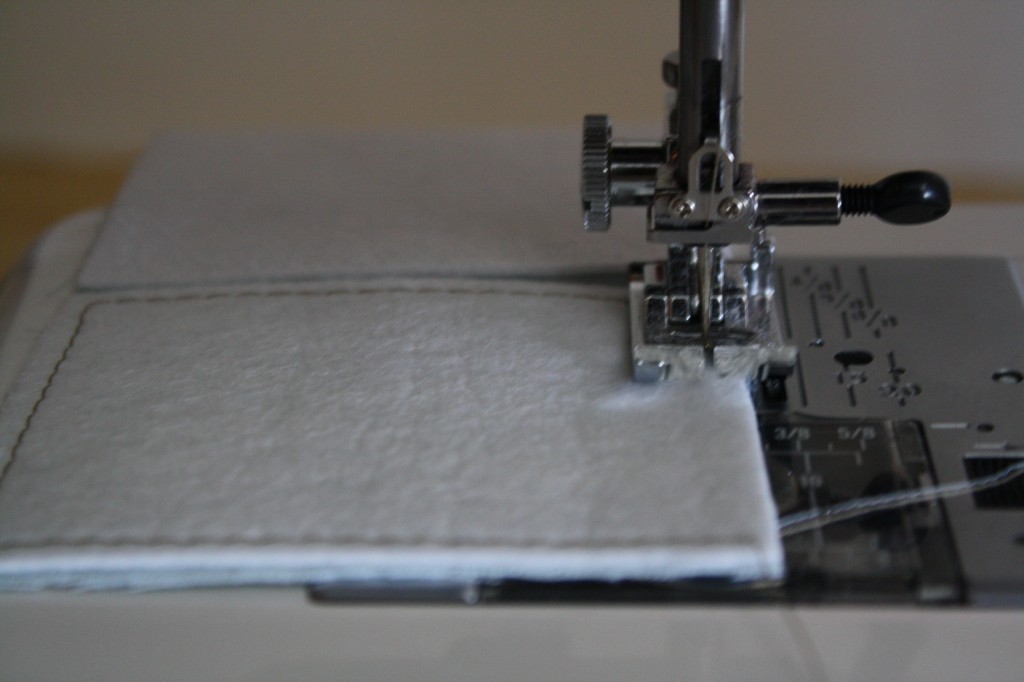
Rather than ironing the interfacing to hold it in place, sew-in interfacing is what the name implies. Sew with a lengthened straight stitch near the edge of the interfacing. Be sure to sew nearer to the edge than the seam allowance of the finished product will be, so the stitching from the interfacing isn’t seen later.
OVERVIEW
When you compare fusible with sew-in interfacing, side-by-side, you’ll see that the fusible is convenient and accurate, but the sew-in might be sturdier. Fusible is used most often, but isn’t the only good option.
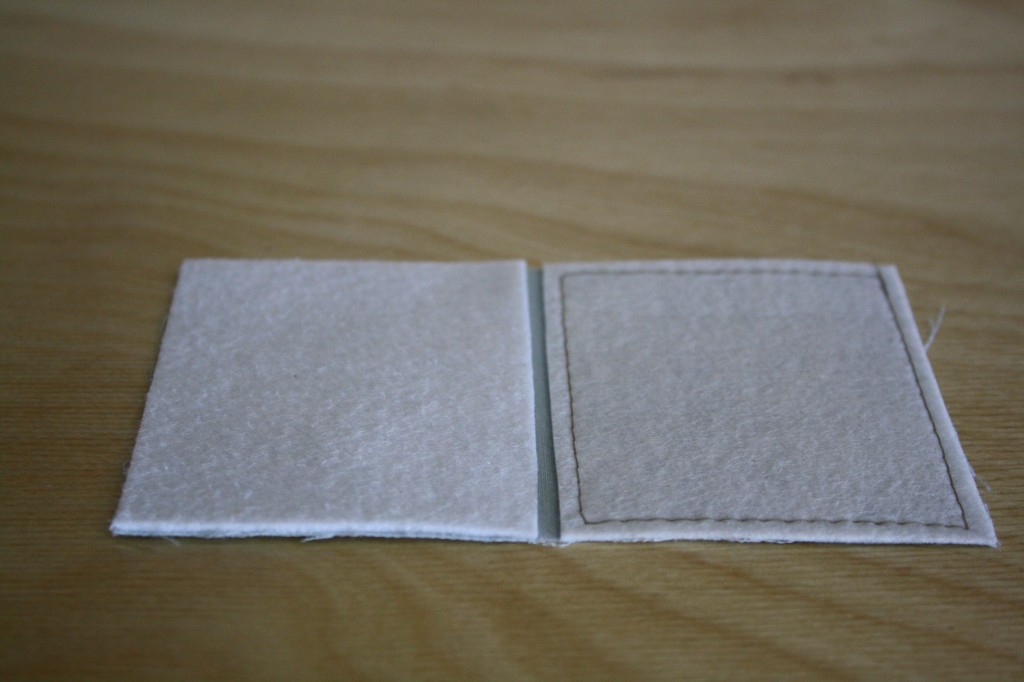
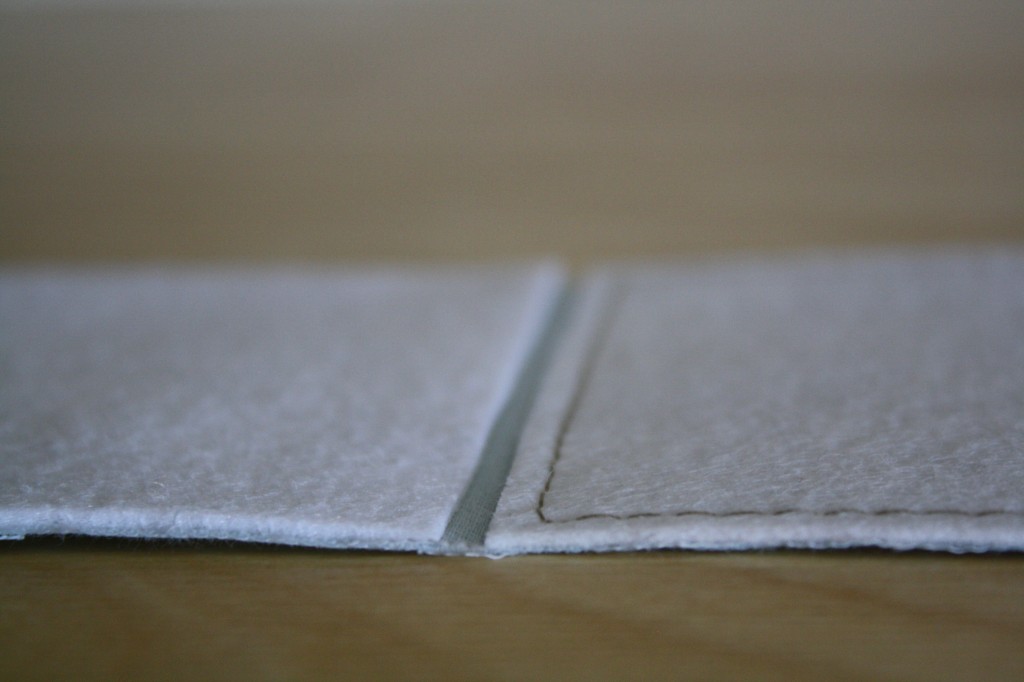
If you don’t want bulky seams (who does?) cut the interfacing smaller than the piece taking the seam allowance into account.
HOMEWORK

Hello, what is the size of this interfacing. Is it 120g