Sewing becomes so much more fun when you know how to change the stitch. Whether it’s a zig zag or a decorative stitch, the possibilities become truly endless. There are several ways to adjust the stitch you’d like to use. Locate the stitch width and length adjusters on your machine (they could be buttons, dials, or levers, depending on your machine).
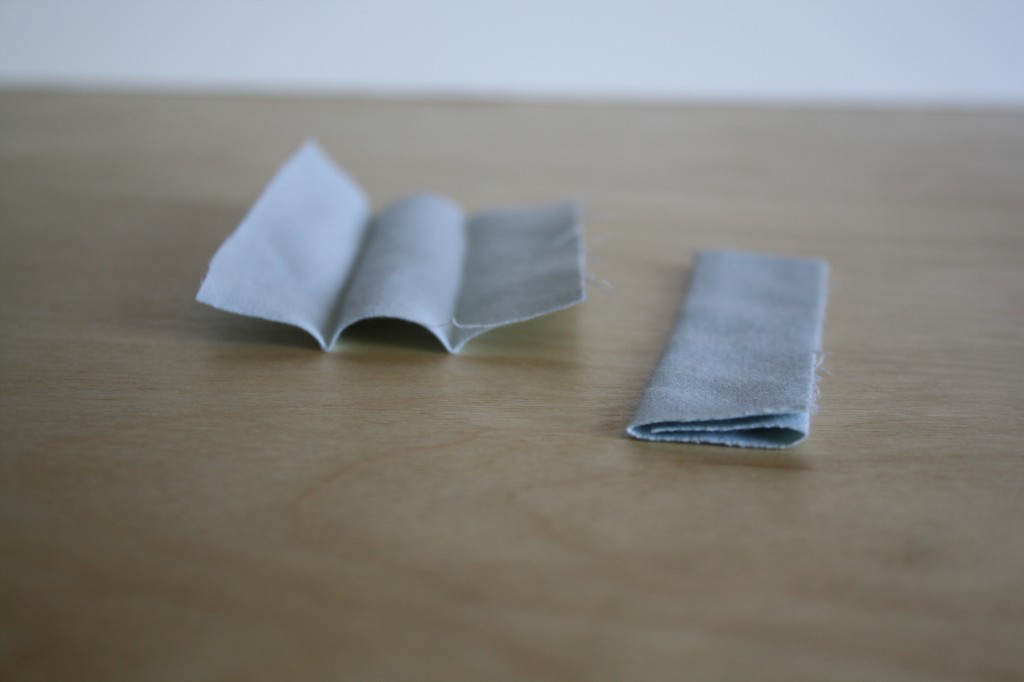
Use 2 sample rectangles to practice these stitches on. It will help you visualize what changes you’re making.
ADJUSTING A STRAIGHT STITCH
Start by ironing each sample rectangle into thirds. These fold lines will be your guide as you sew.
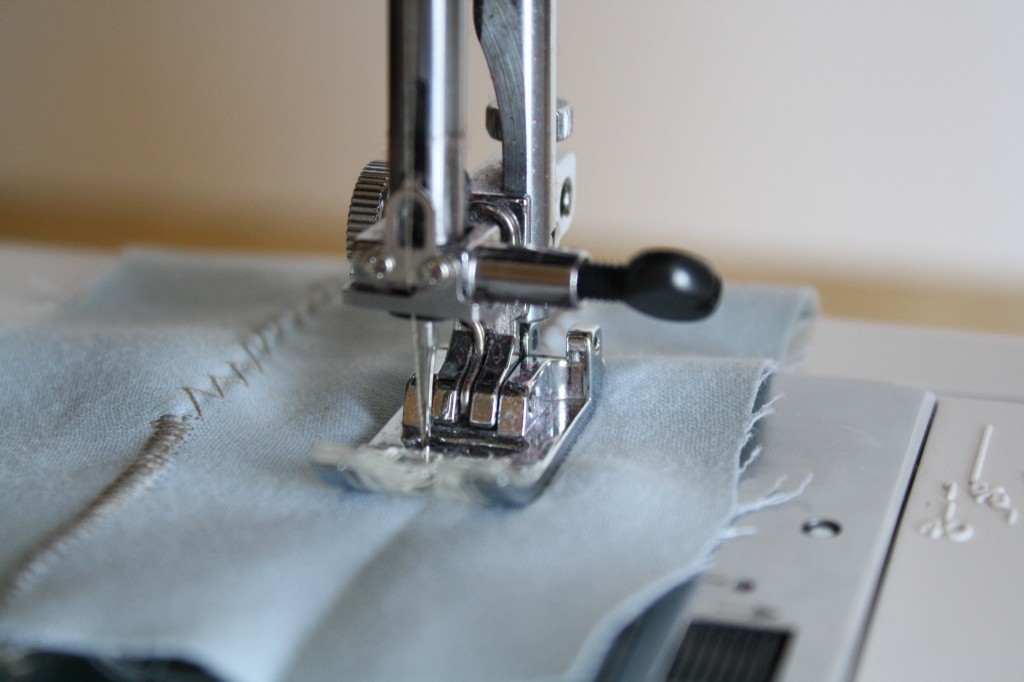
With you machine set to a straight stitch, sew 1/3 of the way down one sample rectangle on the standard setting, guiding along the left fold.
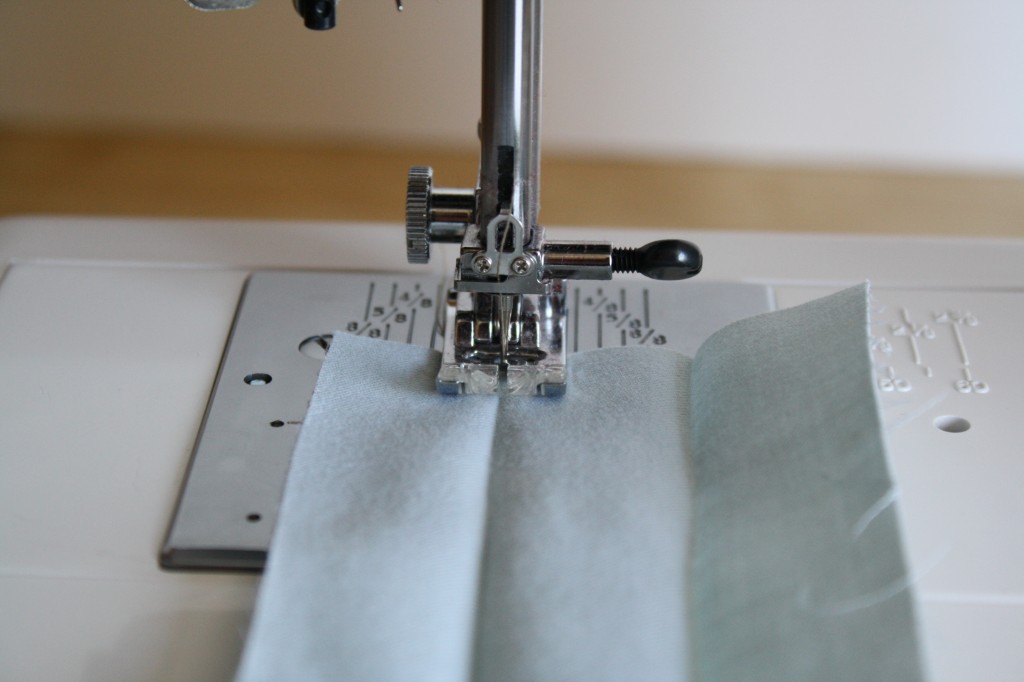
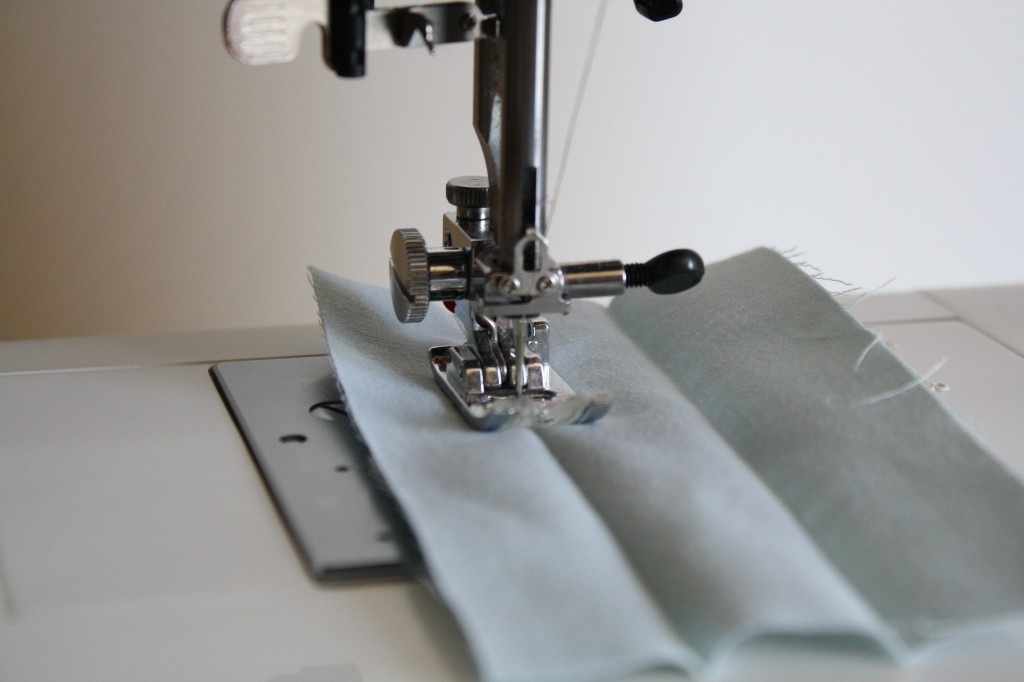
Lengthen the stitch and continue sewing another 1/3.
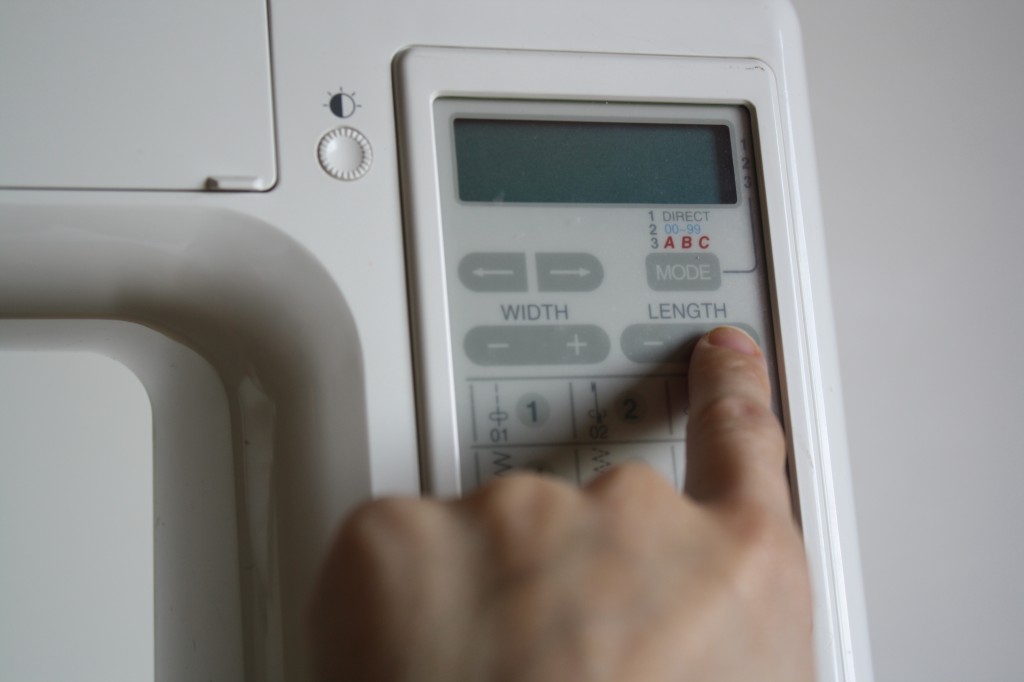
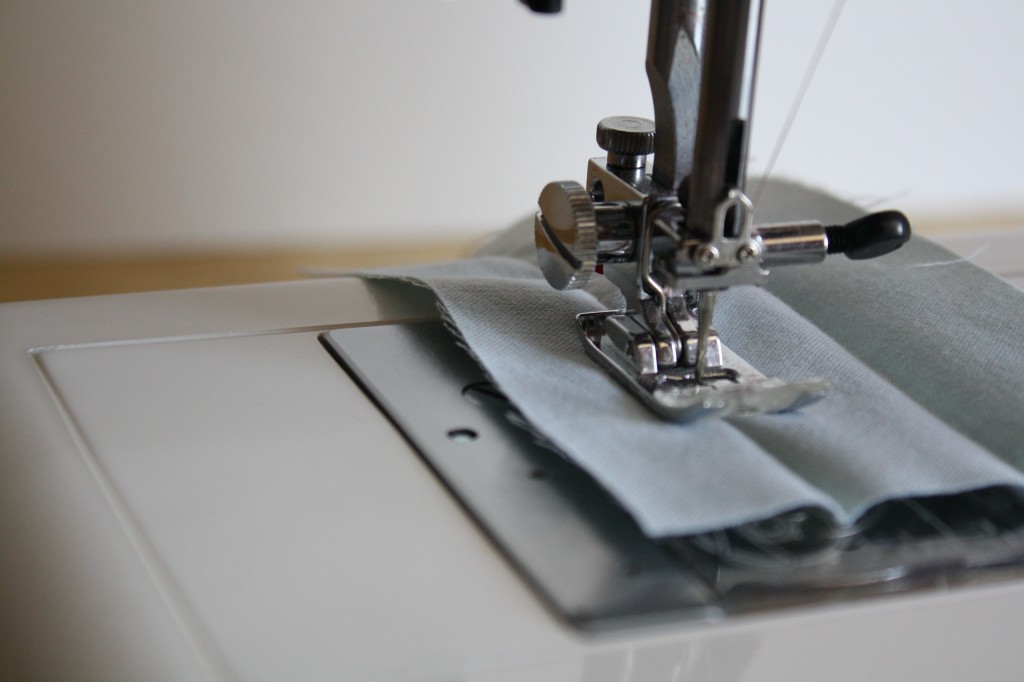
Then shorten the stitch and sew to the edge of the fabric.
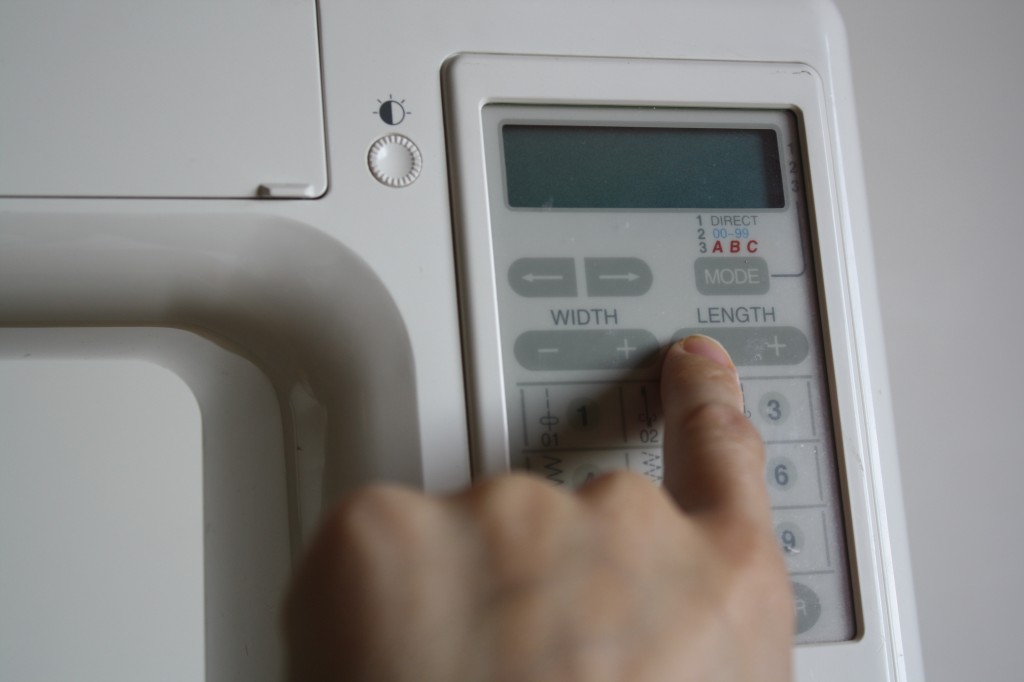
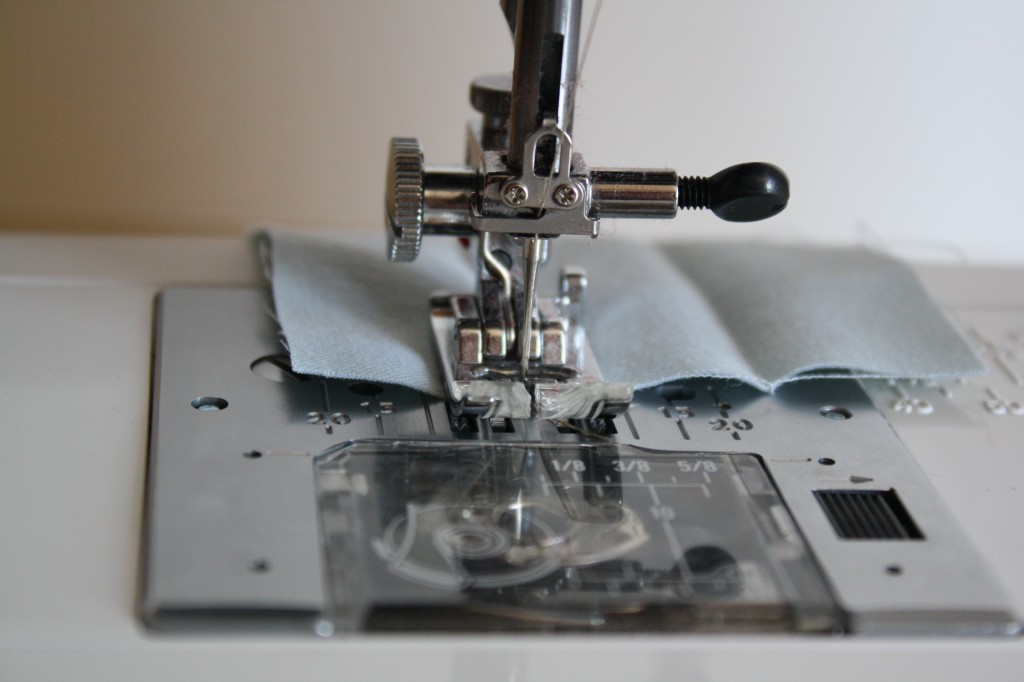
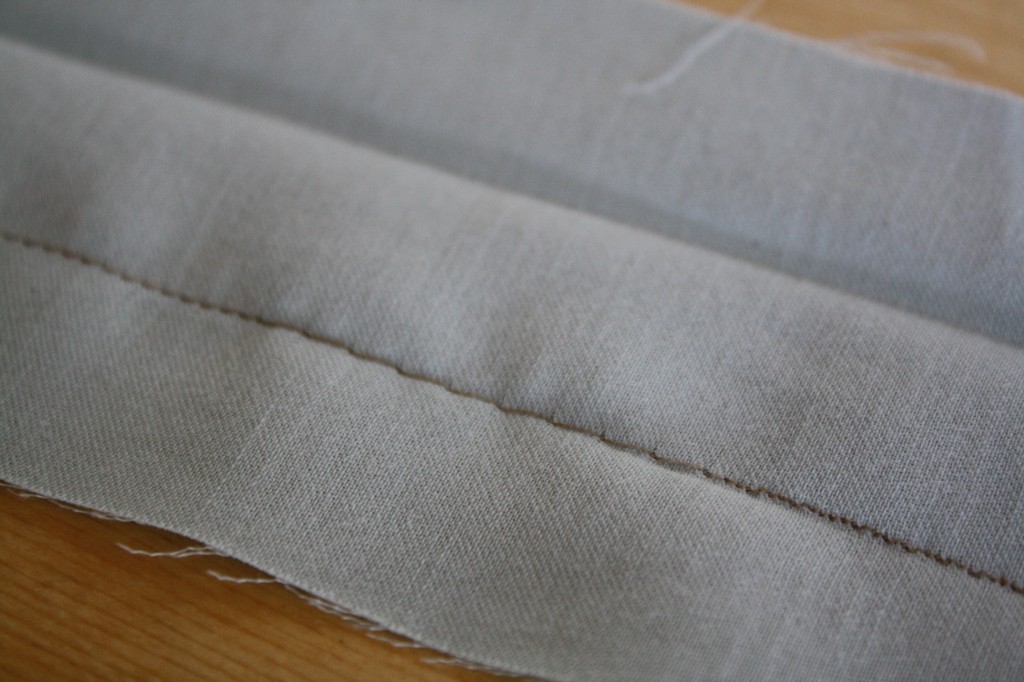
Look at the stitch, can you see where it was lengthened and shortened?
Now set the machine back to the basic straight stitch and sew 1/3 of the way down, guiding on the right fold.
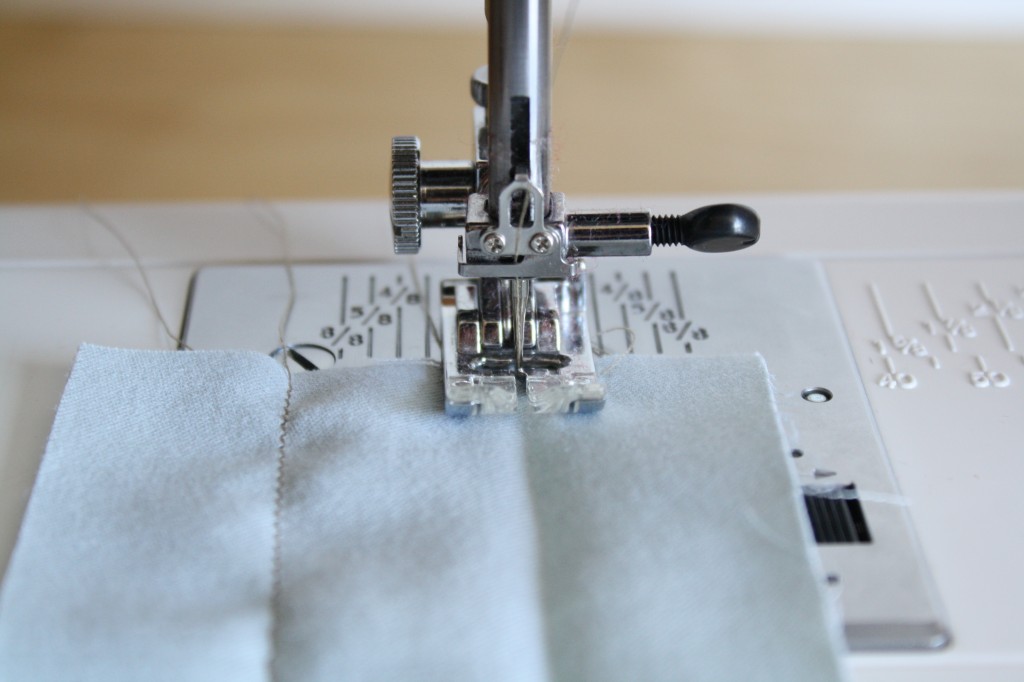
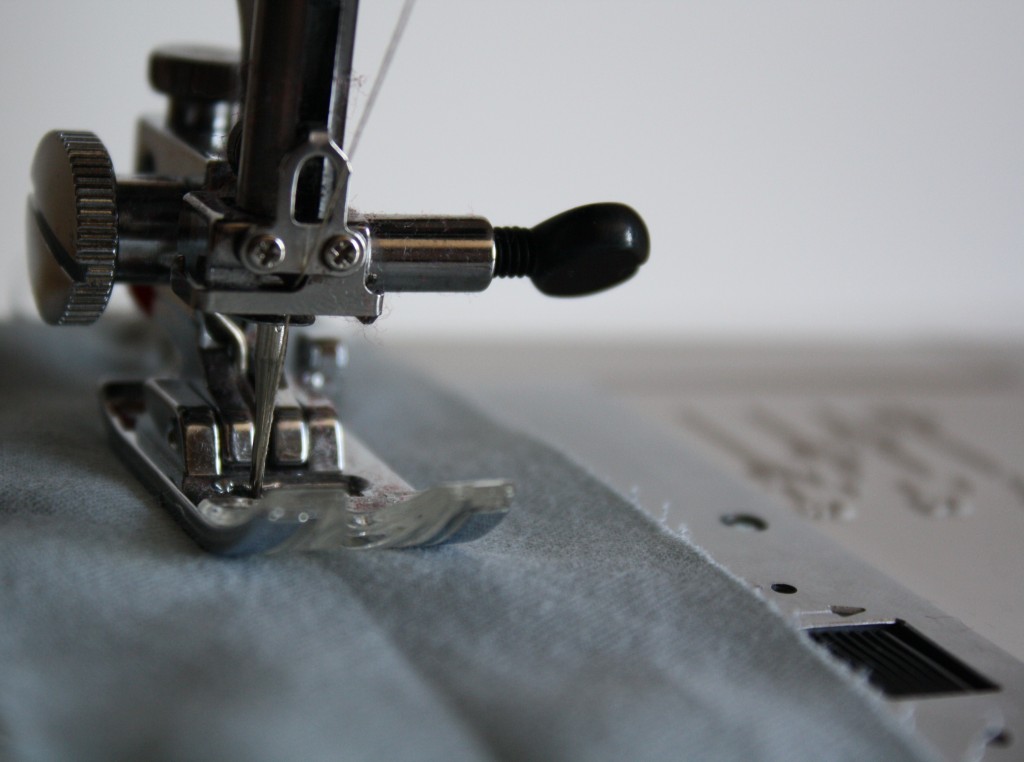
Increase the stitch width sew another 1/3 of the length.
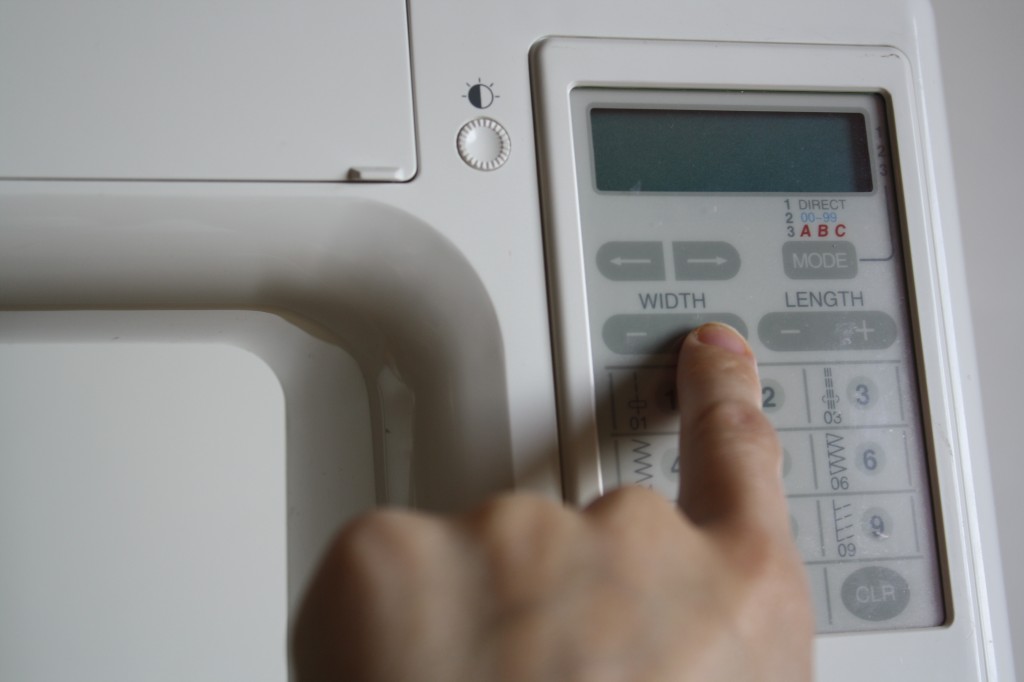
For the last 1/3, lower the stitch width and sew to the edge of the sample.

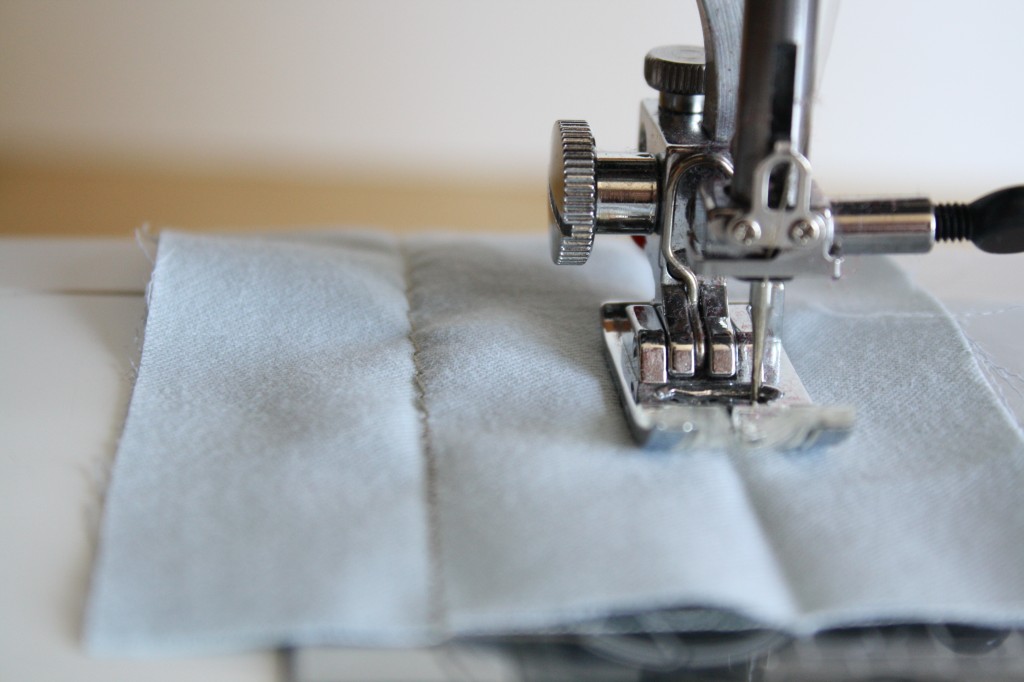
Look at the stitch, can you see where the width was changed? On most machines, when you change the width on a straight stitch, it simply moves the needle to the left (smaller width) or right (larger width).
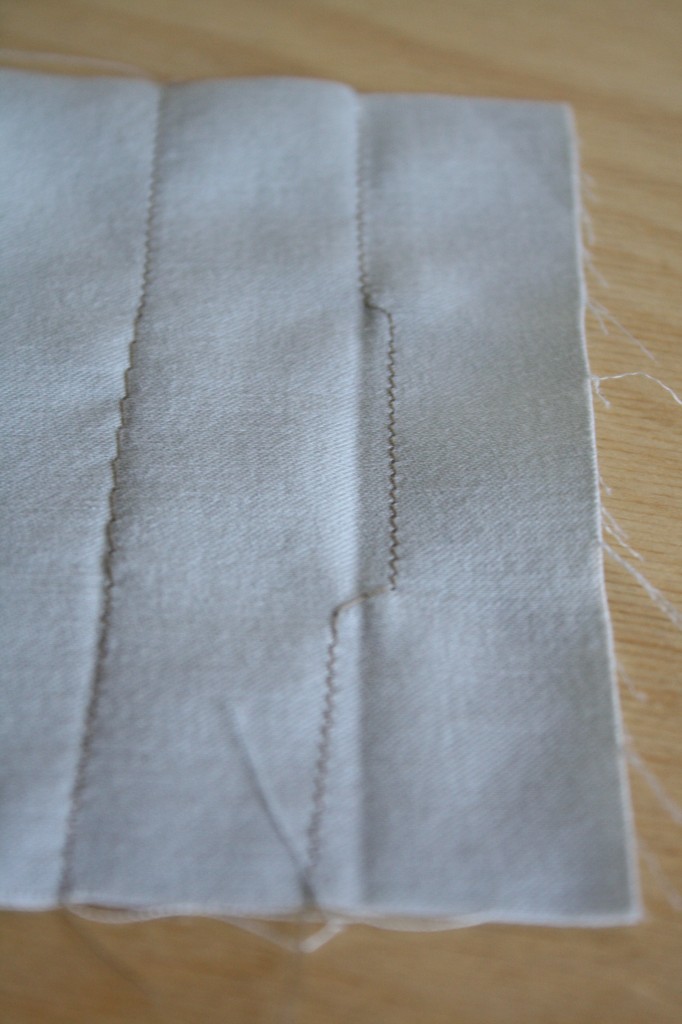
ADJUSTING A ZIG ZAG STITCH
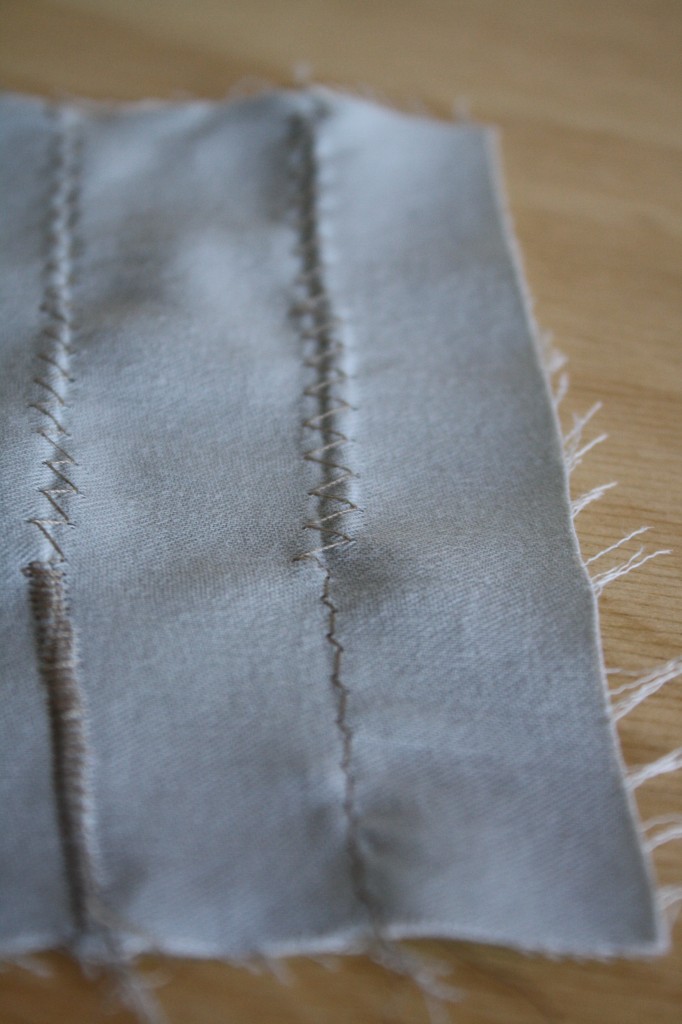
Using a second sample rectangle, set the machine to a basic zigzag stitch and adjust the stitch length along the left side using the same method that was used for the straight stitch (first third: standard, middle third: lengthened, last third: shortened).
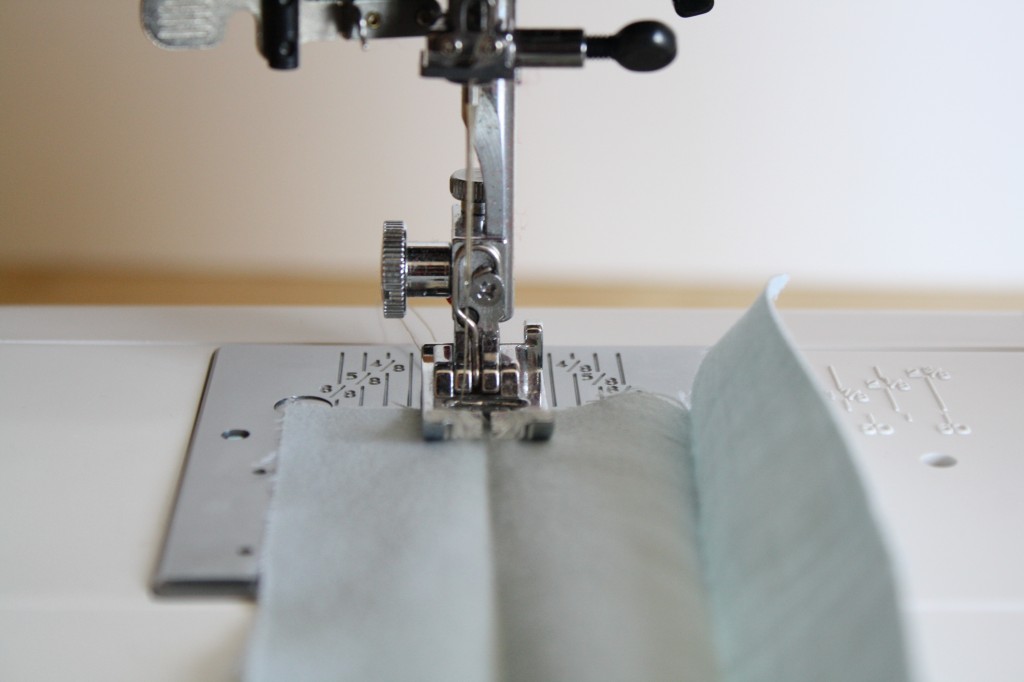
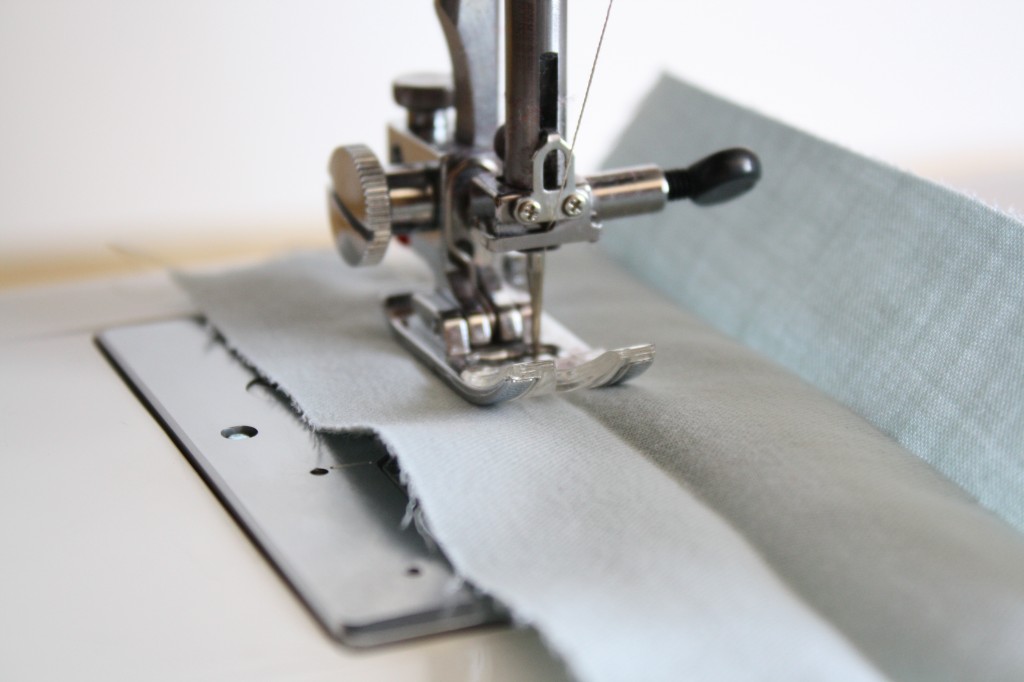

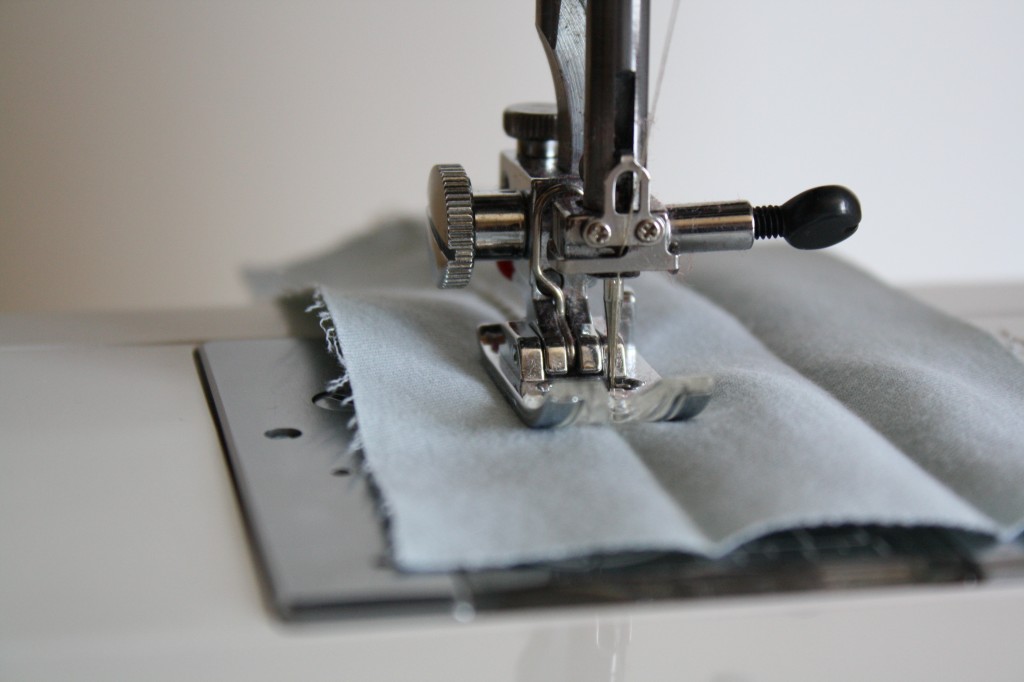

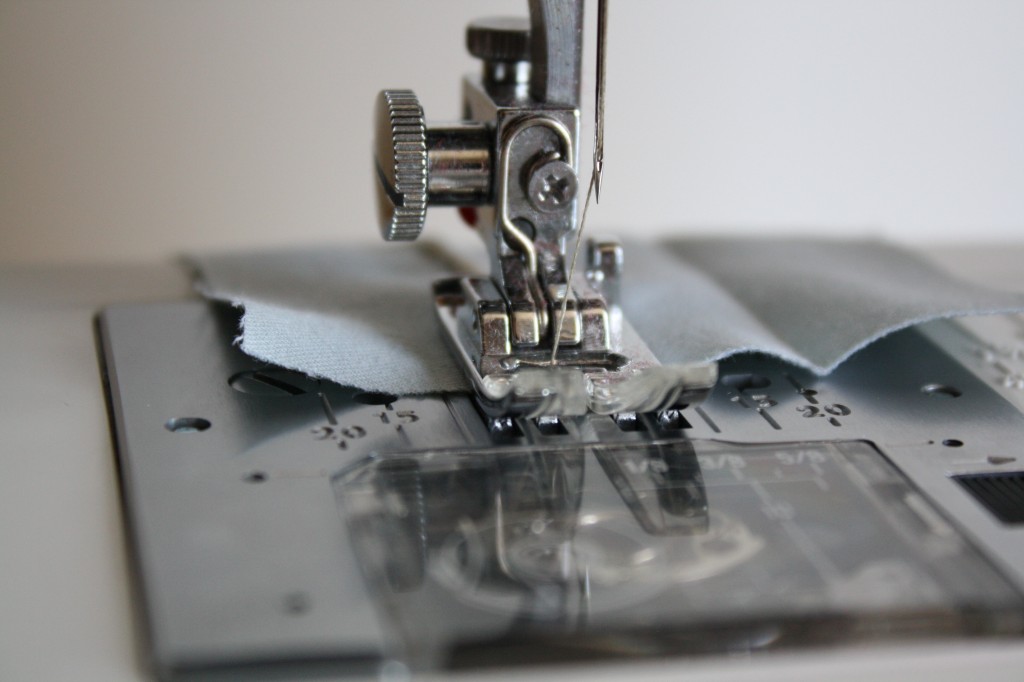
Do you see the changes that were made?
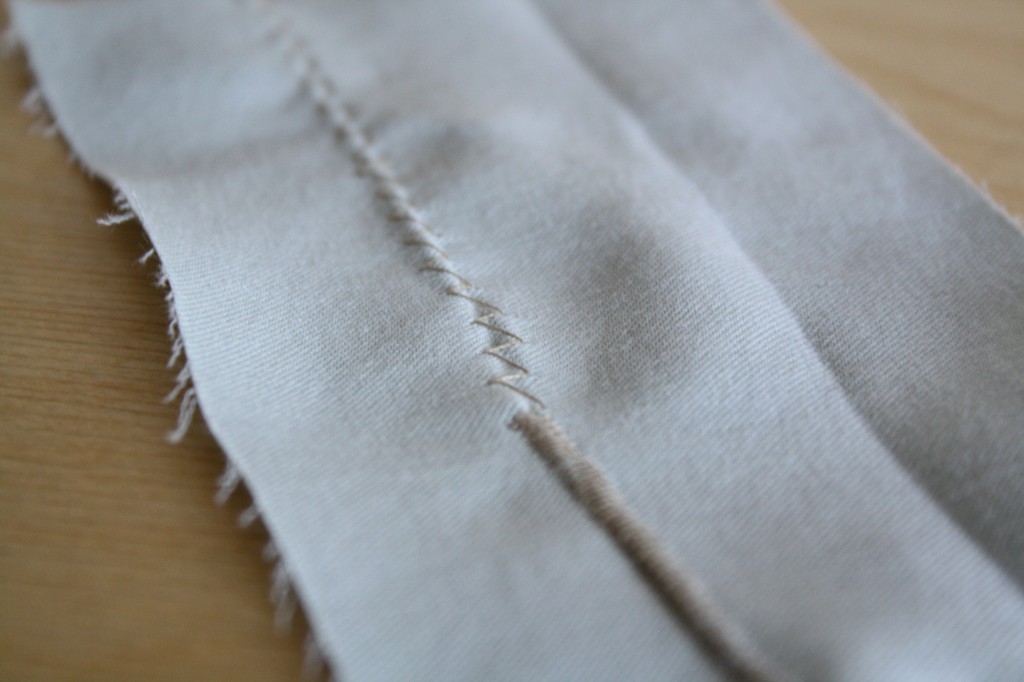
Now test the stitch width with a zigzag on the right side of the sample (first third: standard, middle third: widened, last third: narrowed).
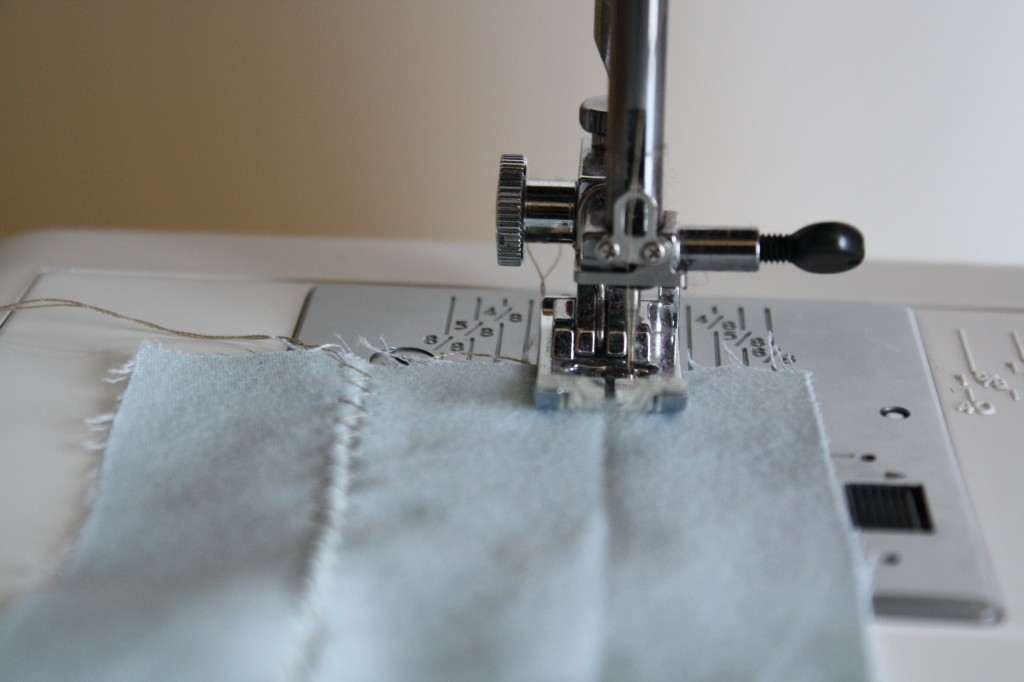
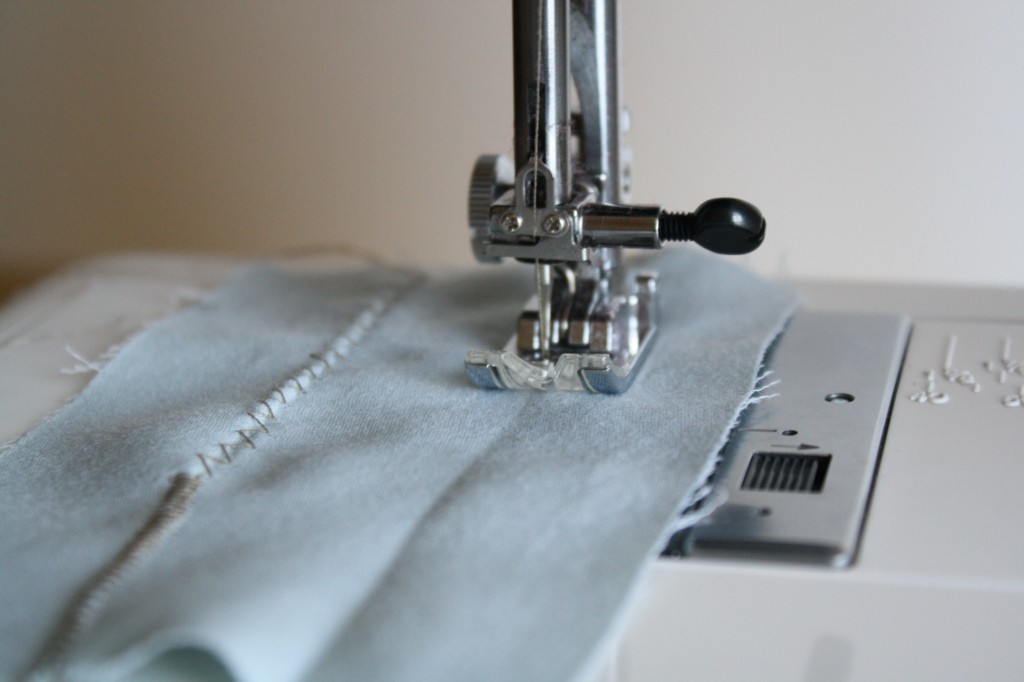


Some machines have additional stitches, go ahead and test those out on some scrap fabric as well!
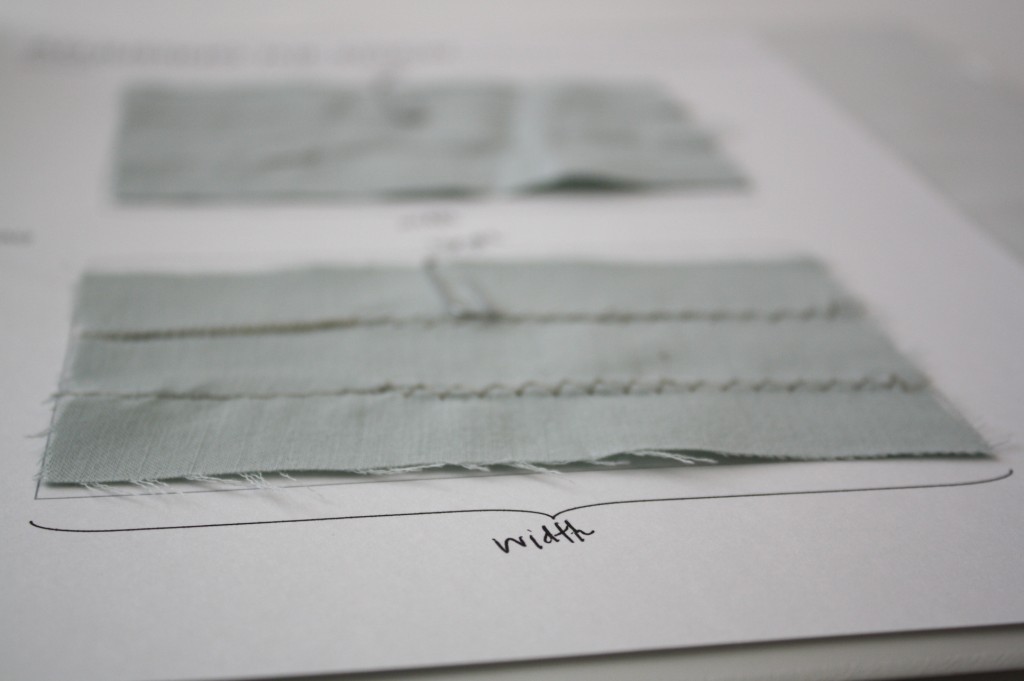
Be sure to mark the stitch settings on the sample book page.
HOMEWORK
Pretty! This was an incredibly wonderful article.
Many thanks for providing this information.