THIS LESSON IS PART OF THE SEWING WITH KIDS E-COURSE
Up until now, we’ve been sewing with a standard straight stitch. The straight stitch is definitely what’s used most of the time when sewing, but what kid doesn’t want to switch it up with zigzags and decorative stitches? 9 lessons in and they finally get their chance.
LESSON PREPARATION
Print out the Stitch adjustment worksheets found in the sample book.
DEMONSTRATION
Ask them where the stitch length and stitch width adjusters are, just to see if they remember. If they’ve forgotten, show them! Go over one adjuster at a time, and let them explore their options.
Stitch Length:
Help them visualize stitch length adjustments by standing together against a wall and start by taking normal steps across the room – that’s the standard setting. Then show them that if you make the stitch length bigger the stitches will be long – take big giant steps across the room. Last, show them that if you make the stitch length smaller the stitches will be short – take tiny baby steps across the room.
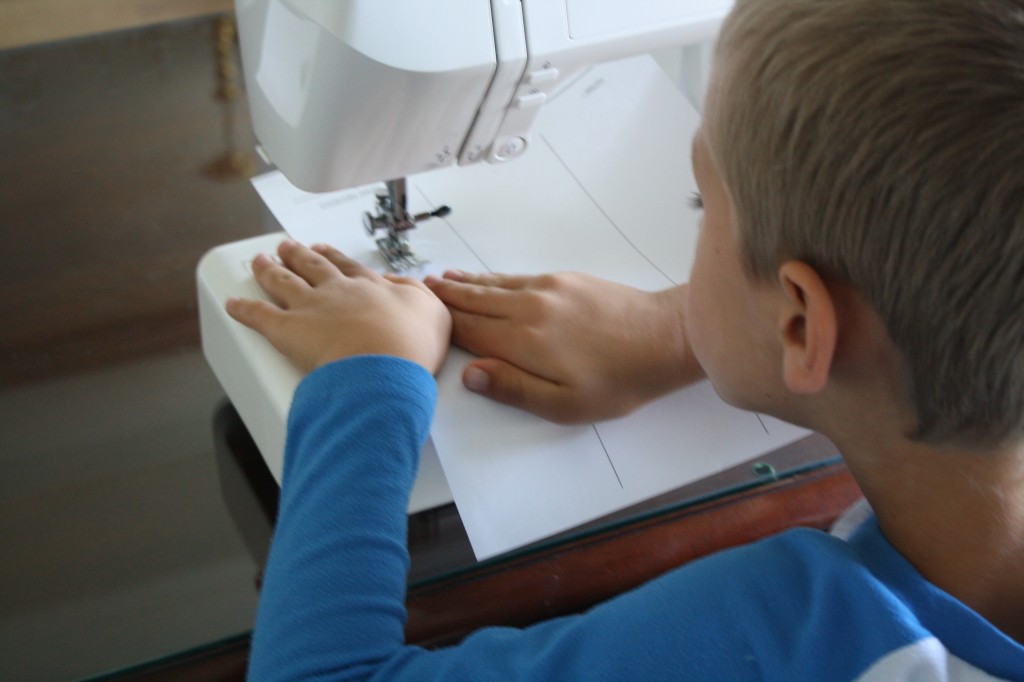
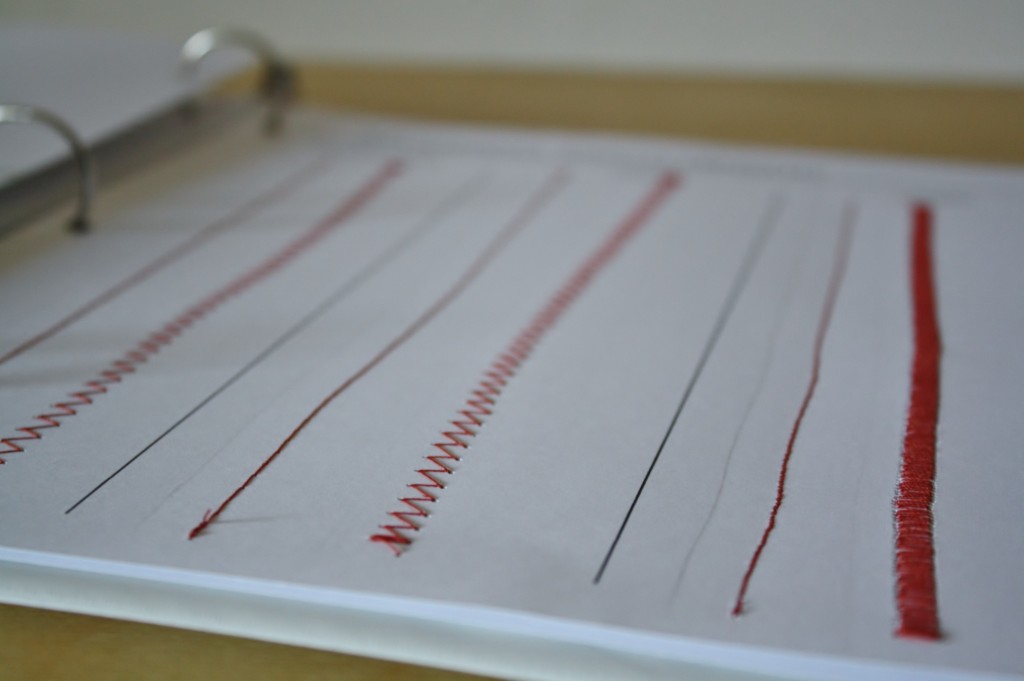
Now sit down at the sewing machine and let them try it out on the Stitch Length worksheet. Under the “Standard” column let them sew a regular straight stitch and a regular zig zag stitch. Under the “+ Length” column let them sew a lengthened straight stitch and a lengthened zig zag. Under the “- Length” column let them sew a shortened straight stitch and a shortened zig zag. Record each setting where indicated on the worksheet so they can look back and remember later.
Stitch Width:
Help them visualize stitch width adjustments by standing together against a wall and start by taking normal steps across the room – that’s with 0 stitch width. Then show them that if you make the stitch width small, but still bigger than 0 you will get a narrow zigzag – waddle across the room. Last, show them that if you make the stitch width really big, you will get a wide zigzag – take giant steps from side to side.
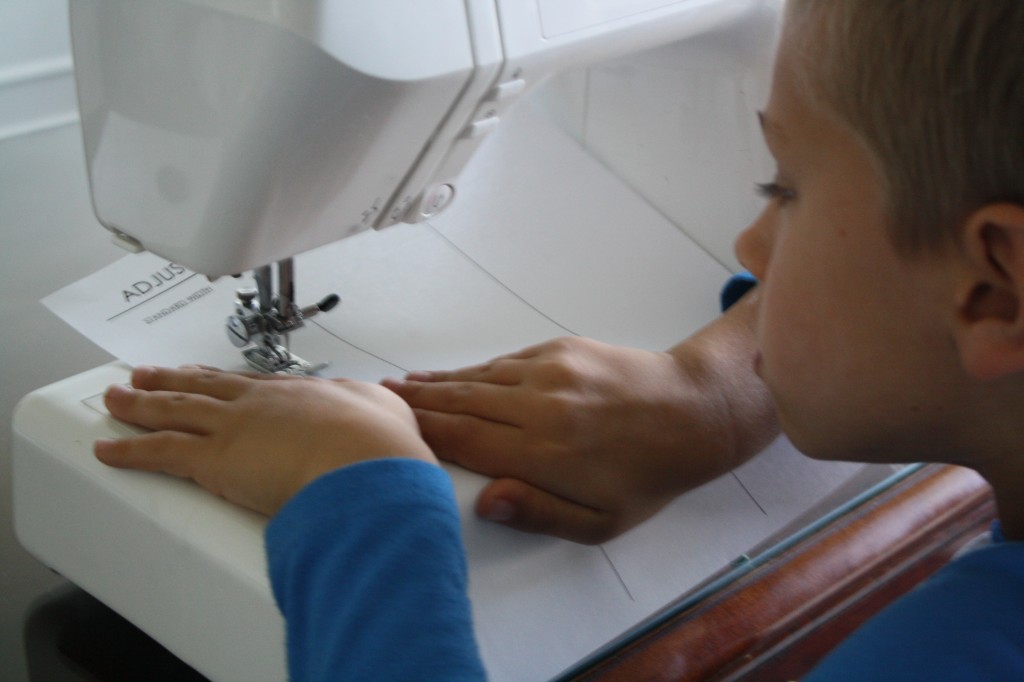
Now sit down at the sewing machine and let them try it out on the Stitch Width worksheet. Under the “Standard” column let them sew a regular straight stitch and a regular zig zag stitch. Under the “+ Width” column let them sew a widened straight stitch (depending on the machine, this may adjust the needle position) and a widened zig zag. Under the “- Width” column let them sew a narrowed straight stitch (again, this may move the needle position) and a narrowed zig zag. Record each setting where indicated on the worksheet so they can look back and remember later.
Other Stitches:
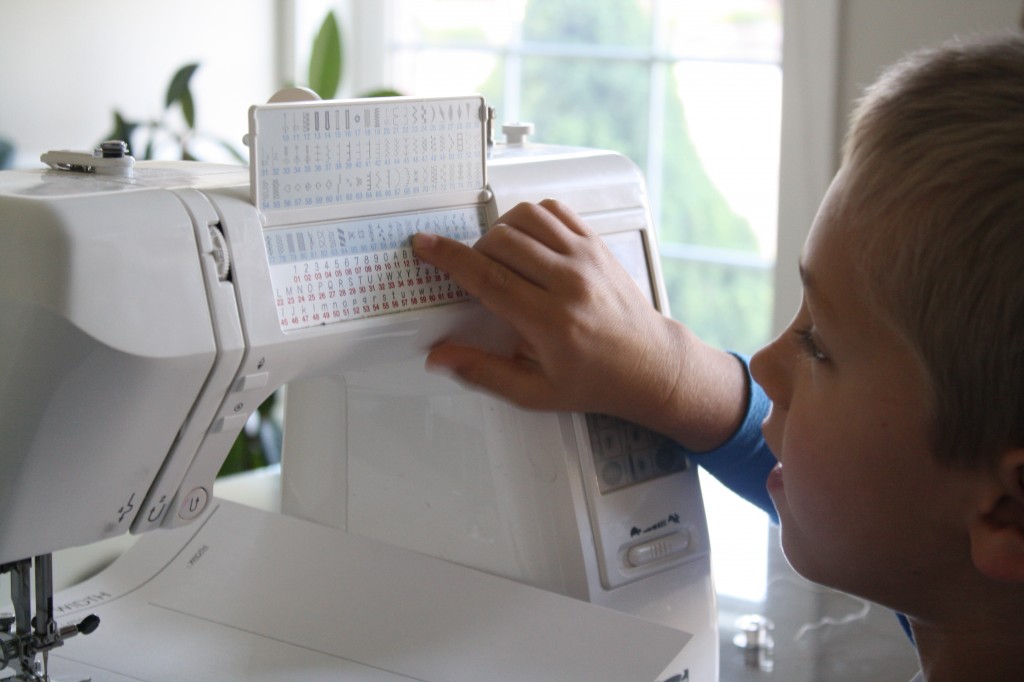
Show them the place on their machine where there are decorative or specialty stitches (if they have them). Let them try these stitches on the Other Stitches worksheet. Encourage them to write the stitch numbers and settings down next to their stitches so they can look back and remember later in case they find one they really like.
HOMEWORK
