Sewing a straight line is one thing… sewing around a corner is another thing completely. But it really is simple, once you know how.
SEWING AND CLIPPING A CORNER
Take two sample rectangles and line them with right-sides-together.
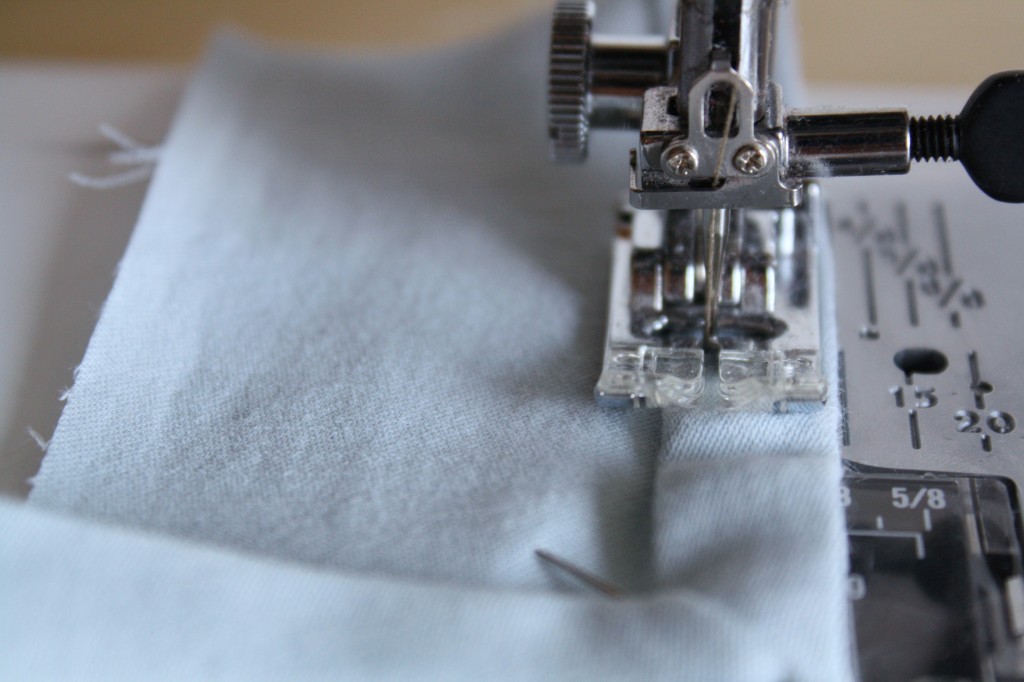
Sew down one side of the fabric, and stop near the edge, leaving the same distance between the needle and the approaching edge of the fabric as your seam allowance.
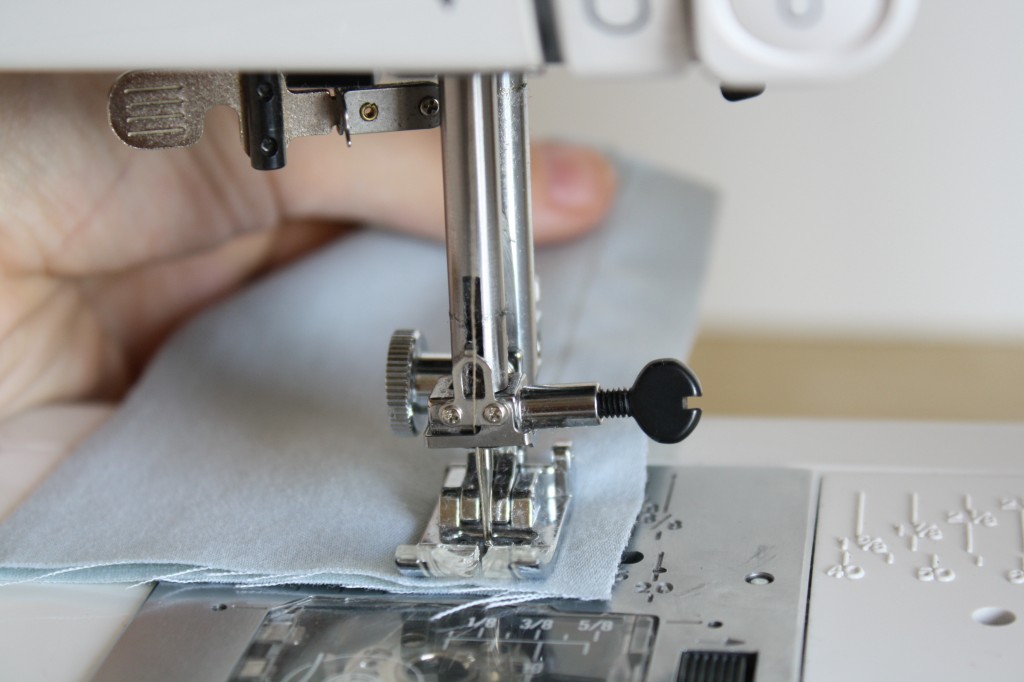
Put the needle in the down position, lift the presser foot, pivot the fabric 90 degrees.
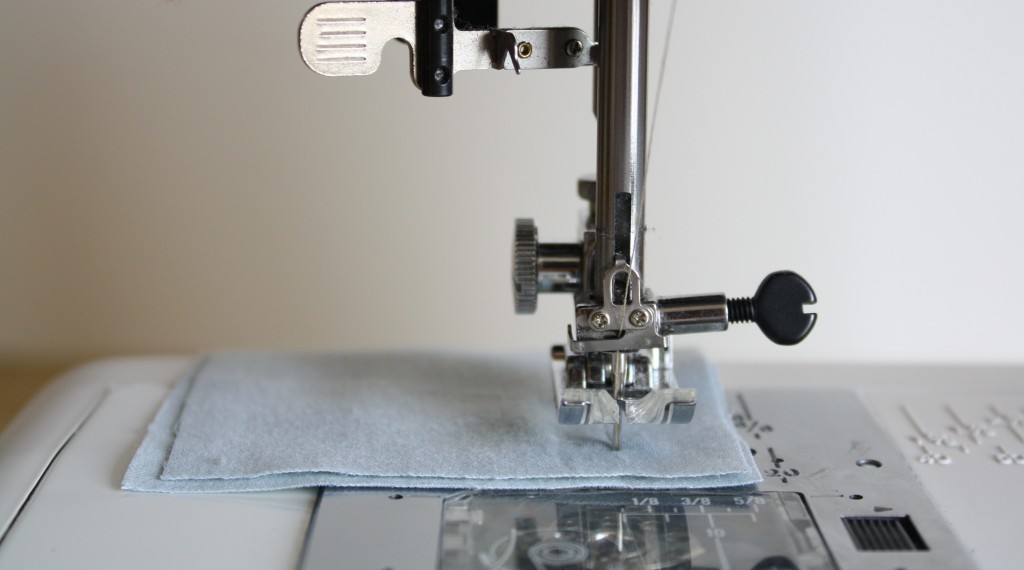
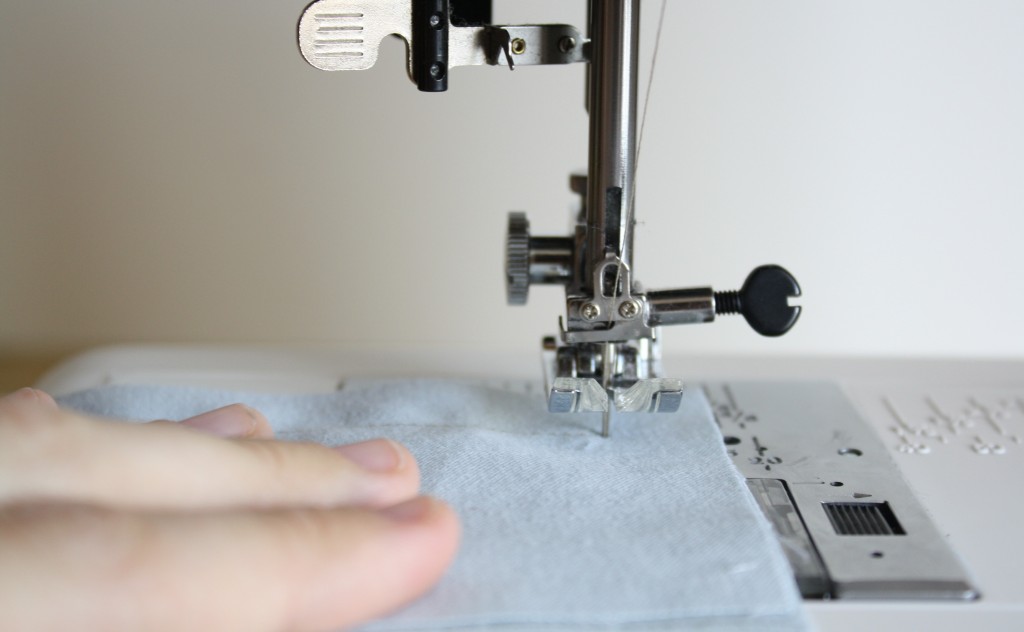
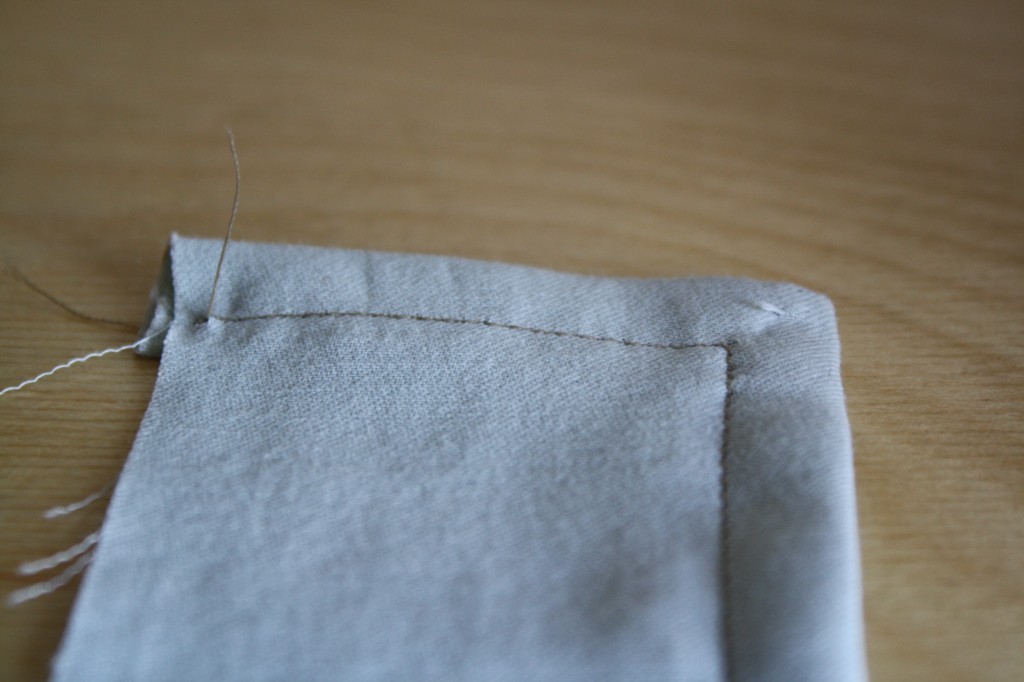
Put the presser foot back down, and continue sewing. You’ve now sewn around a corner.
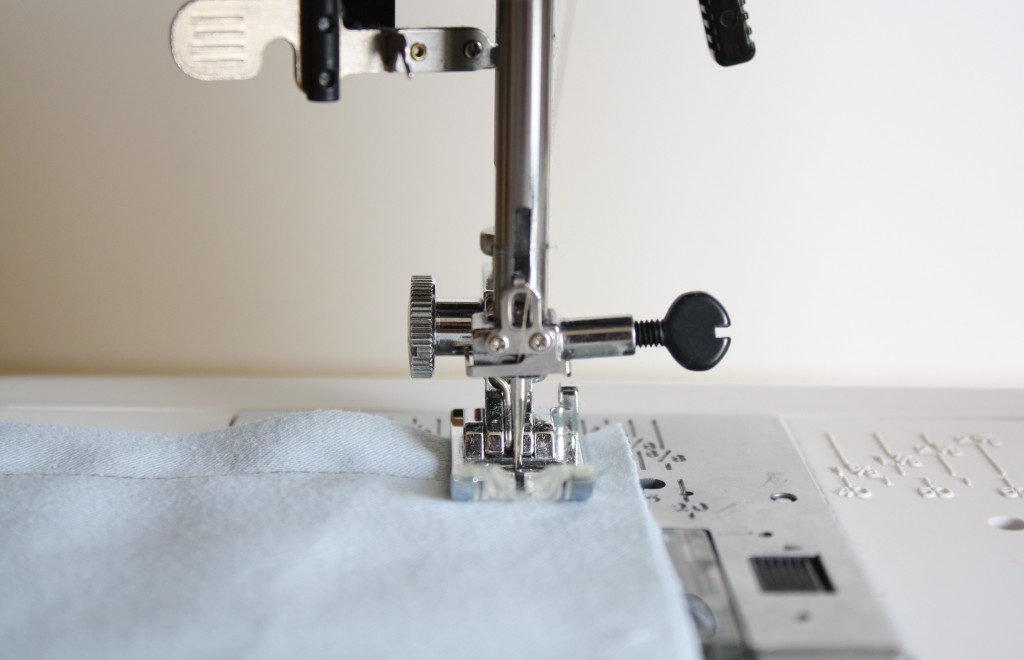
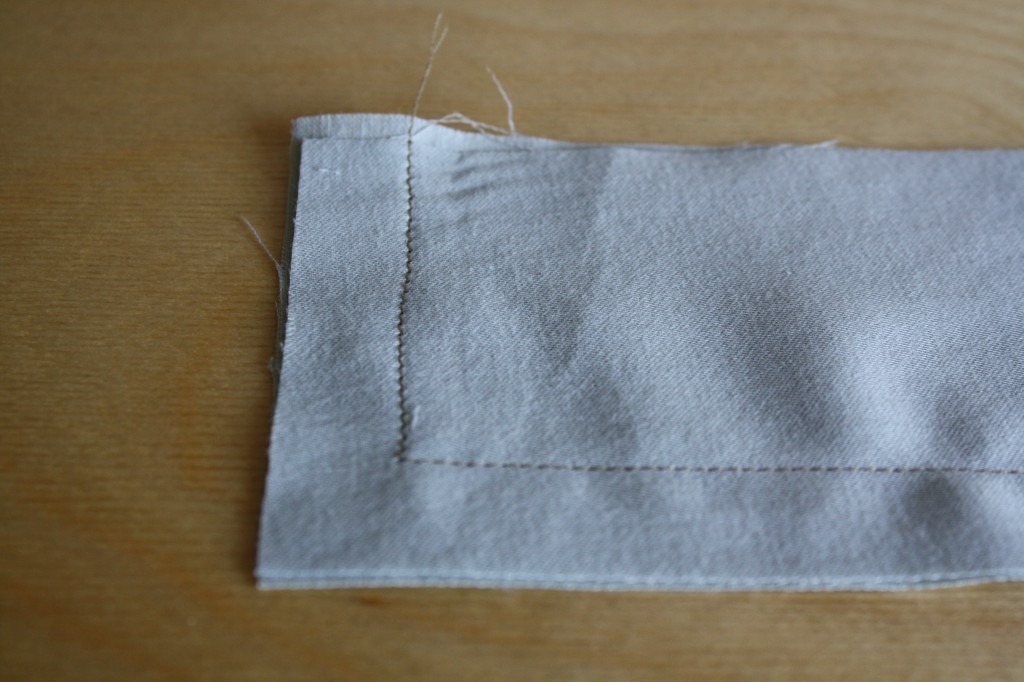
When you turn this right-side-out there will be a lot of bulk from that seam allowance.
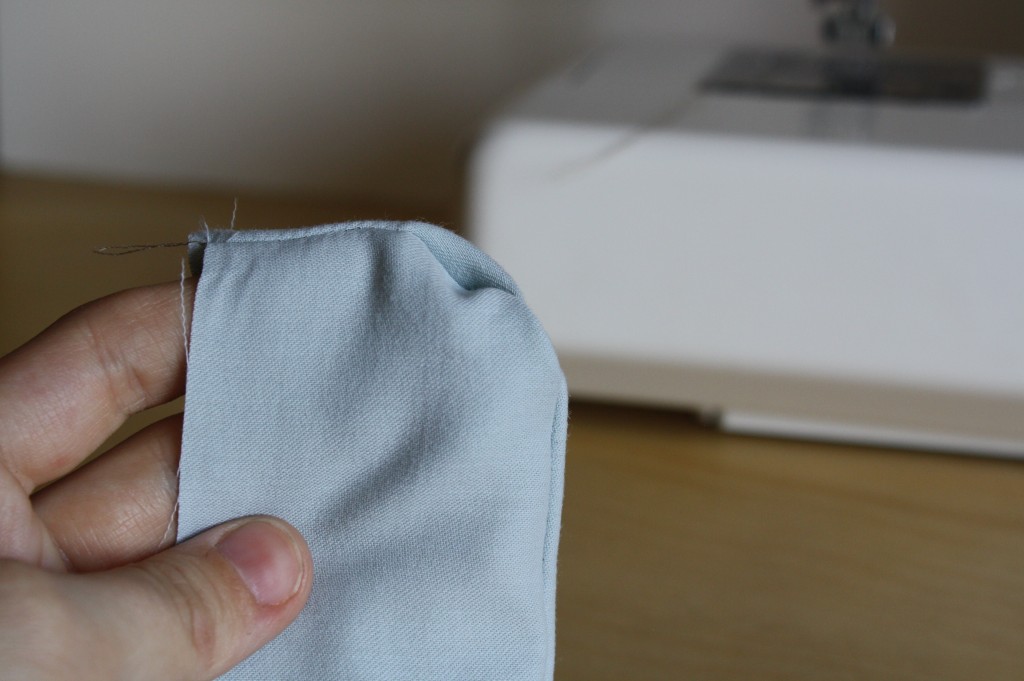
So before you turn it right side out. Clip the corner at a 45 degree angle, being careful not to clip through any stitches.
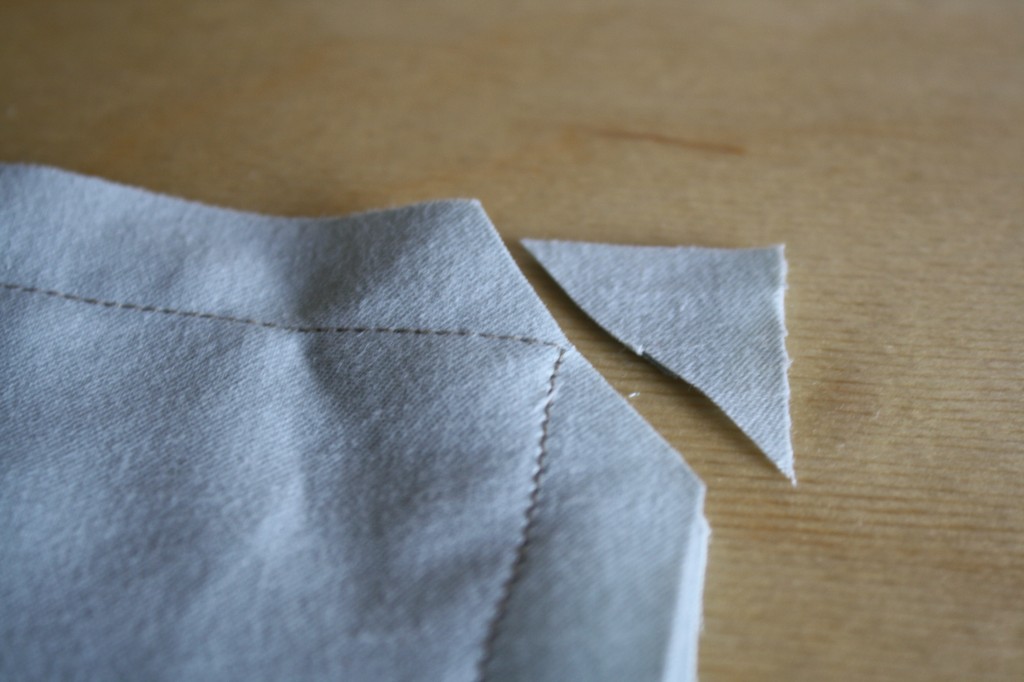
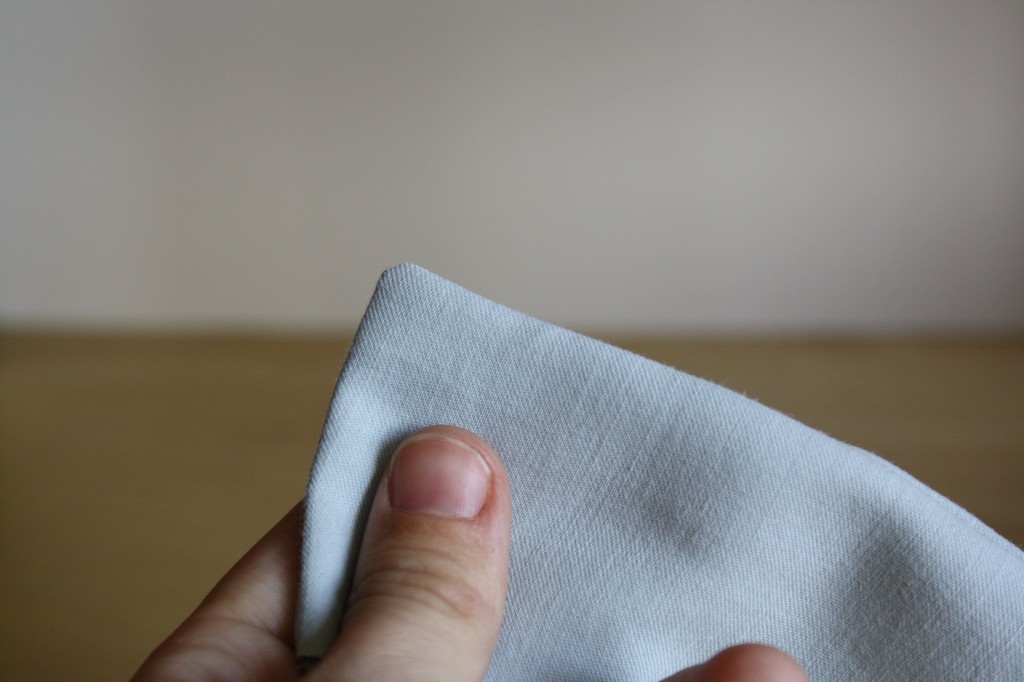
Turn it right side out and press flat.
Sometimes you sew a corner when finishing an edge, like binding a blanket, or hemming around the edges of cloth napkins. There are two basic ways to do this: a square corner, and a mitered corner.
SQUARE CORNER
Use one sample rectangle and press two edges under 1/4″.
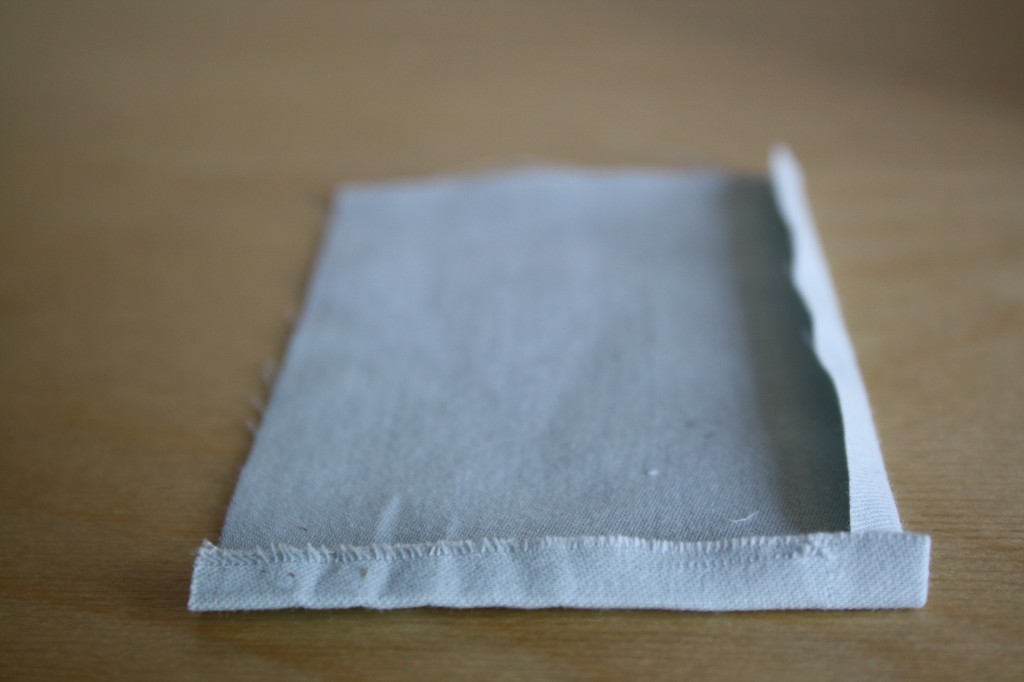
Iron the edges under another 1/2″, creating a double hem.
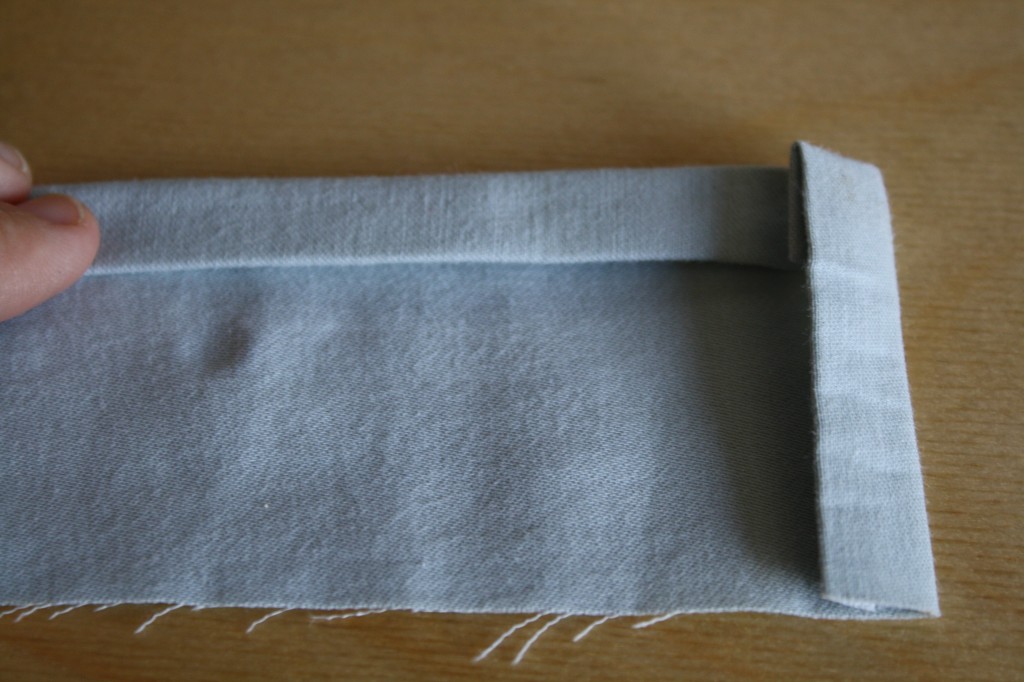
Pin the corner in place and sew top stitch near the inner edge of the first side.
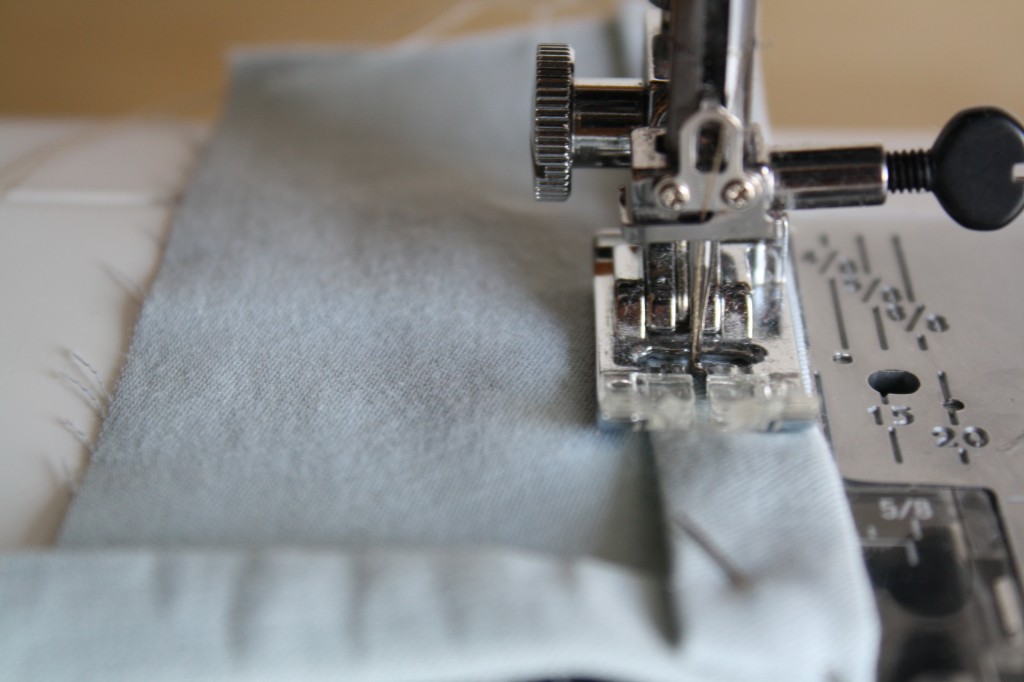
Pivot at the corner with the needle down, and the presser foot up.
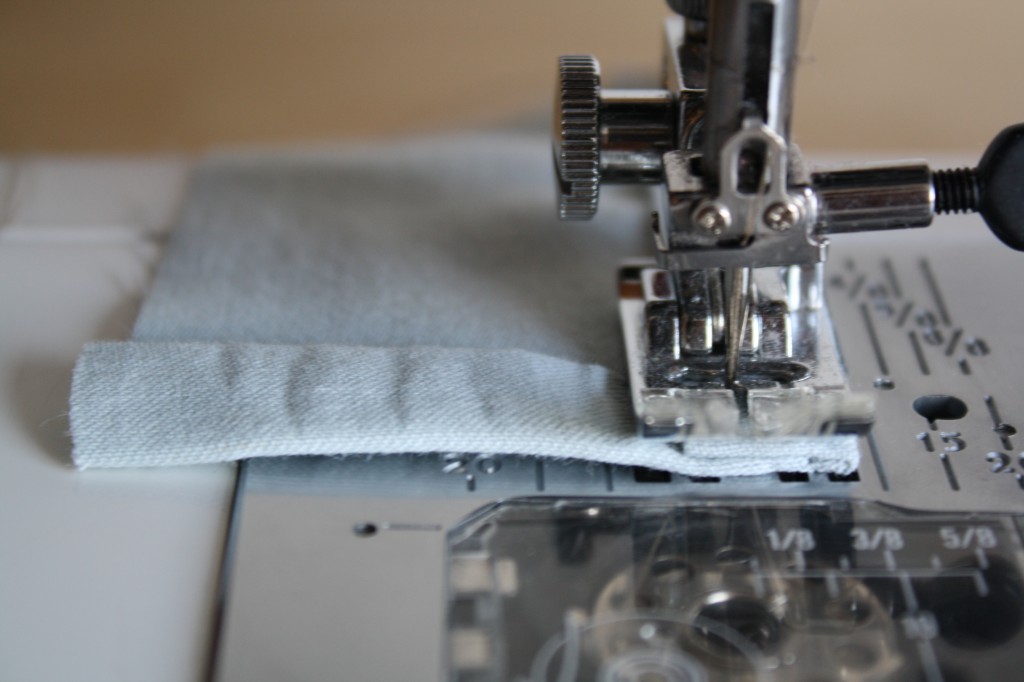
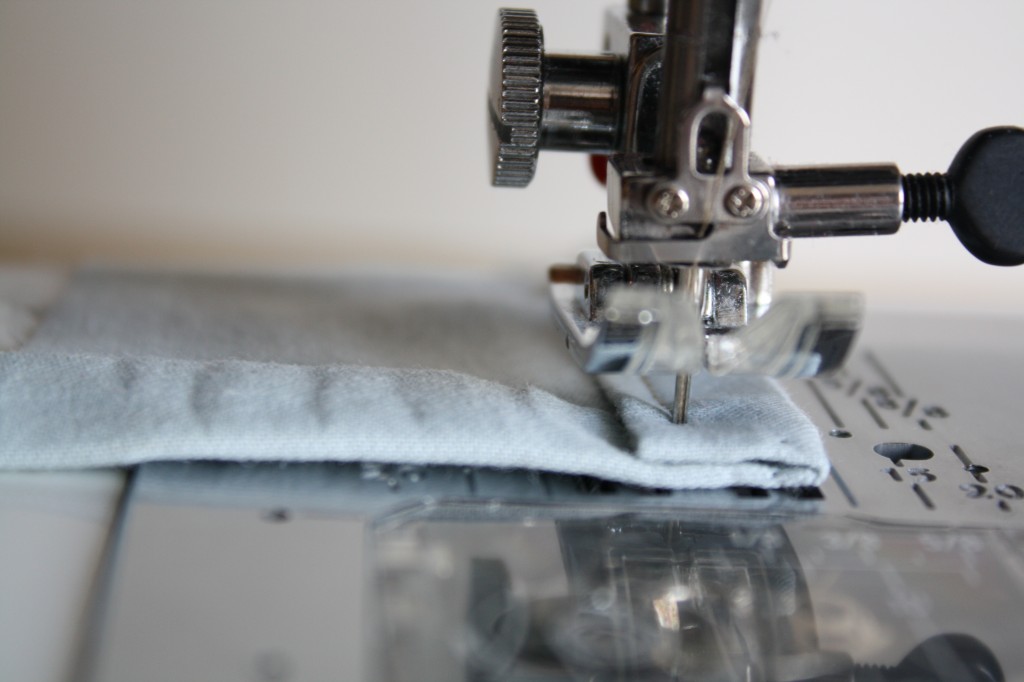
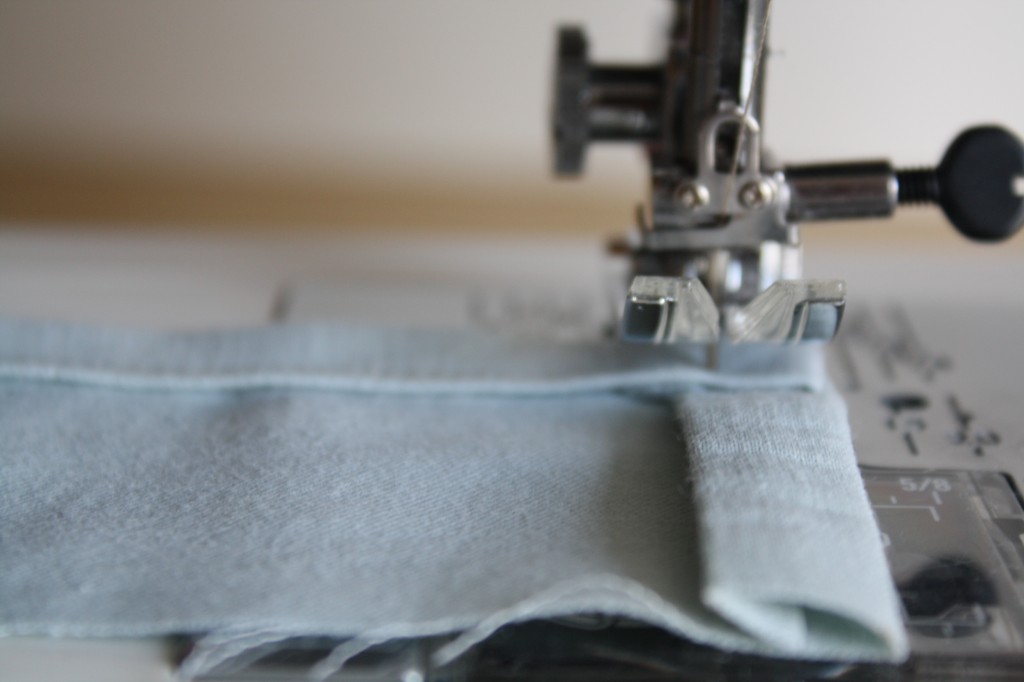
Lower the presser foot and continue sewing down the second side.
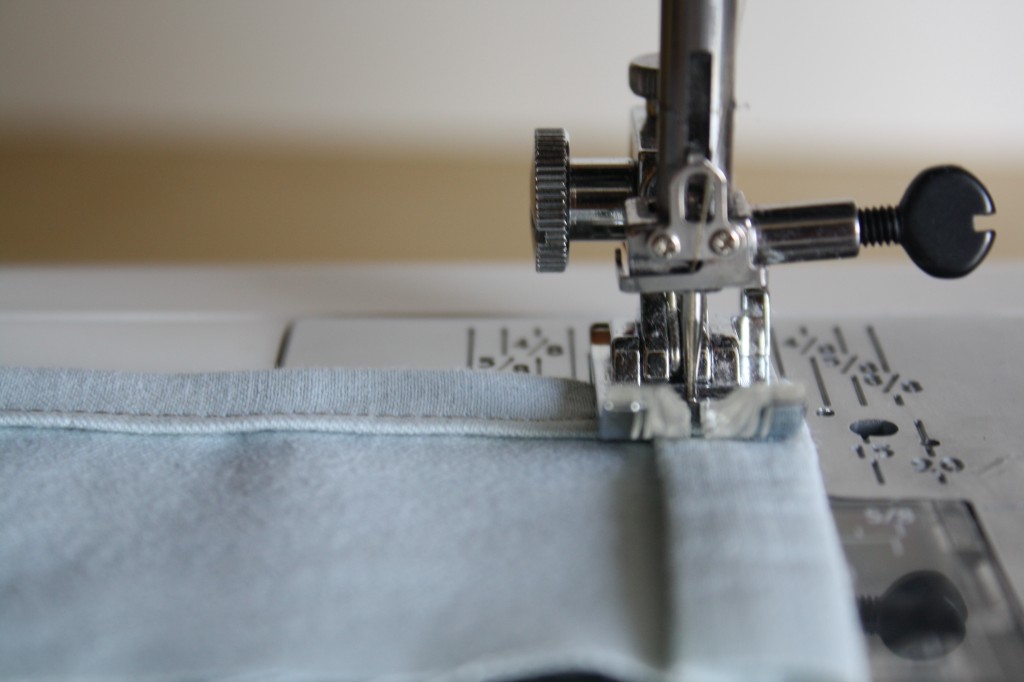
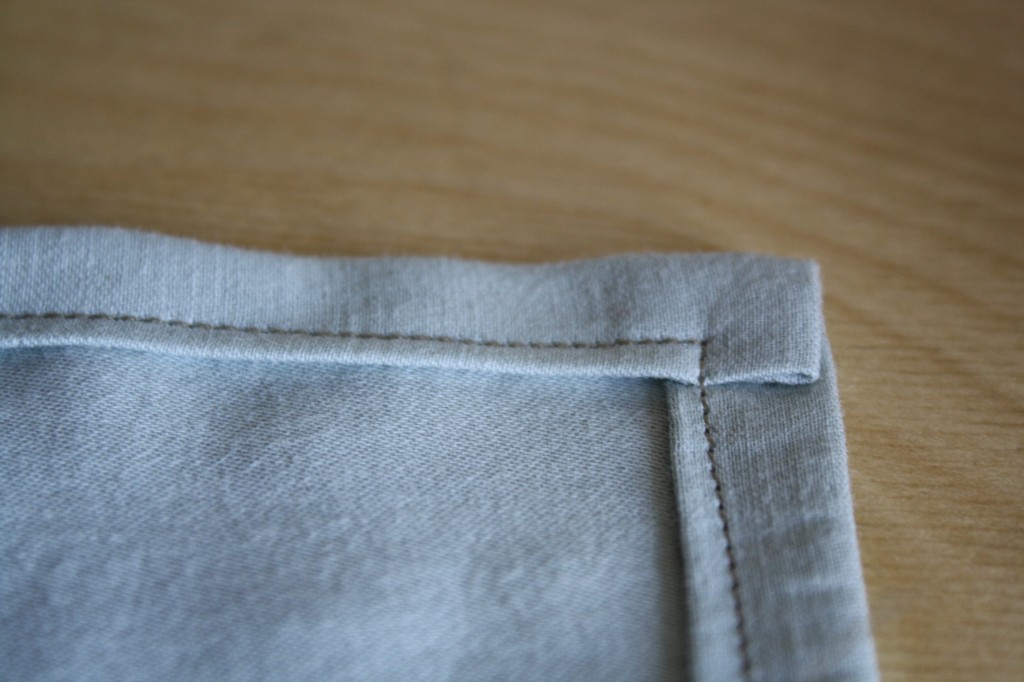
For heavier fabrics, you may need to open the fold and cut out the outermost square to remove bulk. Fold it back in place, pin, and sew.
MITERED CORNERS
A mitered corner looks more professional than a square corner, but also takes a few extra steps.
Begin the same way as you would a square corner, using one sample rectangle and hemming two edges edges under 1/4″. Iron the edges under once again 1/2″, creating a double hem.

Notice how one side is folded on top of another side.

Open the upper side up all the way, leaving the under side folded in place.
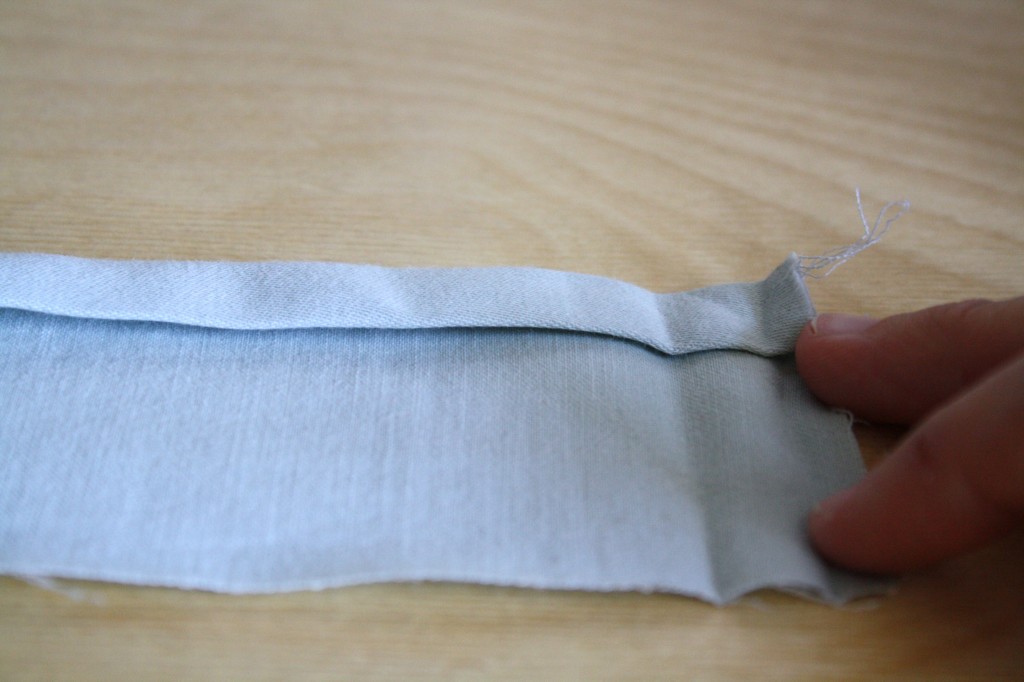
Take the corner and fold it all the way down to the second crease mark on the side you unfolded.
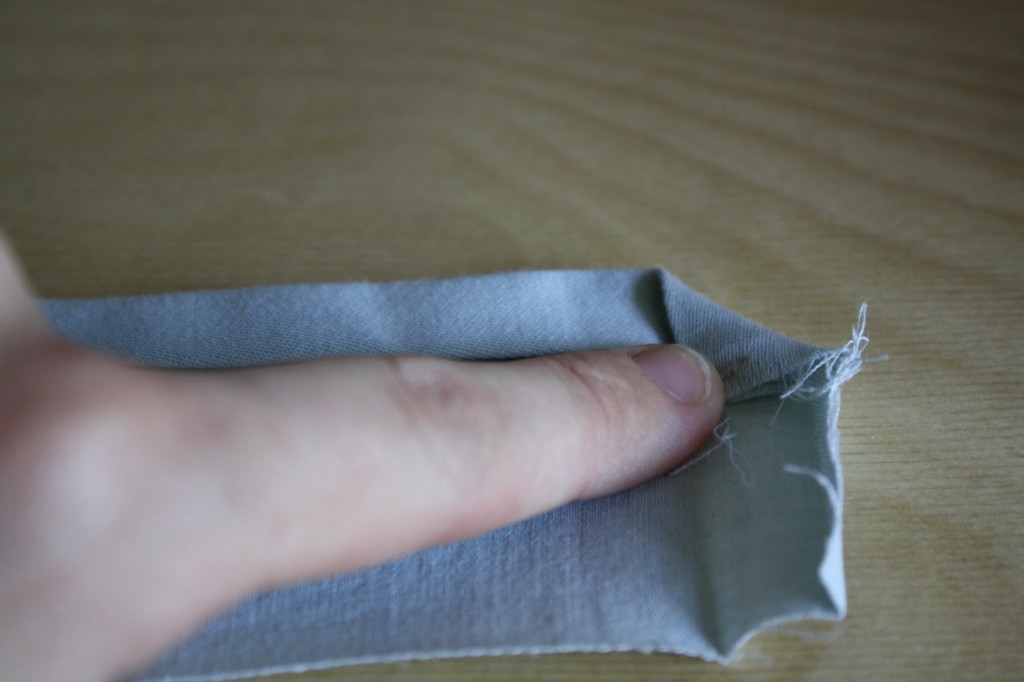
Fold the entire side back in guiding with the crease marks, and pin the mitered corner securely.
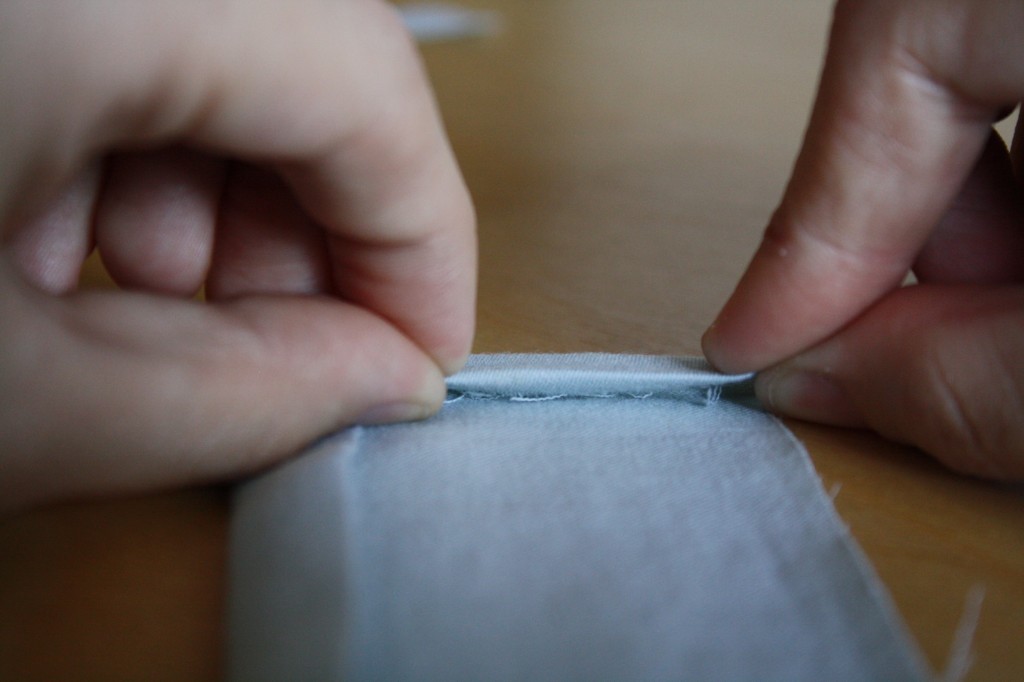
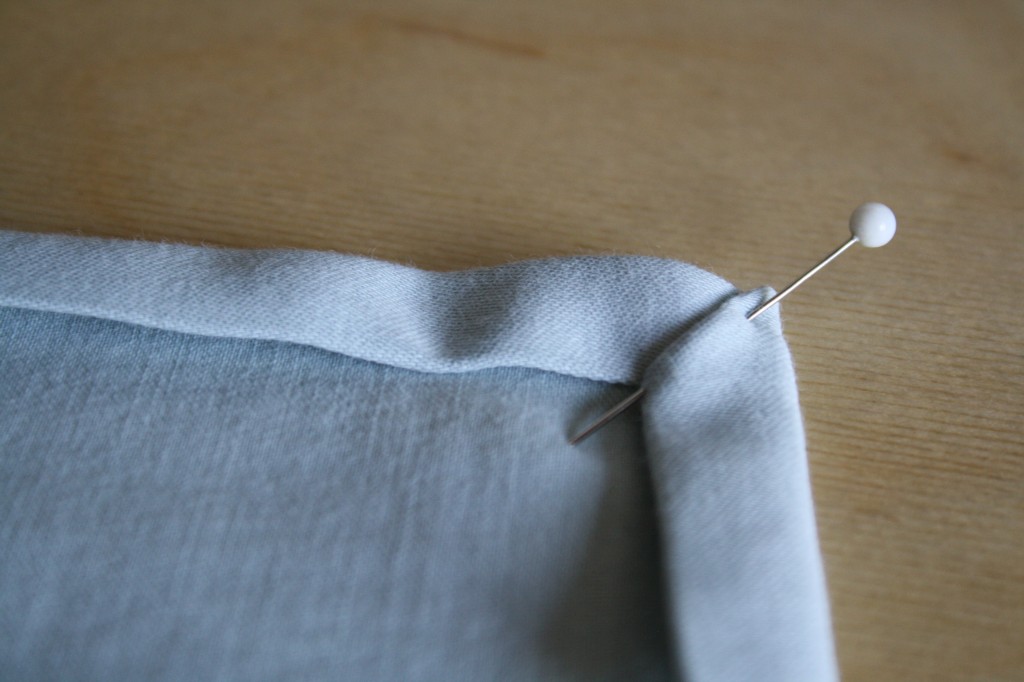
Sew around both sides near the folded inner-edge.
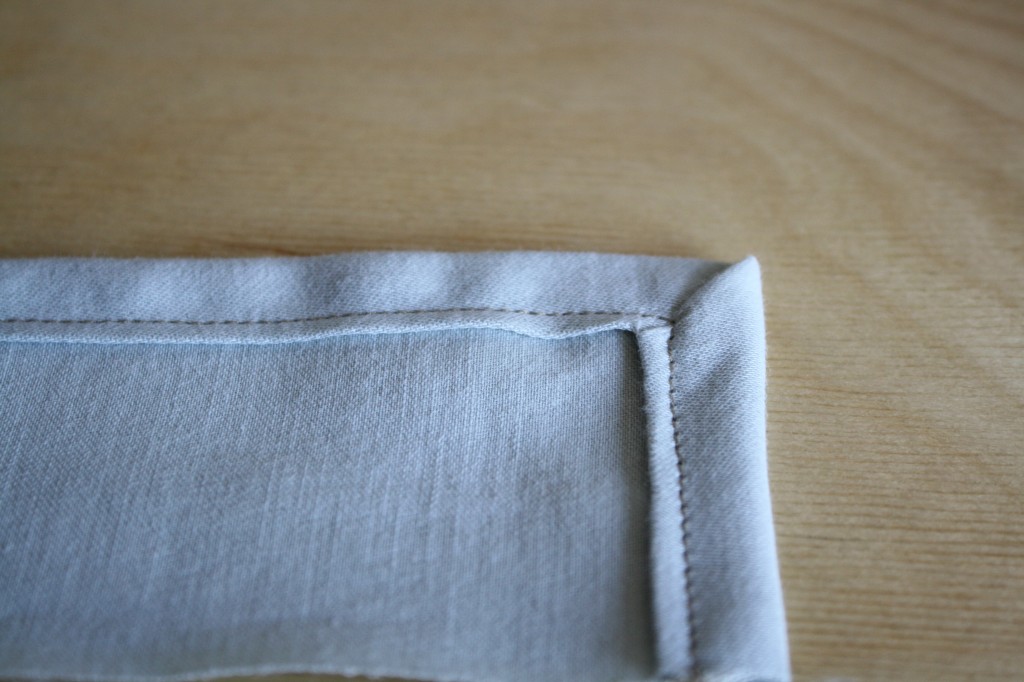
Whether you use a square corner or a mitered corner, the back side should look clean and simple.
HOMEWORK
[…] Now they’re ready to learn about sewing around a corner. The key to sewing around a corner is stopping with the needle down before you reach the edge of the first side, leaving enough space to pivot the fabric and line the new edge up with the same seam allowance. This is hard enough for adults, so for kids, it’s a good idea to use a piece of masking tape to mark 5/8″ from the needle, perpendicular to the first marking. This will show them when to stop sewing in order to put the needle down and pivot the fabric. (For more on how to pivot fabric, see this lesson) […]