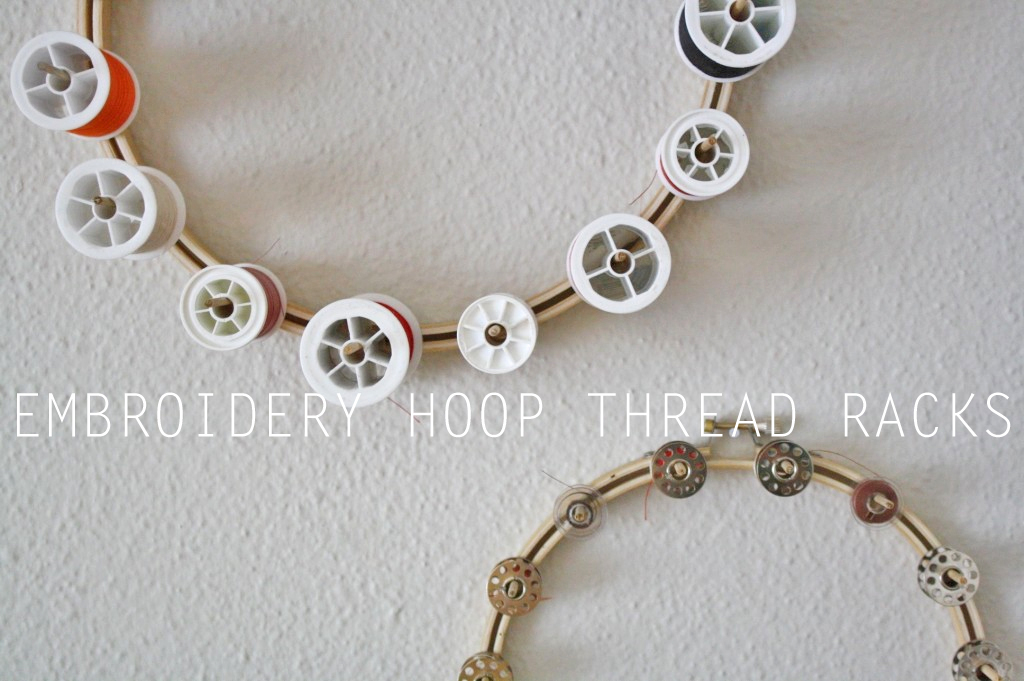
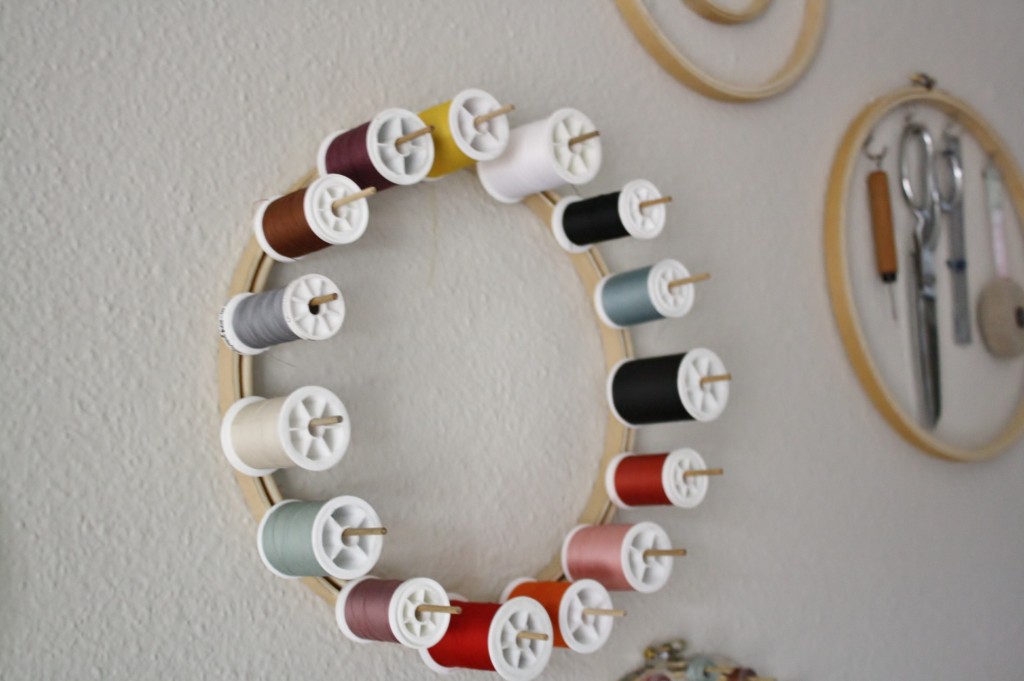
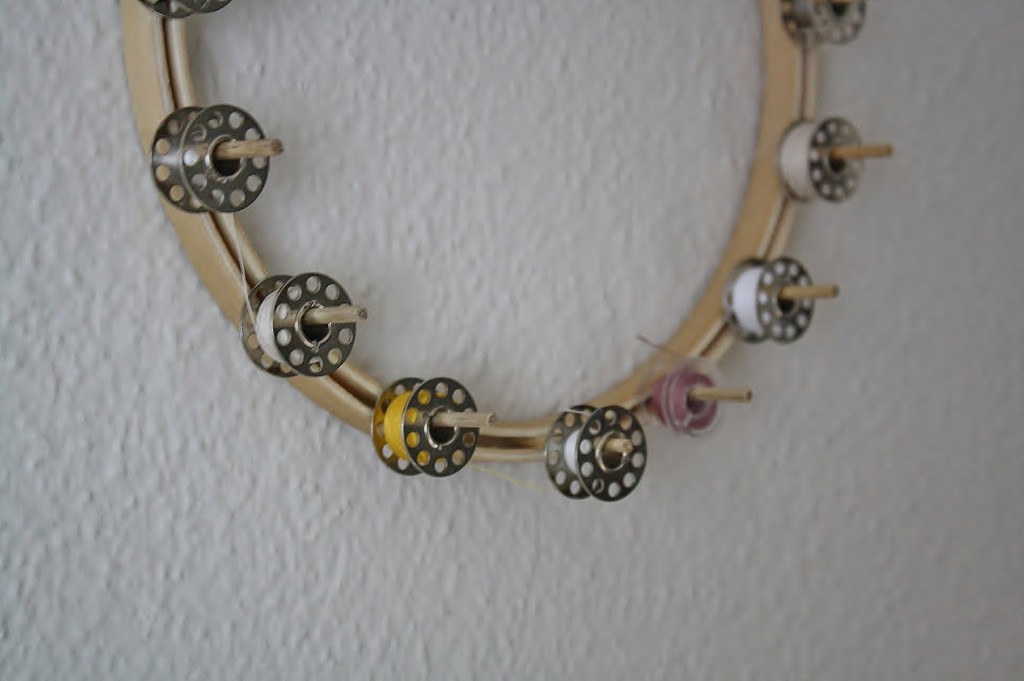
Before I put together my notions wall, I kept my thread in a divided container (like for beads). It worked for my limited space; I could pack it up and put it away, but it was a pain in the kahootz. Now that I have my thread all up at eye level, it’s so convenient to just grab and go. Plus, it gives the wall that added “yup, these are my sewing things” feel. One rack for my thread, another for my bobbins, and I’m set. I will confess, having my thread displayed made me wish that spools were still made of wood, rather than plastic, but it is what it is.
MATERIALS NEEDED
Embroidery hoops (one for each thread rack)
1/8″ dowels
Wood glue
Blade
INSTRUCTIONS
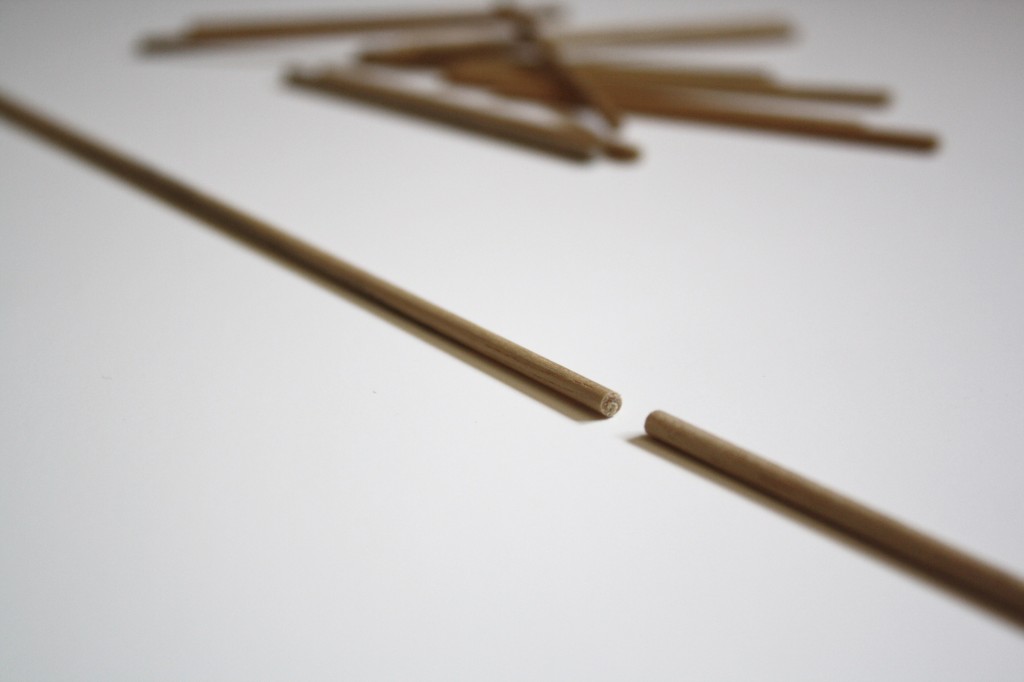
Start by cutting your dowels down. For my spools, I cut 3 1/4″ pieces. For my bobbins, I cut 1 1/2″ pieces. To start, just make an indentation with the blade all the way around the dowel, then snap.
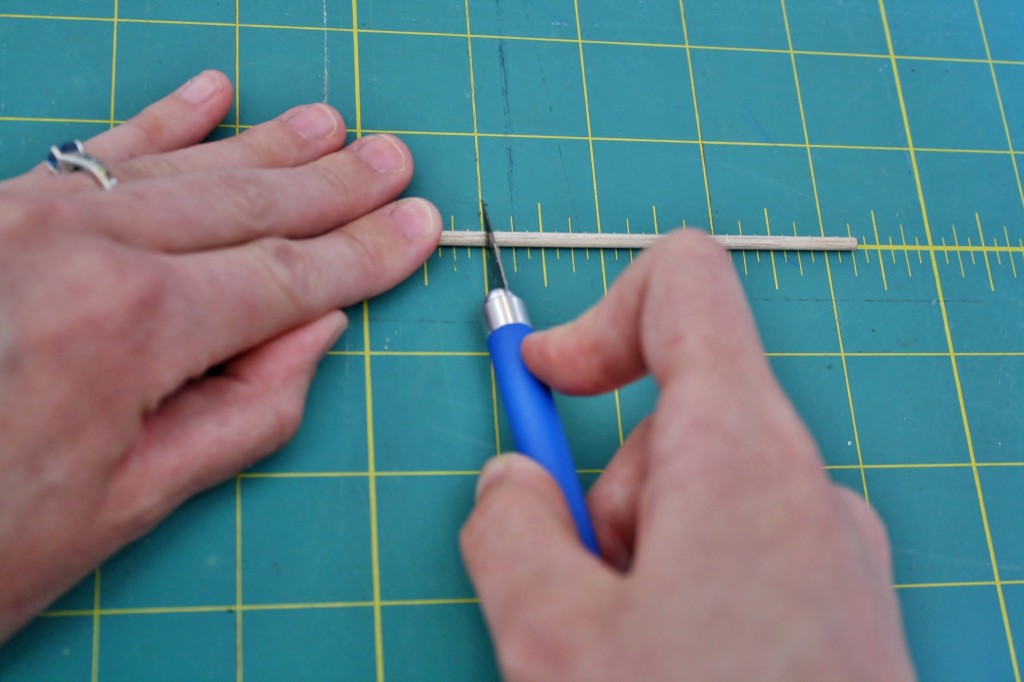
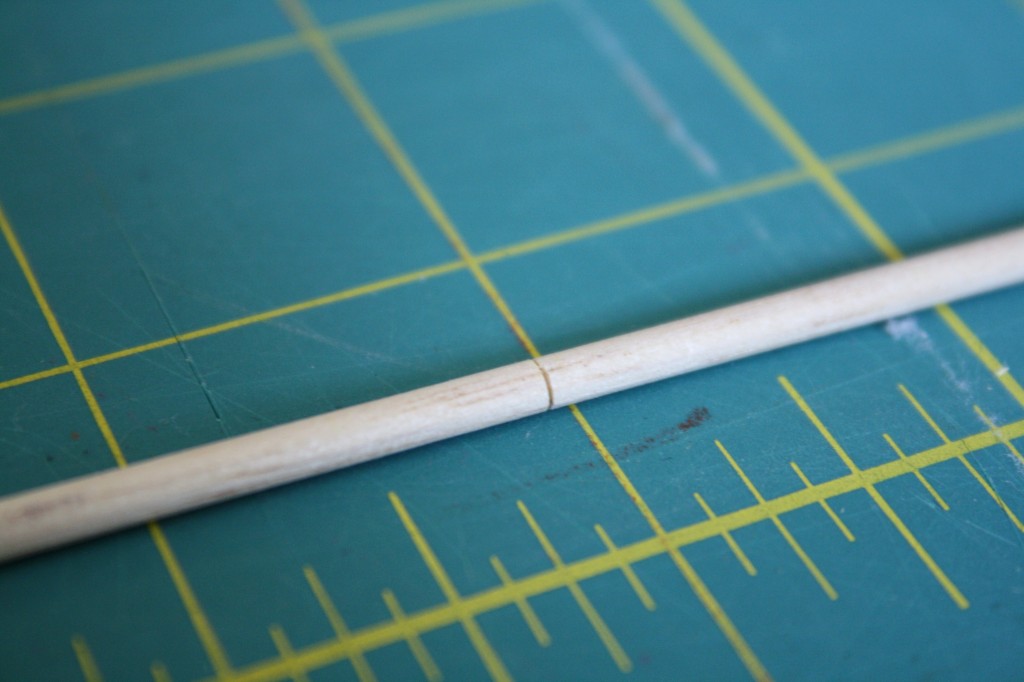
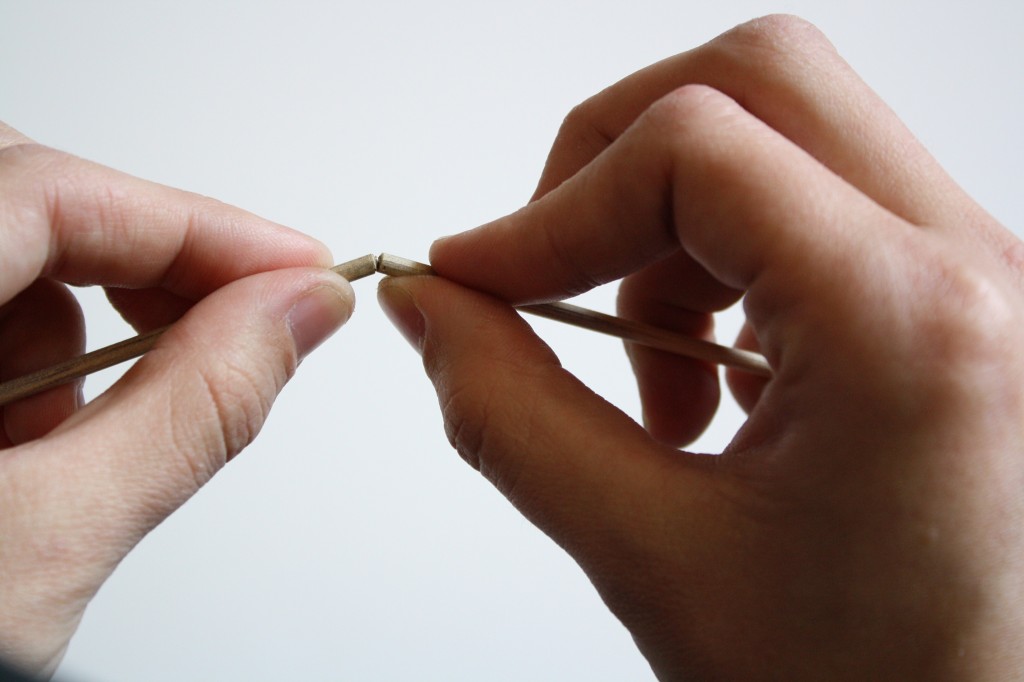
I used 15 pieces for each rack, but depending on the size of your embroidery hoops you may want more or less.
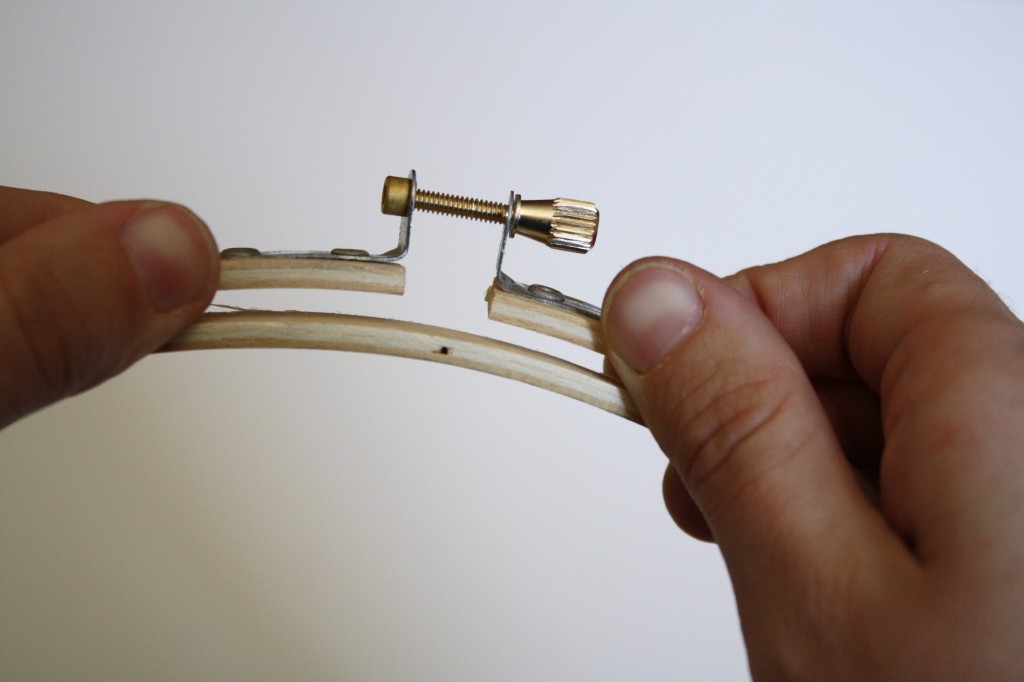
The idea behind this tutorial is that you’re going to wedge the dowels in between the two layers of the embroidery hoop, and in order to do so, you’ll need to loosen the fastener at the top of the hoop as much as possible without screwing it all the way out. This should leave you with enough space for the dowels.
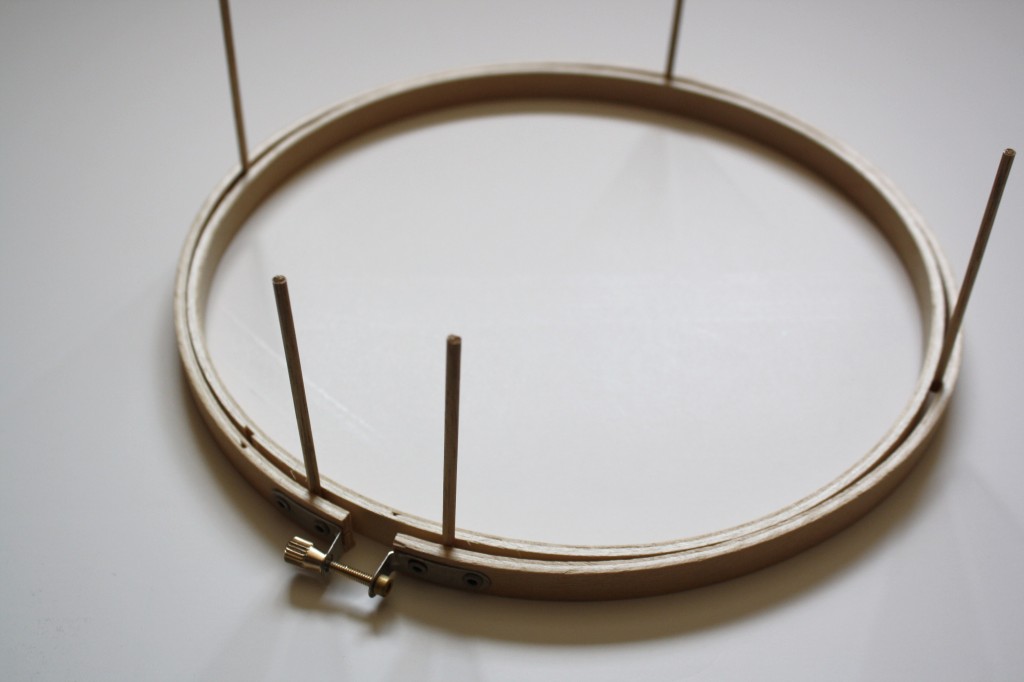
Now it’s all just a matter of spacing the dowels correctly. You’ll want to start by putting dowels on the top, bottom, and sides- think 12 o’clock, 3 o’clock, 6 o’clock, and 9 o’clock.
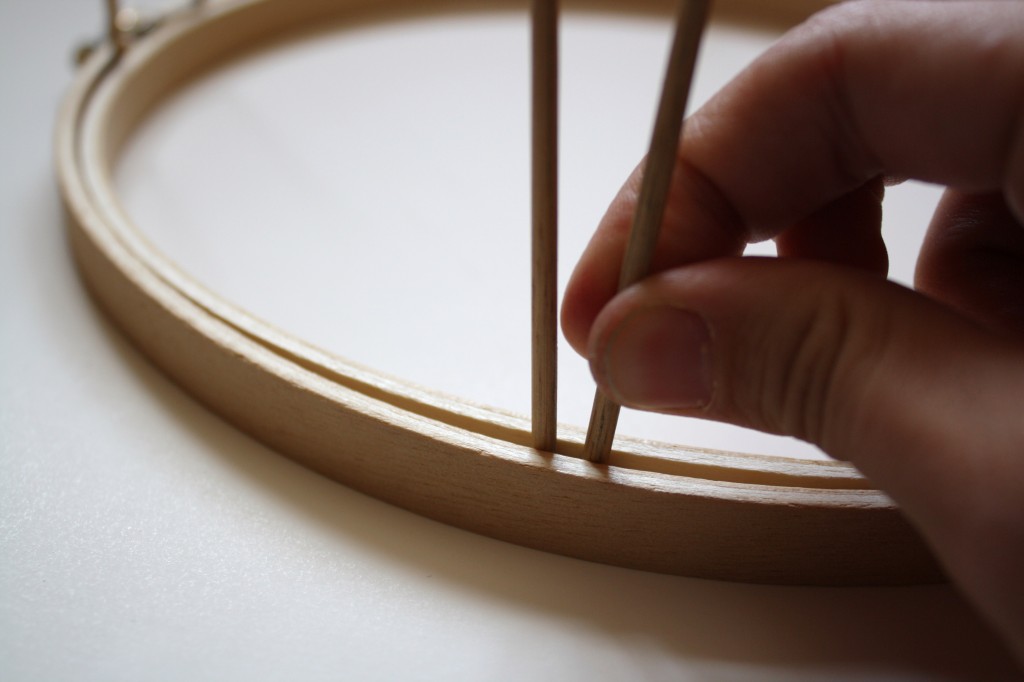
The spaces in between the dowels are going to be tighter, so you’ll want to put your next dowel in right next to one of the dowels you already had in place, and then slide it over.
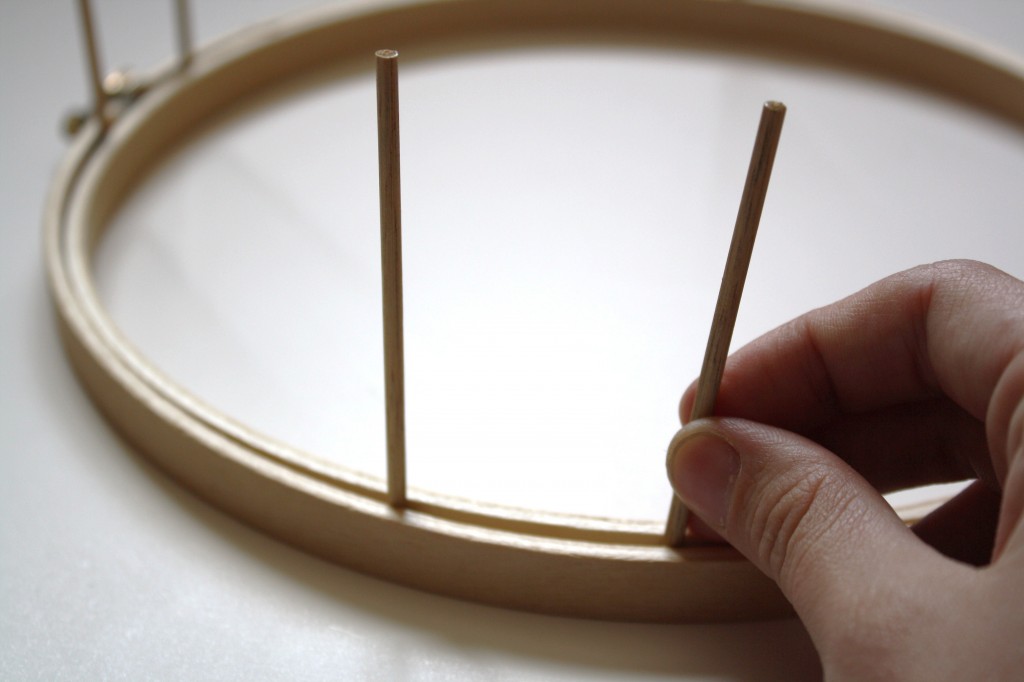
Keep doing this until all of your dowels are in, spread around the hoop fairly evenly. Then you can space them perfectly even. The dowels on my spool rack are spaced 2″ apart, and the dowels on my bobbin rack are spaced 1 1/2″ apart. Again, this will just depend on the size of embroidery hoop you got. To figure out the spacing, measure the circumference of the hoop and divide it by the number of dowels you want to put in place.
Once the hoop is set up how you’d like it, set it upside down on some newspaper and place a small amount of wood glue at each joint. Start with a small amount of glue, and if you decide you need more later, you can go back and re-glue it.
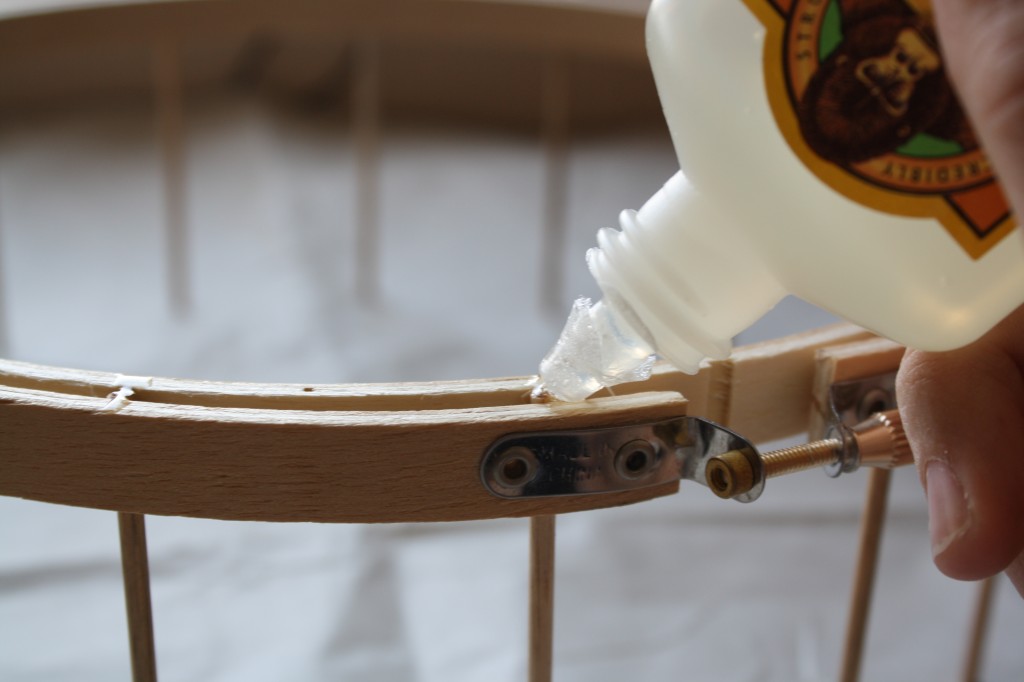
Let it sit for a few hours, according to the instructions on your wood glue.
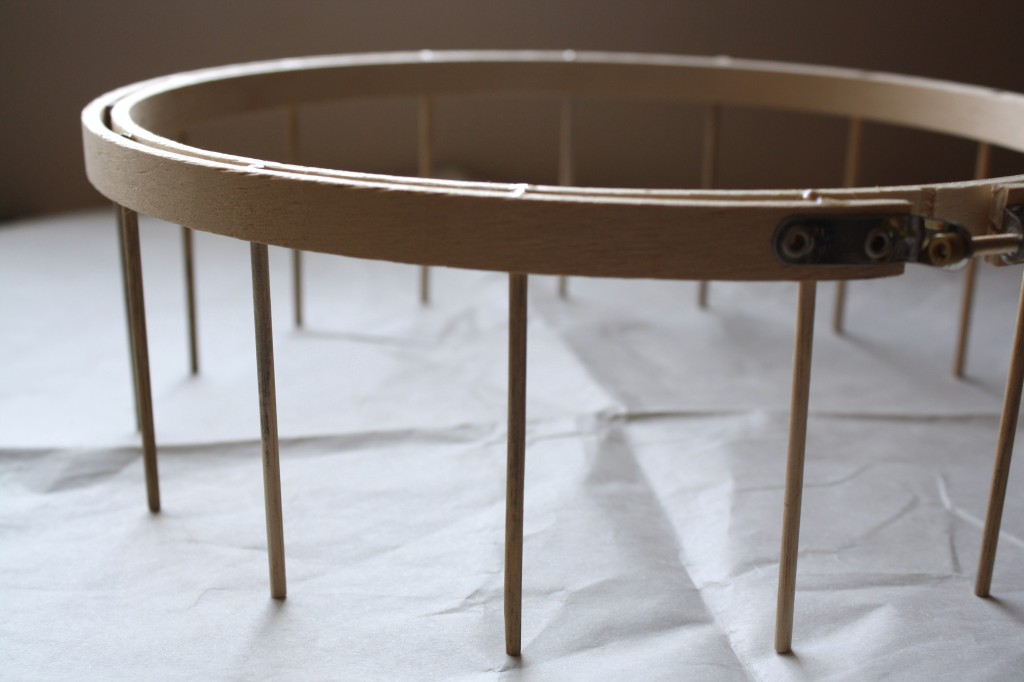
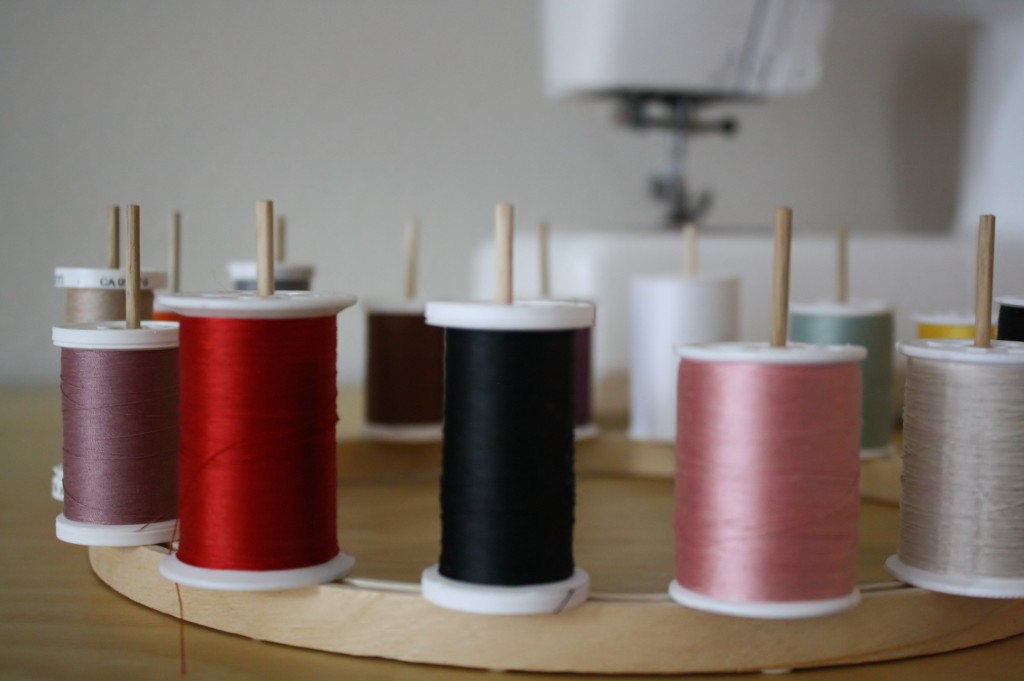
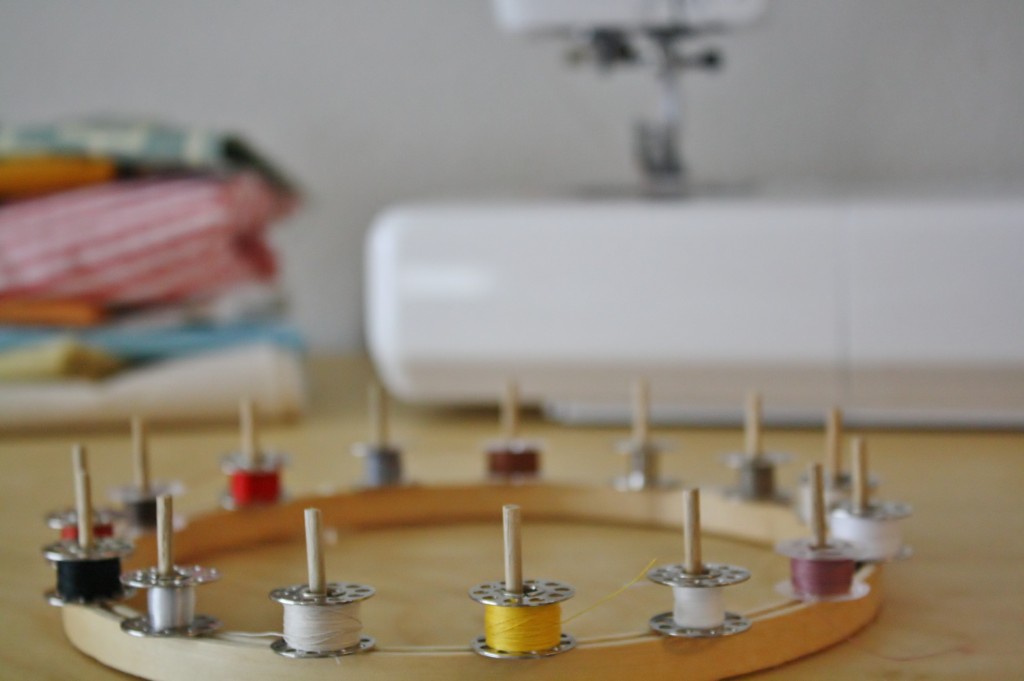
Once the glue is dry, it should be strong enough to hang on the wall and dress with your spools and bobbins.
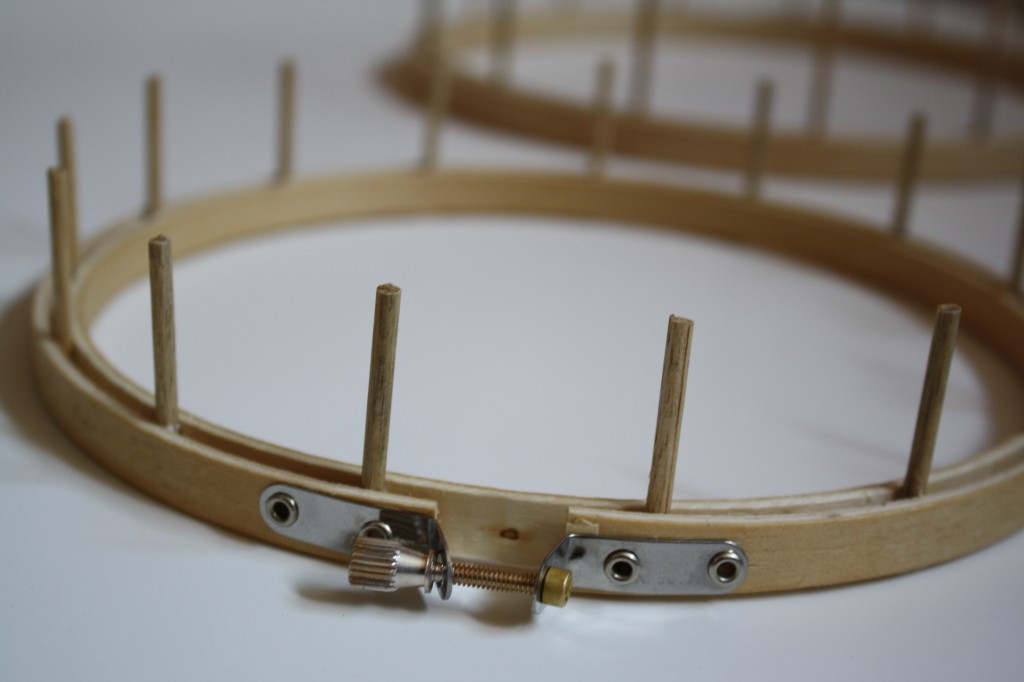
And they can easily be taken off of the wall to use at your sewing table any time – you know, if you’re working on a project that requires an obnoxious variation in thread color.
Just joining this series? Find the other Notions Wall tutorials HERE.

34 thoughts on “EMBROIDERY HOOP THREAD RACK”
Comments are closed.
What a good idea for using the embroidery hoop for spools of bobbins and thread! Thanks
I’m so excited to make these.
Perfect works of art! I love that you can see exactly what you have, no need for digging around in a box…
Great idea. I like it best for the bobbins. They always seem to get lost in the shuffle.
Now that is the most creative idea I have seen in ages – simply brilliant! And they look nice and decorative on the wall. It gives new meaning to the phrase: Necessity is the mother of invention!
I think they would make great gifts for anyone who sews. Thanks for the wounderful idea.
Make the dowels long enough to hold both the spool and the bobbin. Put the bobbin on first to
keep it from falling off. Keep the bobbins from unwinding by slicing pieces of clear vinyl tubing
(aquarium tubing) into widths that will fit inside the bobbin edges. Cut a slice open so that it can be
placed around the thread on the bobbin.
I love this! I may have to make this. All of my thread is in a case and falls out when I open it. My embroidery thead is thrown in a drawer.
That is so clever! Sure beats digging through a drawer to find the right thread or bobbin! :-)
This is great! It is functional and also oh so cute! Thanks for sharing! I think I am going to do this!
Very cute idea. Always looking for better thread storage. Saw your post on Gunny Sack Link Party #60.
THIS IS GENIUS! I have a case that I keep all my thread in and it has spools so it’s nice and organized, but it would be so convenient if I had them hung on the wall and could just grab one without having to open the whole case and find the one I need. So clever.
Great Idea! No tangles and wasted thread. Can’t wait to make these.
Linda
That’s Brilliant – I’m pinning this stopping by from Something I whipped up
Seriously genius! I’m going to make these as a Christmas gift for my friend’s quilt shop, thanks for sharing :-)
This is such a clever and creative idea – I love it! Thanks for sharing :)
Blessings,
Stephanie
This is such a great idea! And it looks like amazing decor on the wall.
LOVE.
Thanks for sharing. I am going to try this for sure.
This is a great idea! I actually bought a thread rack a long time ago and it’s a great thing to have. I have it hanging in a closet (I don’t have a sewing room) and it’s perfect for finding matching thread in a jiffy. This is a fun and easy way of making something very practical and decorative. Thanks for posting! Nancy at livininthegreen
What an awesome idea! I WILL be doing this soon. Thanks for sharing!
This is so original! I love it!
This is going to make a great xmas gift for my mother! She does alterations out of our home :) Thank you! MMM Link Up Follower
Cool! Next time I see hoops at a thrift store I’m buying them!
Love this! Perfect gift for anyone who sews!
This is so clever!!
Brilliant!!!
I love this. Though I would probably just put the bobbin on the same holder as the spool since I don’t have as much wall space. Thanks for sharing on Tout It Tuesday! Hope to see you next week.
I love this. Please link it to my linky party & anything else you have to share. It just went live a little early :) Thanks, Peggy. http://diycraftyprojects.com/2012/10/whatcha-work-up-wednesday-5-linky-parties-are-back.html
Ok, this is just about the most brilliant thing I’ve seen lately. I am so doing this! Thanks for the clear tutorial!
This is wonderful! I hate having to keep rewinding my spools when I pull them out of my box.
What a fun project! Thanks so much for sharing it with us at Made With Love! I’m featuring you today! http://sewchatty.blogspot.com/2012/10/made-with-love-link-up_28.html
How cute. I’ll be making a couple of these for my niece, a new quilter. Thanks very much for this clever idea.
This is such a cute idea!! My mom has moved into a new alteration shop and Im thinking this would be a great usable decoration for it.
Thanks for sharing! I like your Blog! come visit me so sometime and check out my giveaway going on right now!
These look so simple to make, but so incredible!! What a fantastic idea! I loved it so much I featured it on my blog today with a direct link back to here: http://whittskitsfabricscrafts.blogspot.com/2013/05/find-it-free-friday-what-to-do-with.html
Thanks!
Carrie
fantastic idea. thanks