CLICK HERE FOR THE PDF VERSION OF THIS PATTERN >>
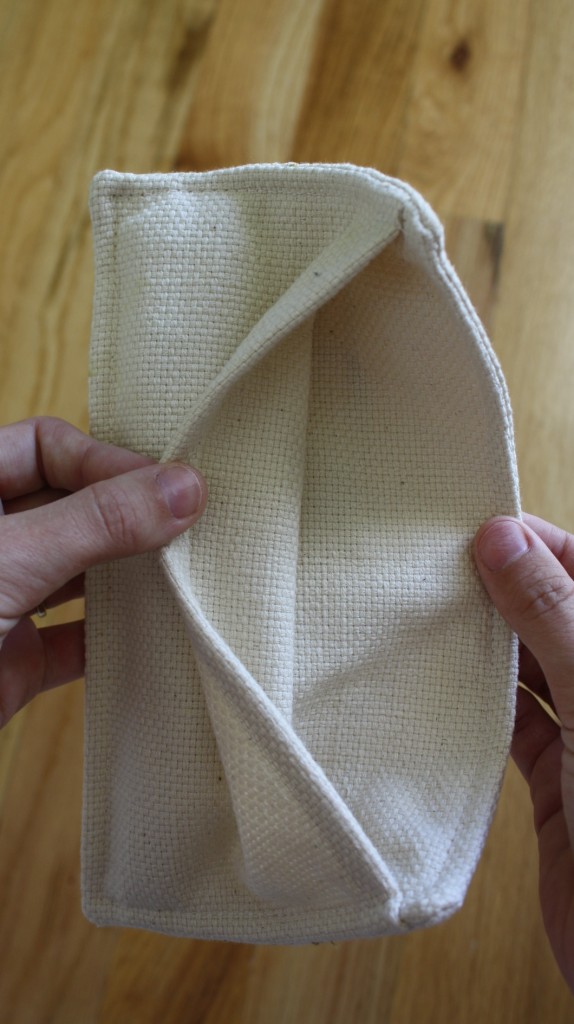
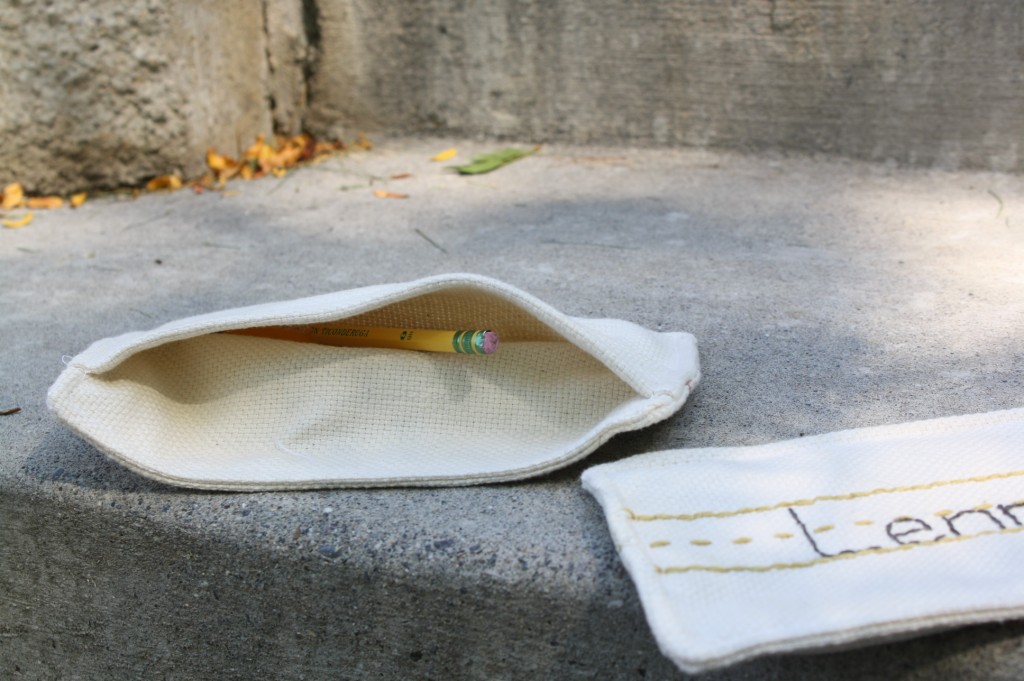
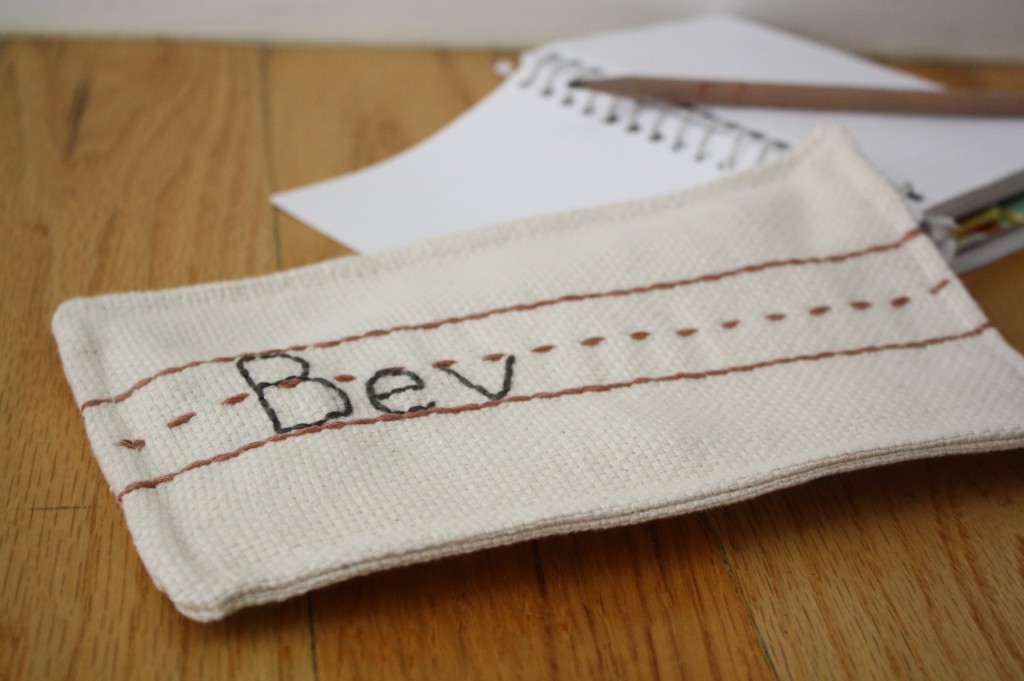
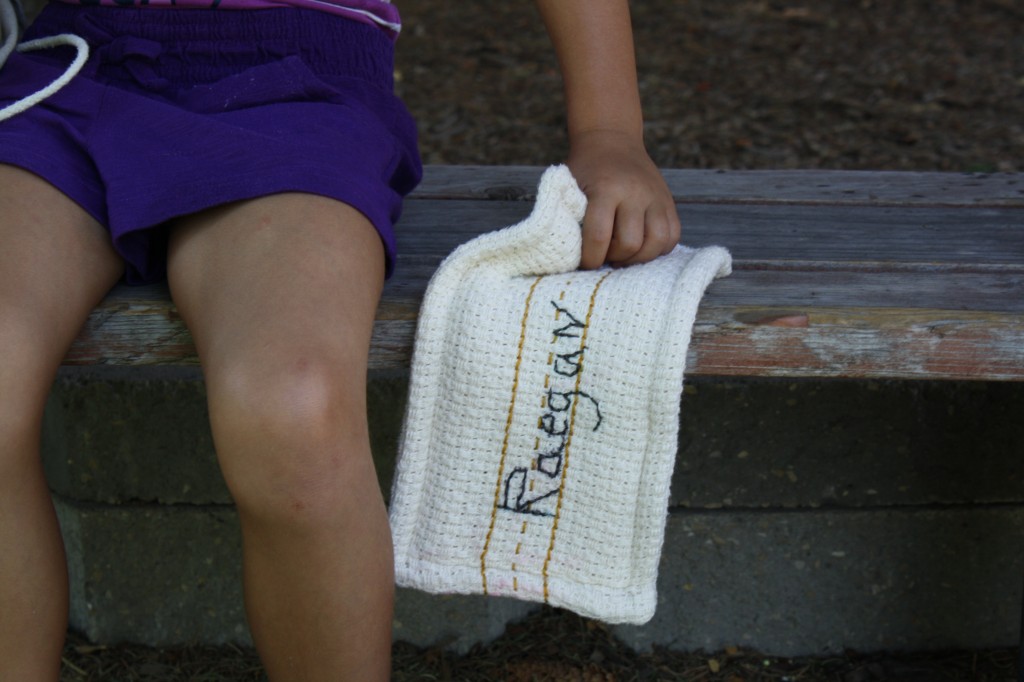
The Paper and Pencil Case is named so because it is a pencil case that mimics alphabet trace paper on the front. Use those trace lines to personalize the pencil case with your name or favorite phrase. It’s made without a zipper, and opens quietly. After we made these some of the kids asked, “can we keep our money in these?” So yes, they can hold more than pens and pencils!
http://www.yellowspool.com/wp-admin/post.php?post=1985&action=editMATERIALS NEEDED
1/2 yd monks cloth (this is fabric that is made with grid-like holes, which will help with the hand stitching)
Matching thread
yarn needle
2 contrasting colors of embroidery thread
INSTRUCTIONS
1. Cut 3 pieces monk’s cloth 12″x6″. Cut along the grid holes to keep it straight.
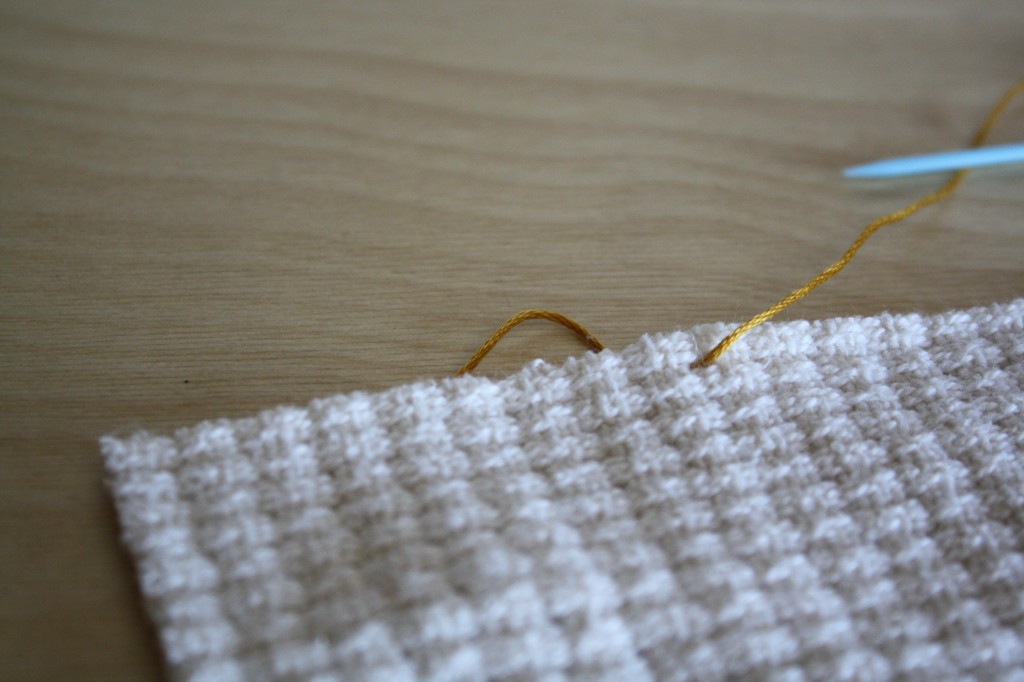
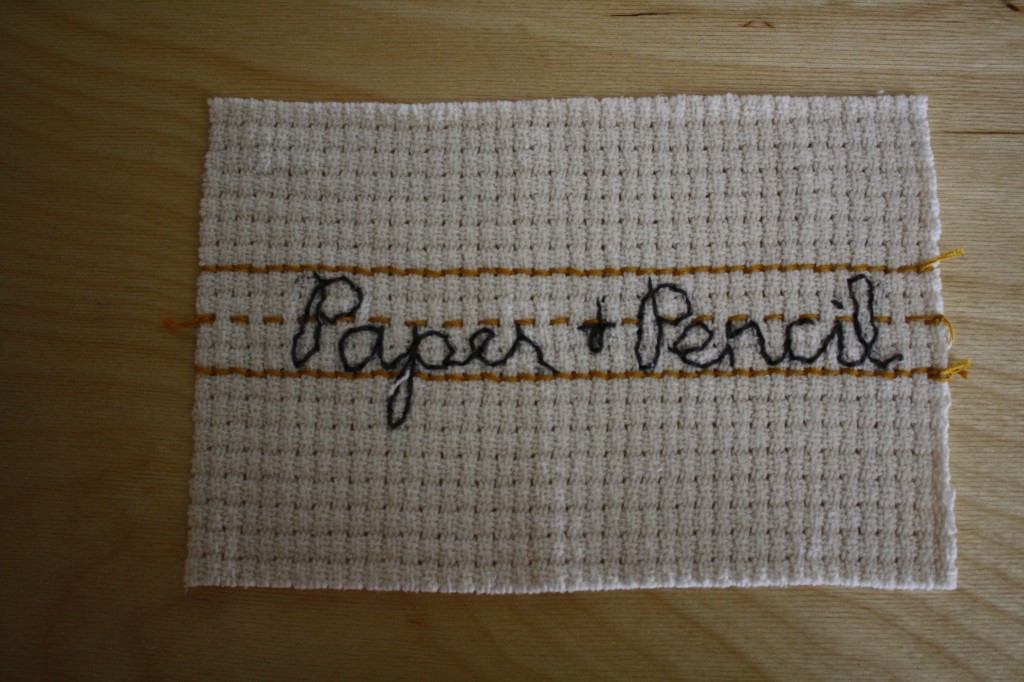
2. Find the center of one of the 6″ sides, and tie a knot using the embroidery floss you’ve chosen for the trace lines.
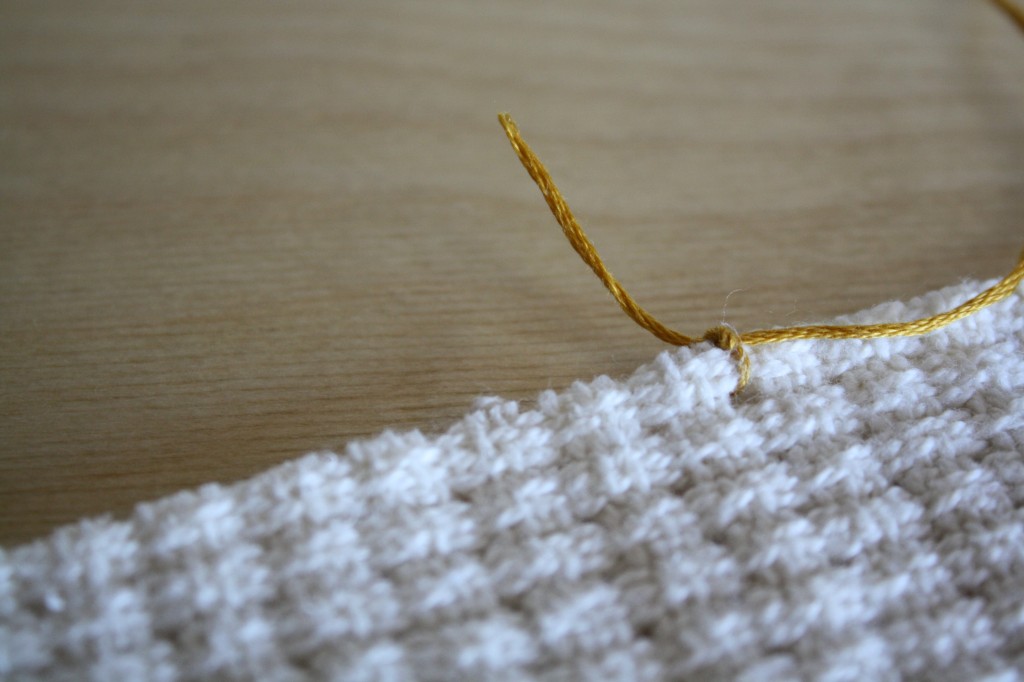
3. Sew a running stitch along the entire length (9″). Use the holes in the monk’s cloth as a guide. Tie off at the end.
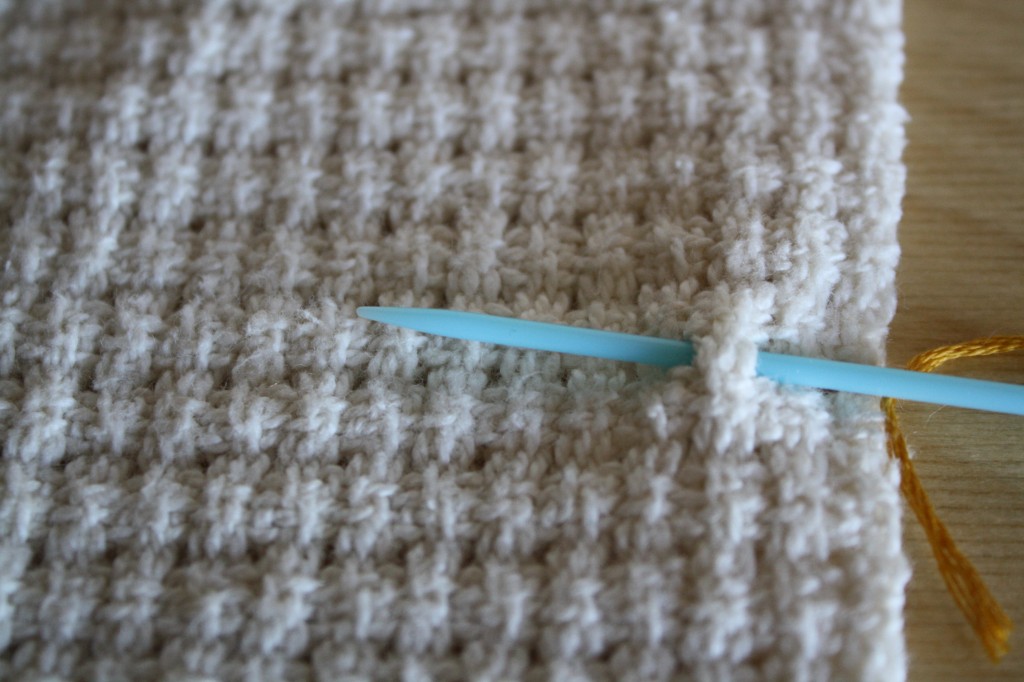
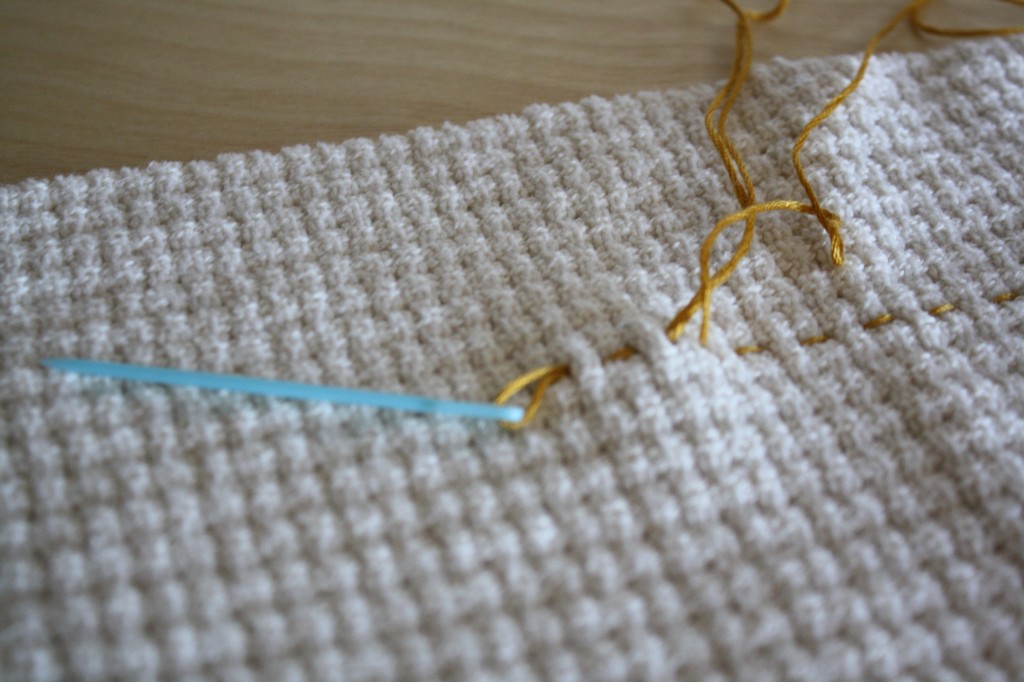
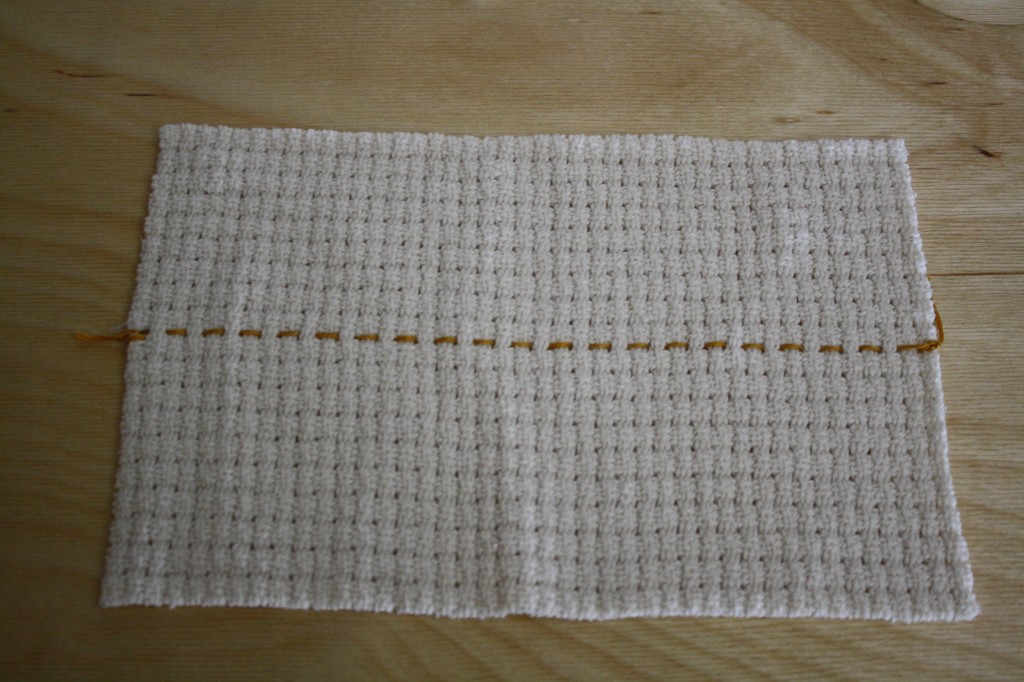
4. Back stitch straight, solid lines above and below the running stitch. Tie off at the end of both lines.
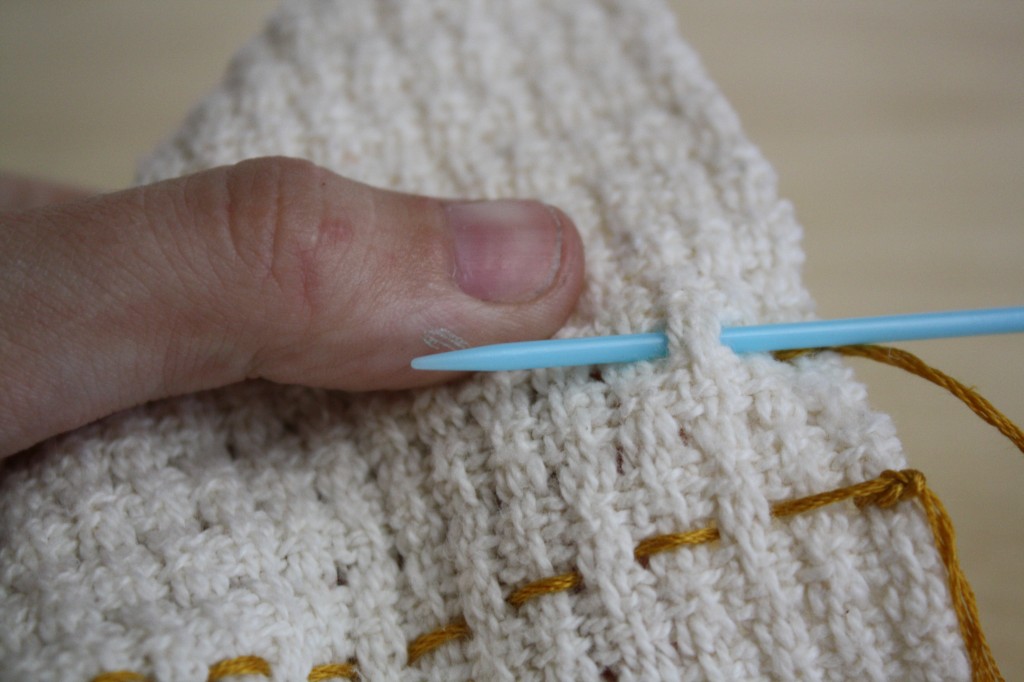
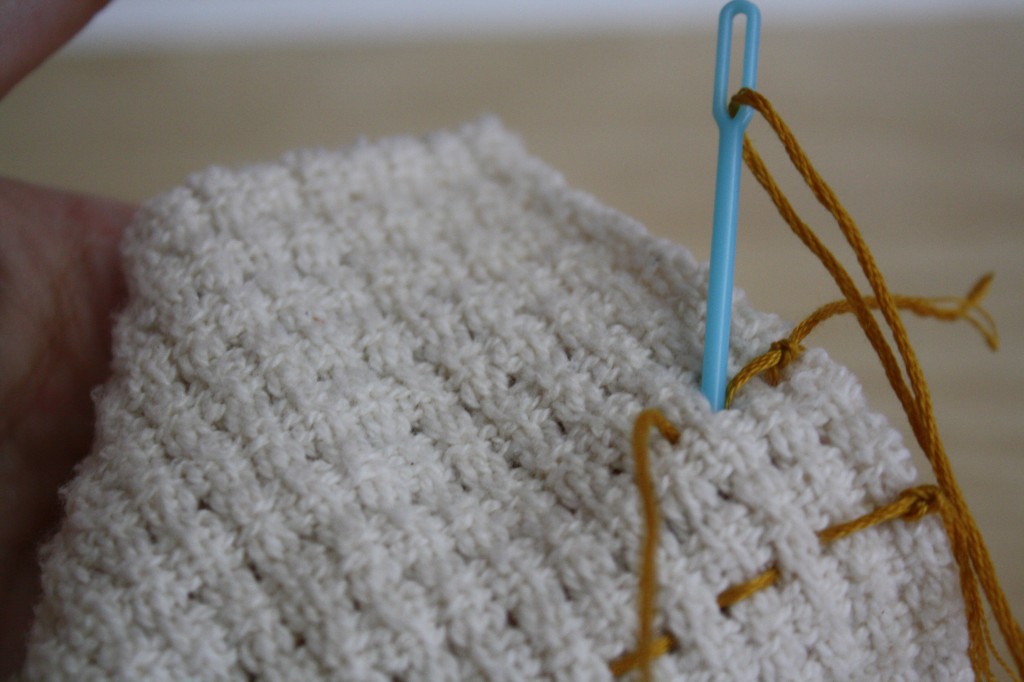
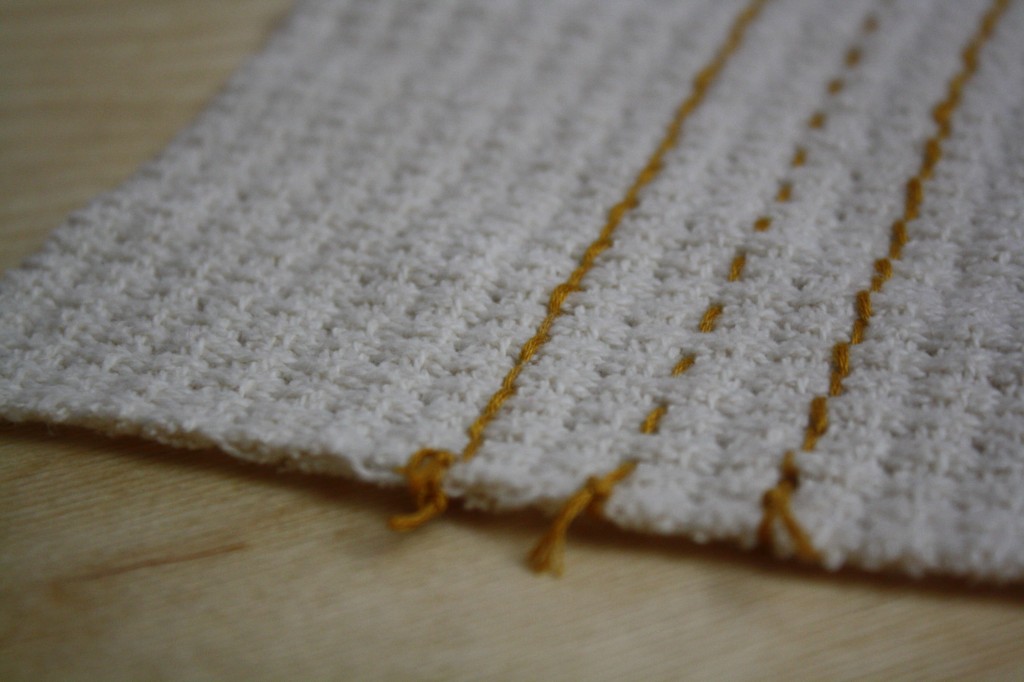
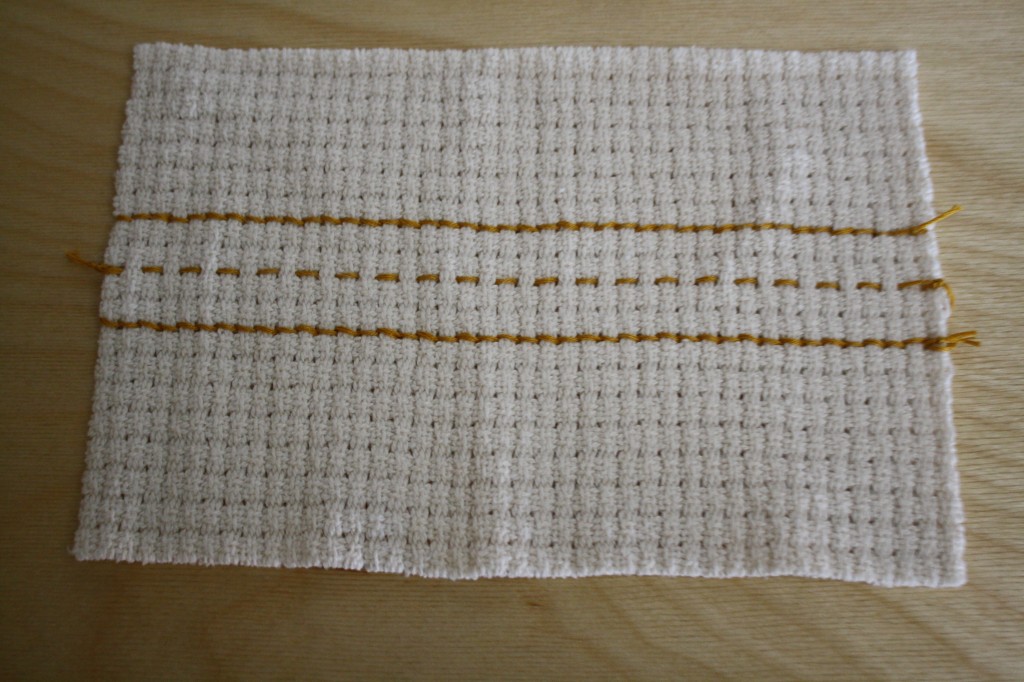
5. Use pins to mark 1″ in from the edges. These markings are reminders when writing on the trace lines, to leave enough room for seam allowances on the sides.
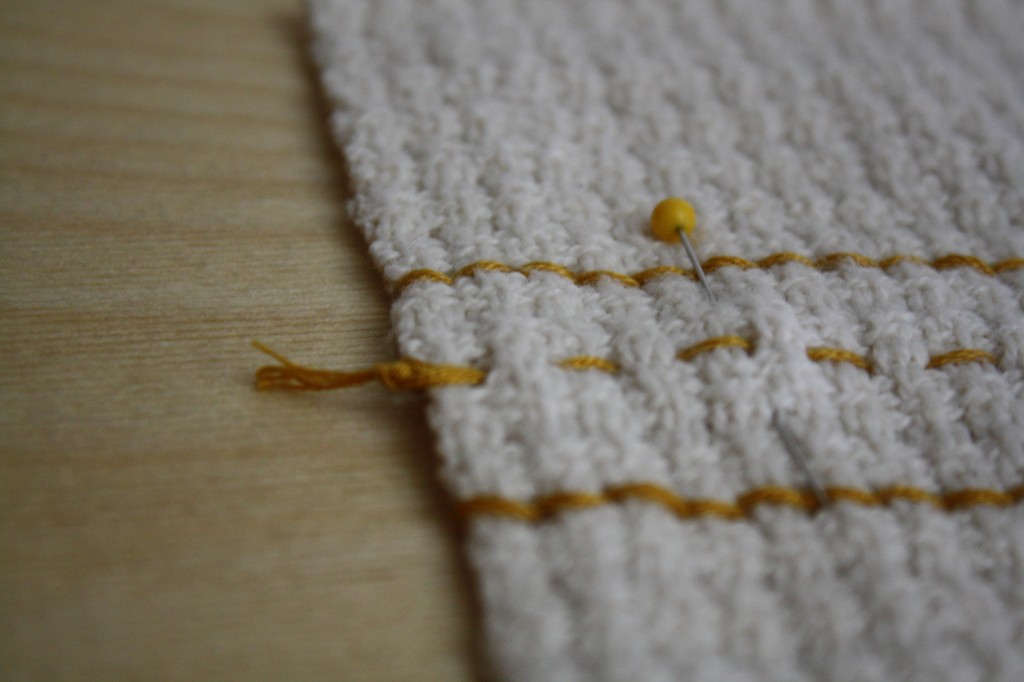
6. Use a washable pen or fabric marker to write something (like your name) in the trace lines.
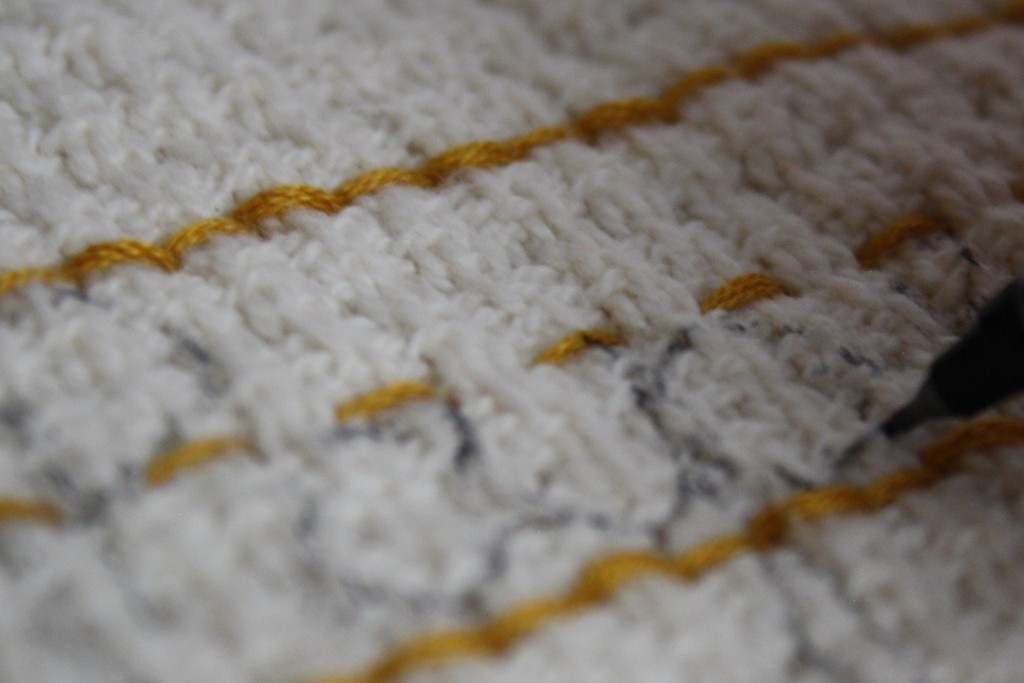
7. Tie a knot off on the back side of the monk’s cloth, right behind where you’ll start stitching the lettering. Use a contrasting color of embroidery floss.
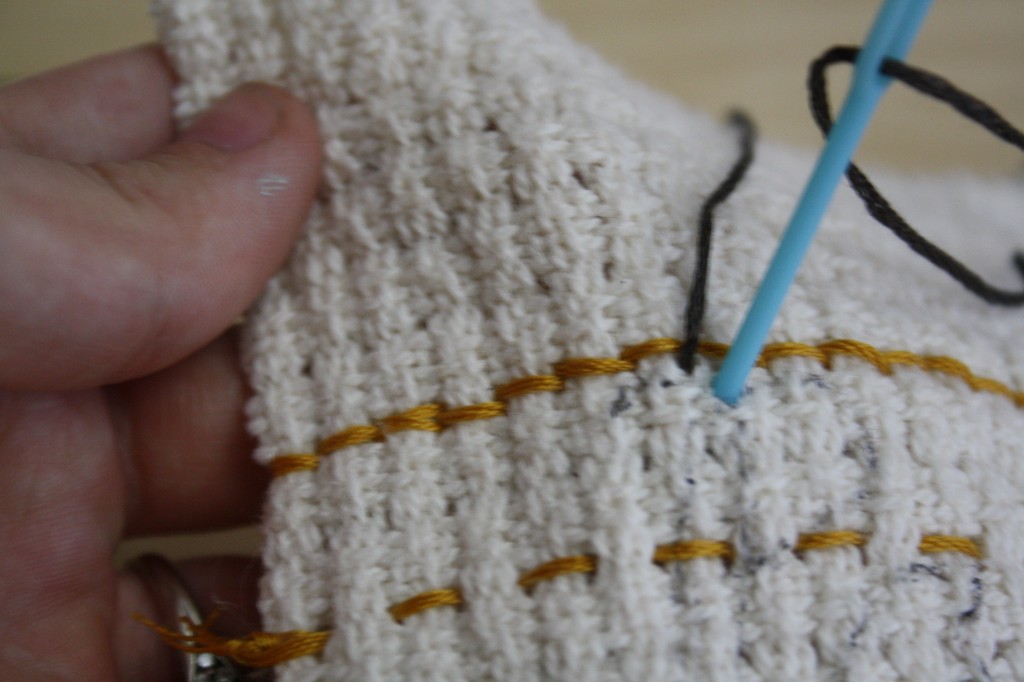
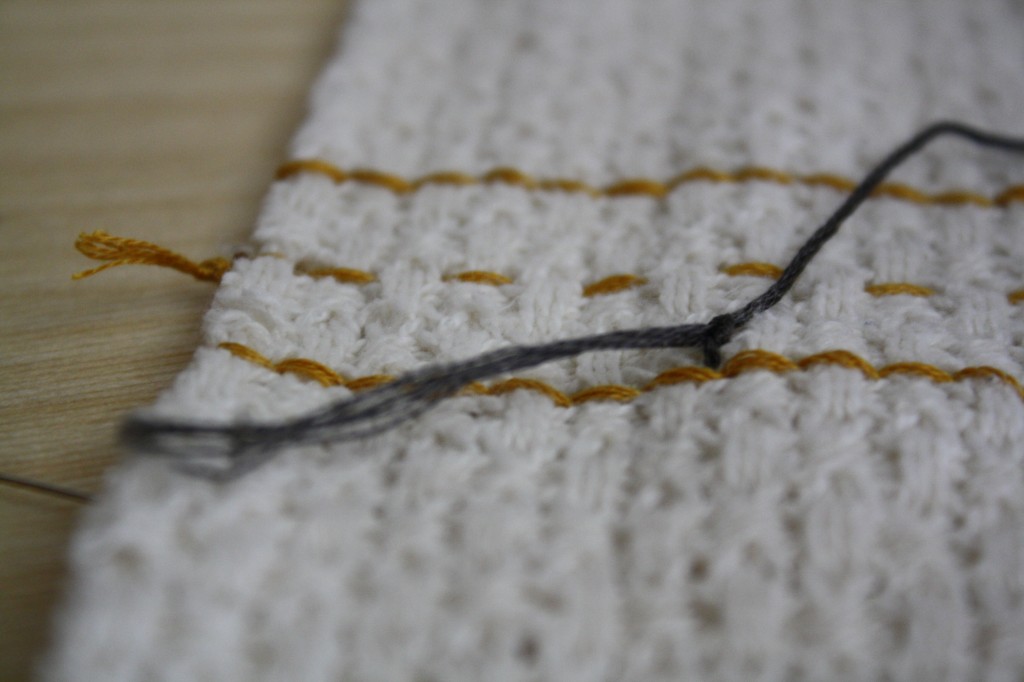
8. Back stitch the lettering.
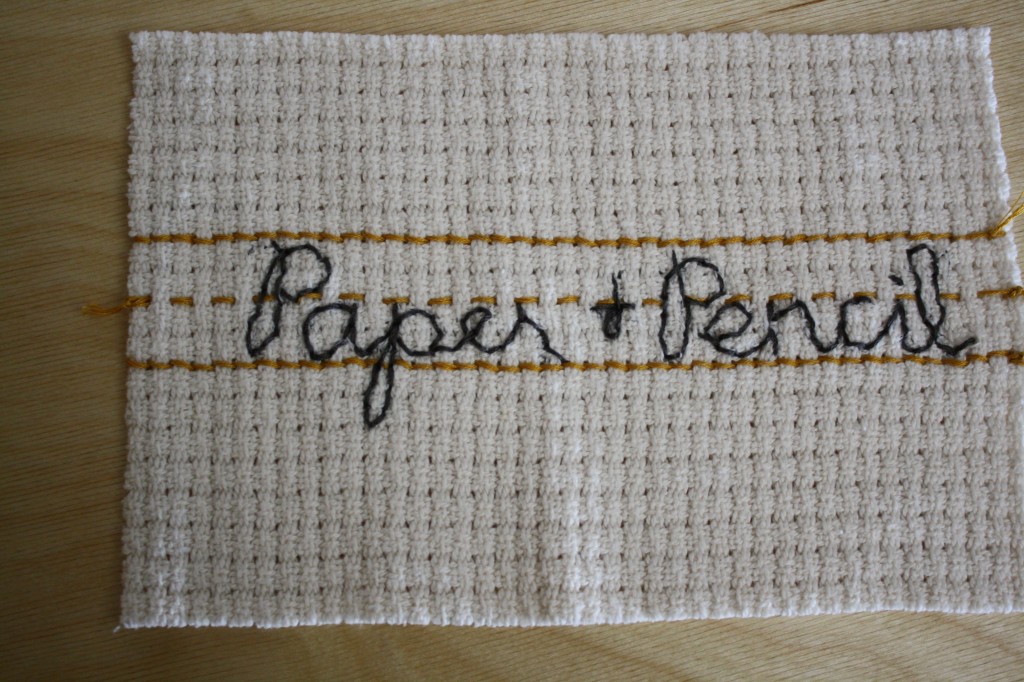
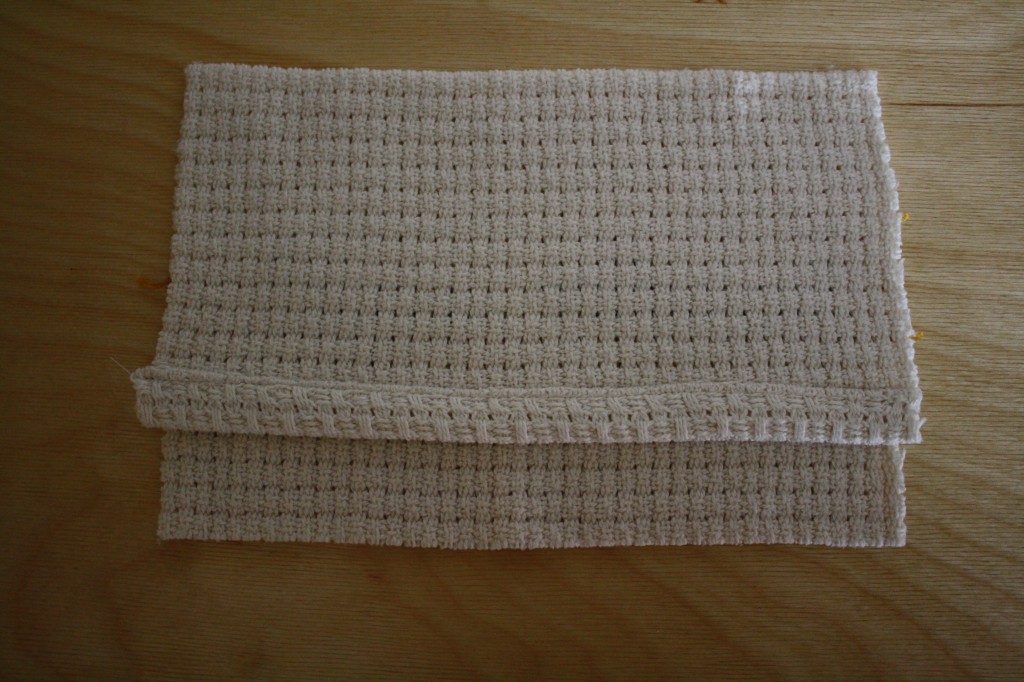
9. Using the other two pieces of monks cloth, sew a double hem along one long side (9″), by folding it under 1/2″ and then another 1/2″. Pin and top stitch along the inner edge.
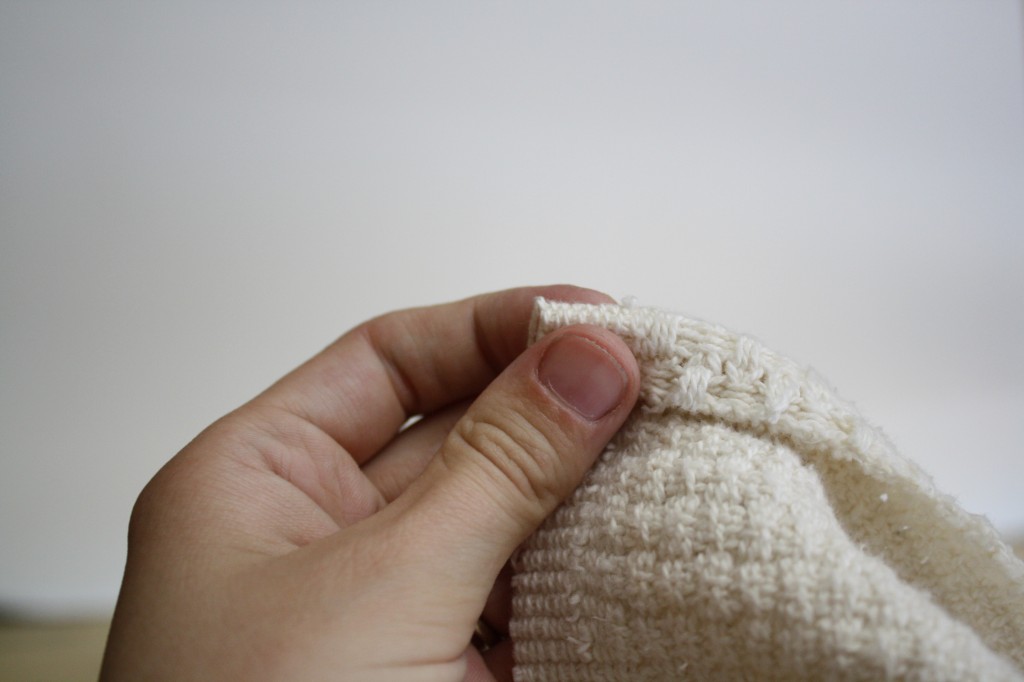
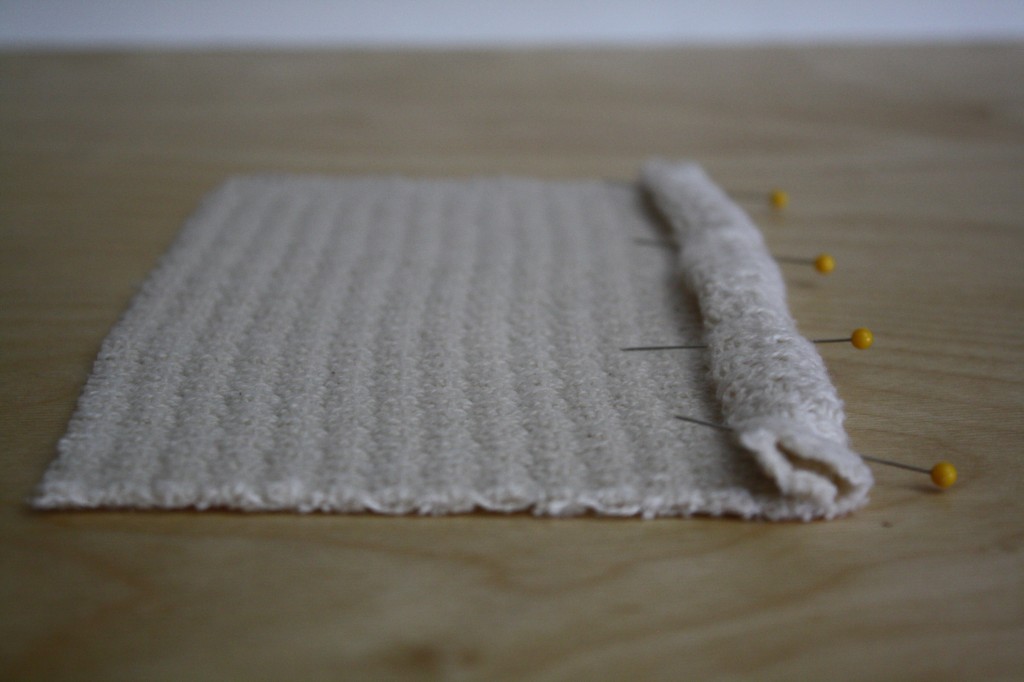
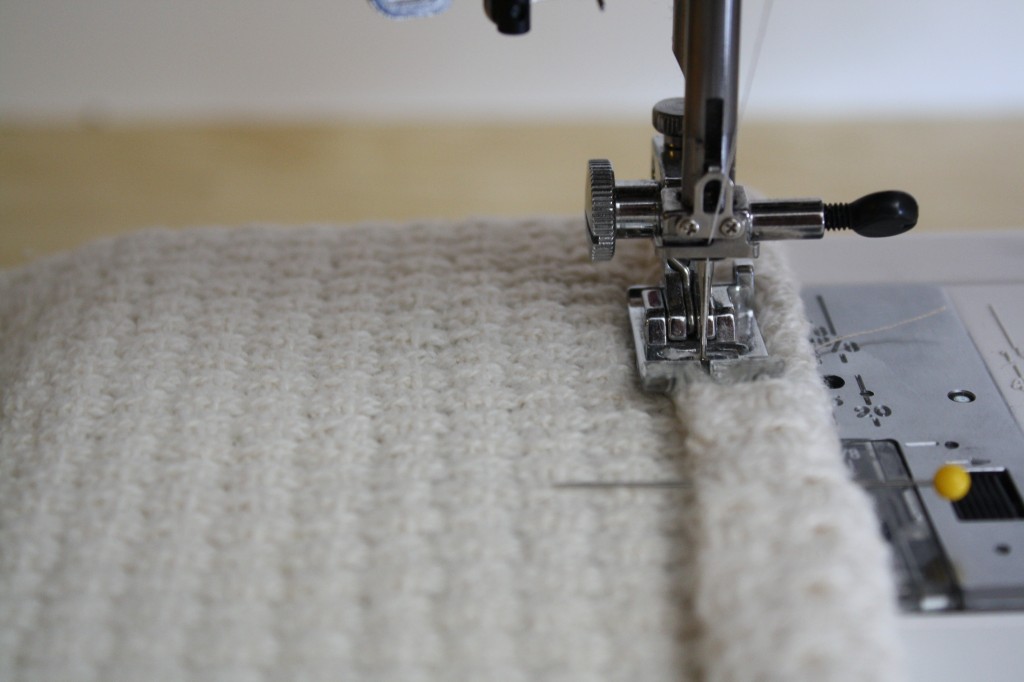
10. You now have one piece with a name or phrase hand stitched onto the right side, and two pieces that have been hemmed along one edge.
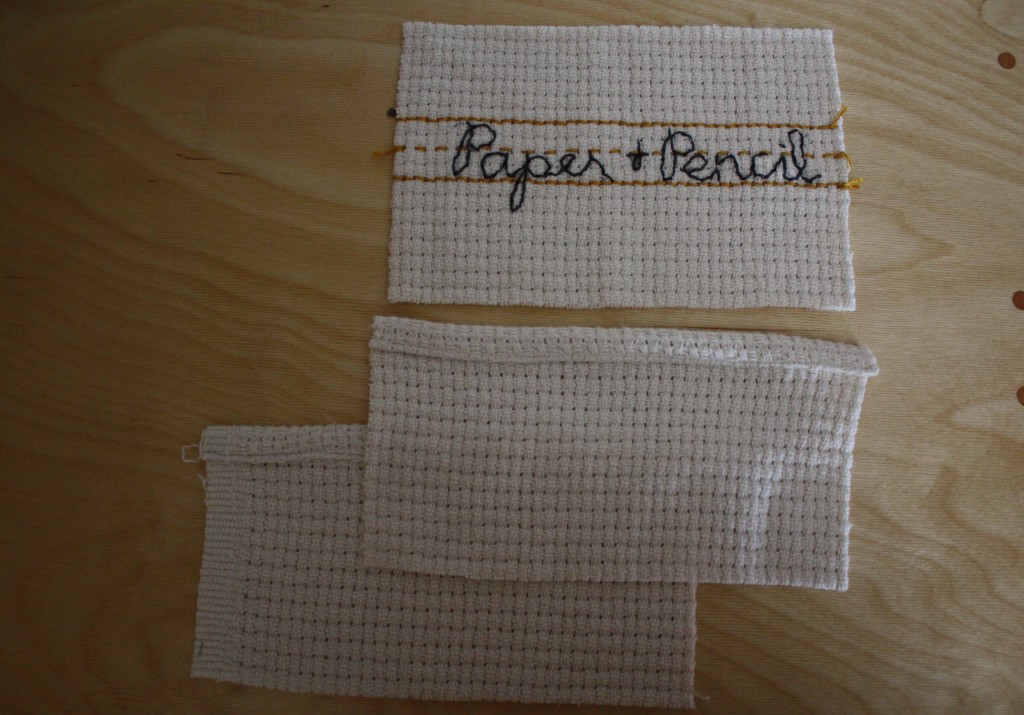
11. Line all 3 pieces with right sides towards the center. Start by laying the lettered piece with right side up. Lay one hemmed piece on top with right side facing down, lined up at the top, with the hem towards the center. Lay the second hemmed piece over both pieces, with right side facing down, lined up at the bottom, and the hem towards the center.
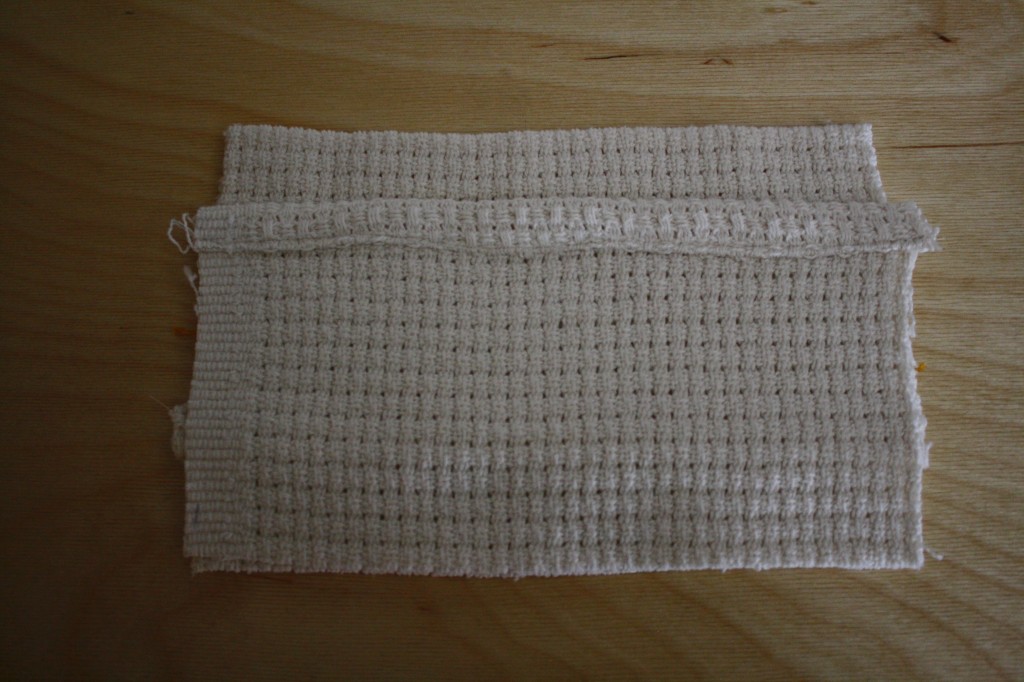
12. Stitch around all 4 sides using a 1/2″ seam allowance.
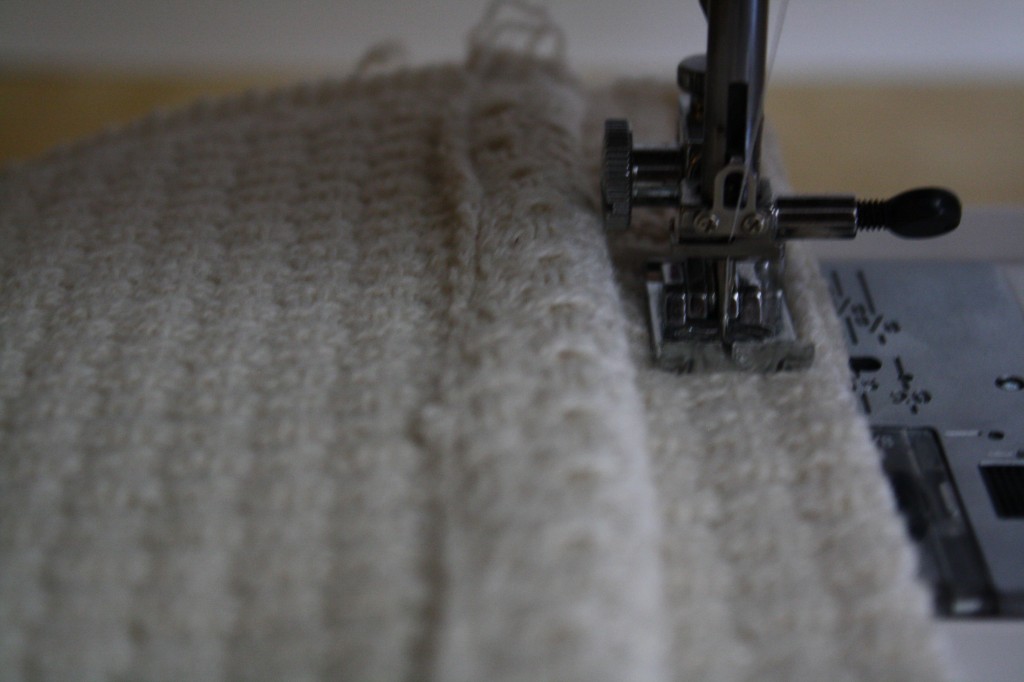
Turn the pencil case right-side-out to make sure that it has been sewn correctly.
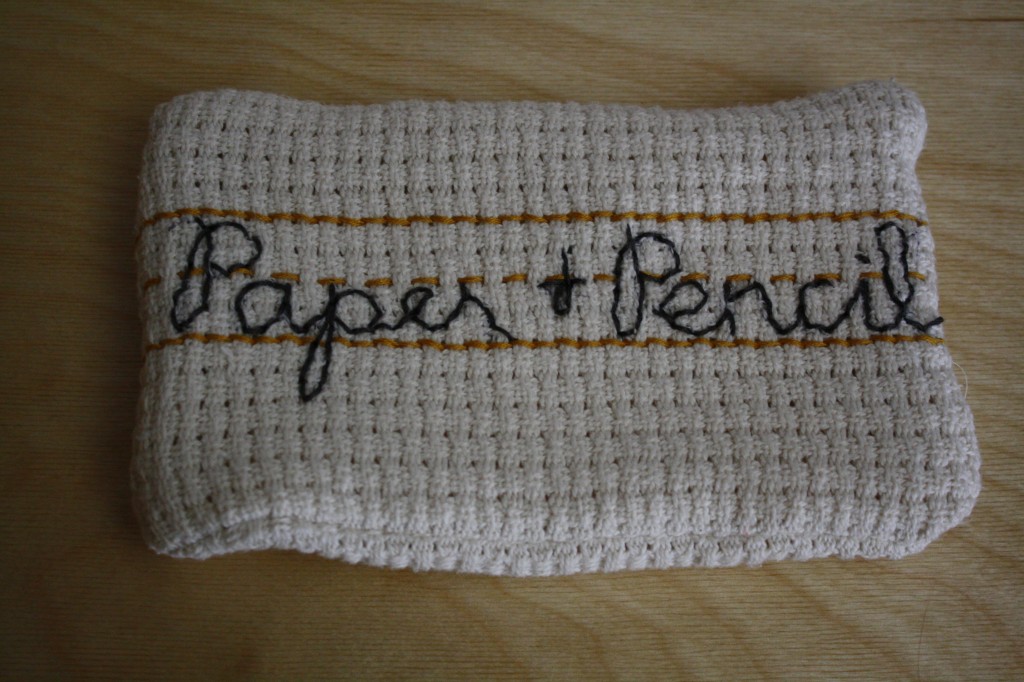
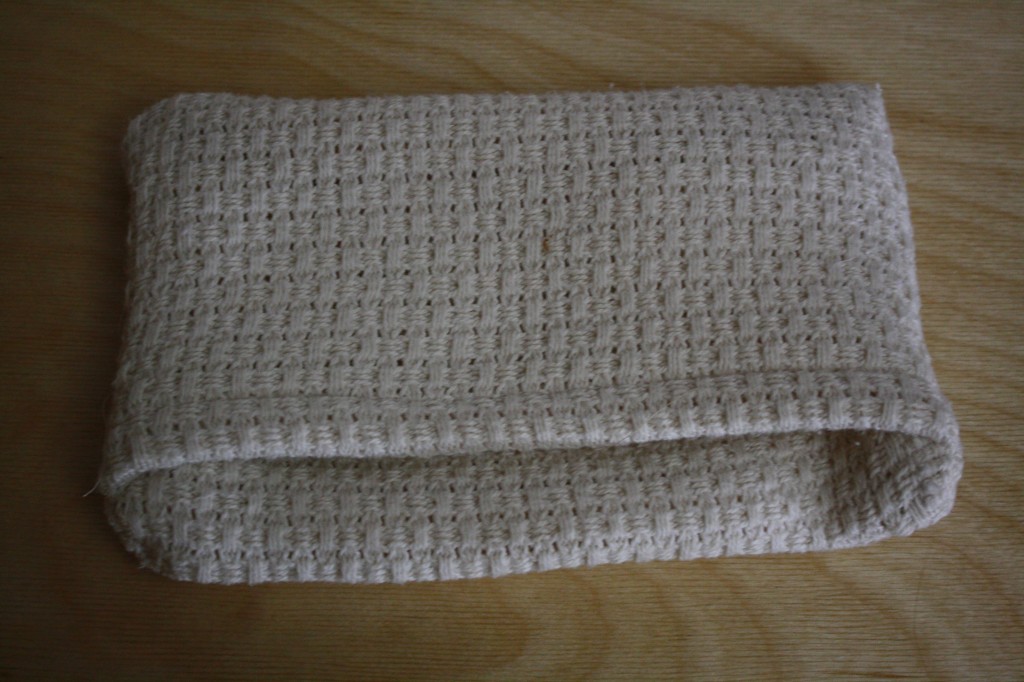
13. If it looks right, turn it inside out again and trim half of the seam allowance on all 4 sides to remove bulk.
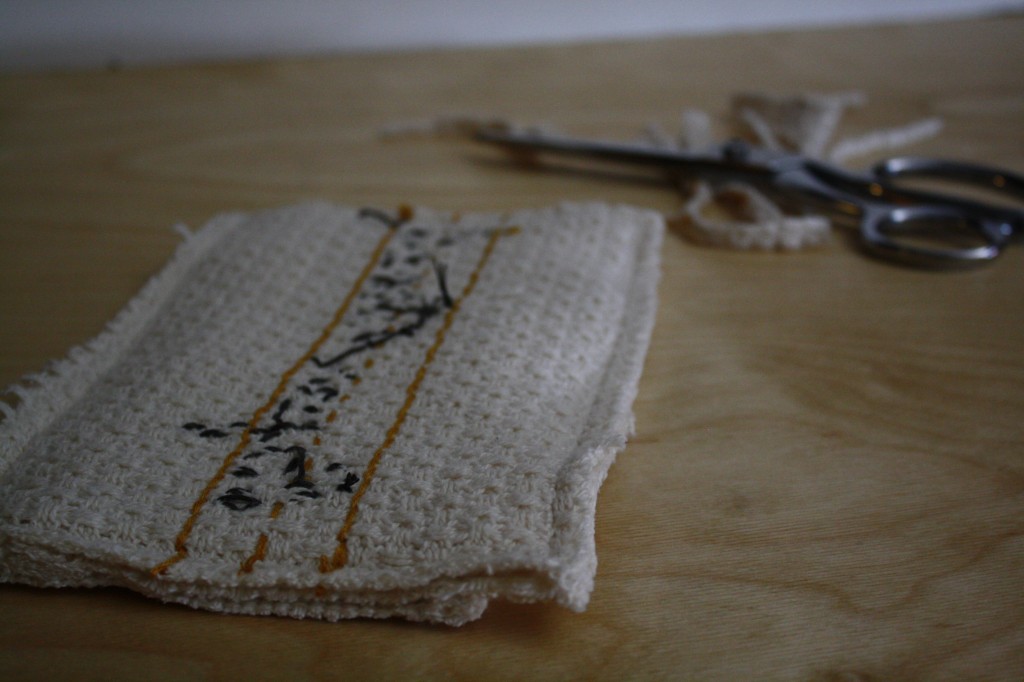
14. Turn the pencil case right-side-out and press flat.
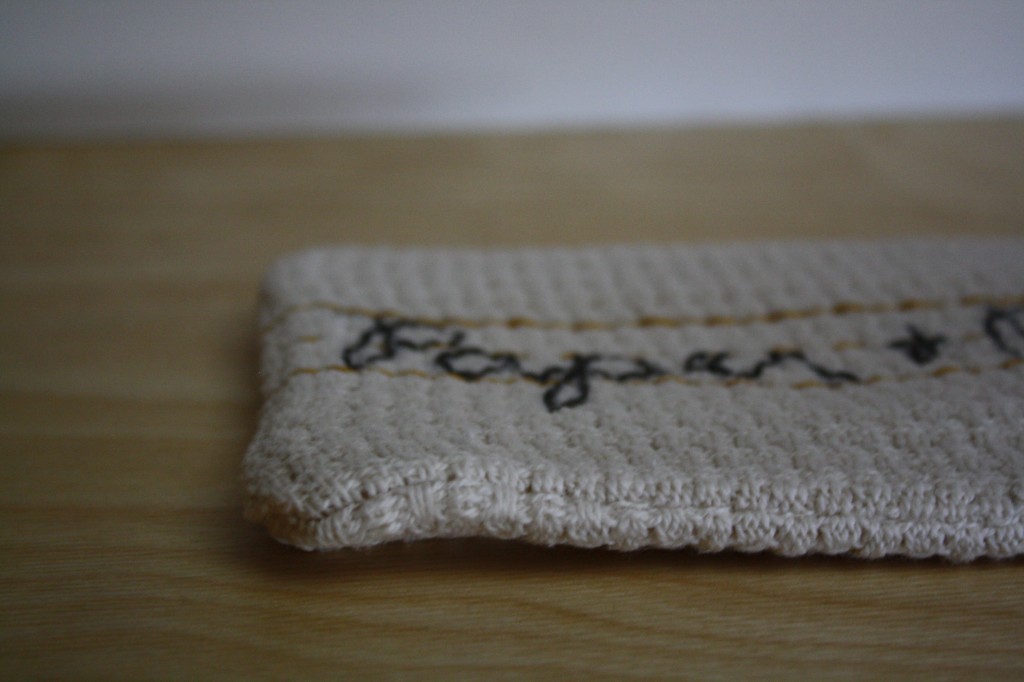
15. Top stitch around all 4 sides, guiding along the edge of the presser foot. This holds to the pencil case flat, and helps hide the raw edges inside the pencil case.
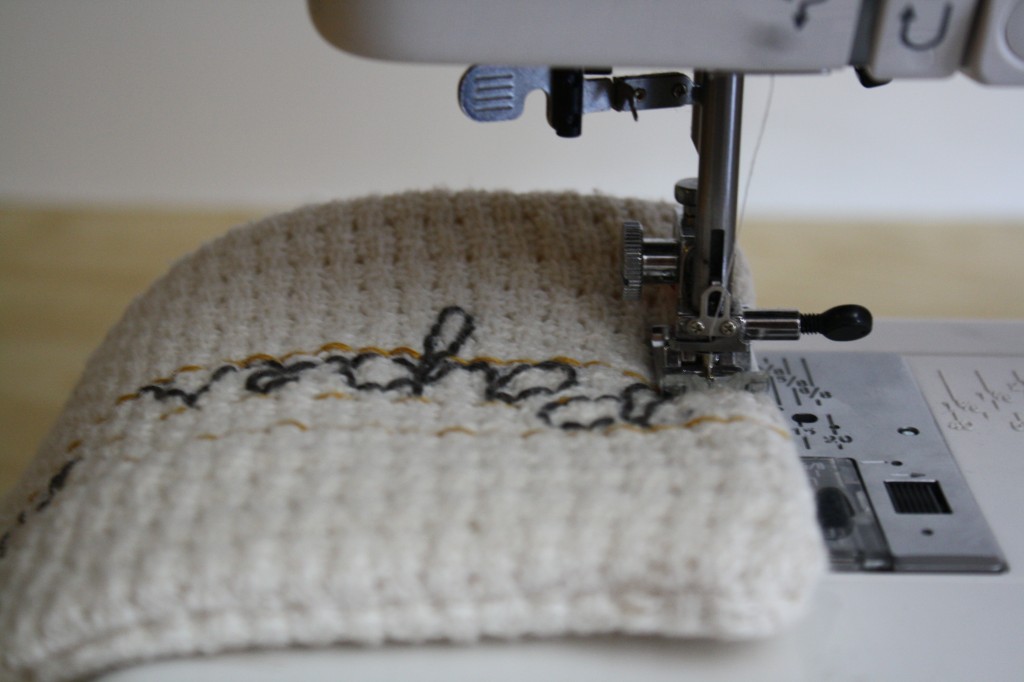
It’s so much fun to see how each pencil case turns out.
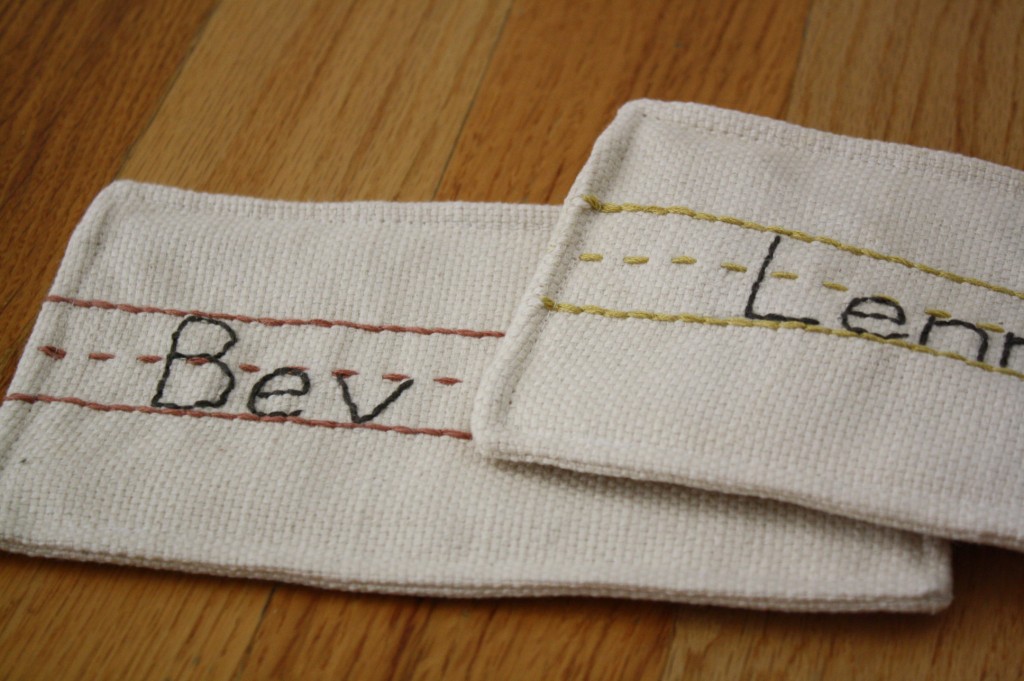
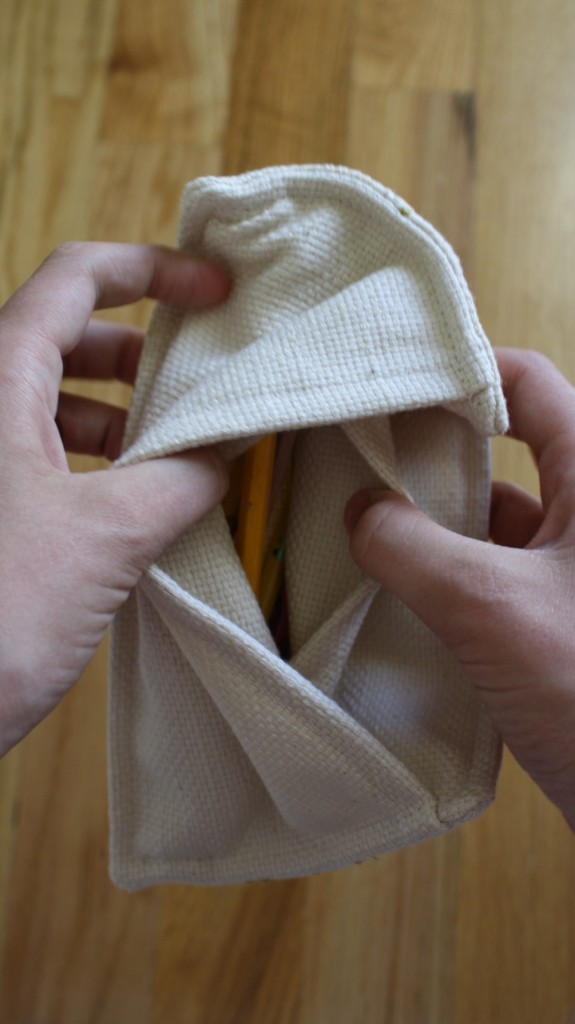
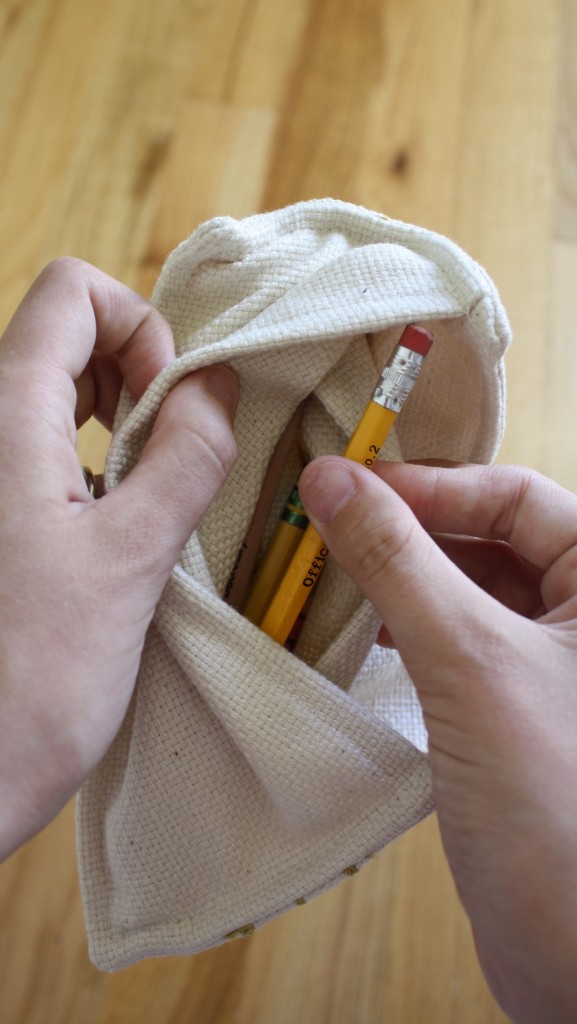
And to open it up, just pull both of the flaps out, until you see what’s inside.
