Believe it or not… we’re ready to SEW. Thread your machine, turn it on (feels good, doesn’t it?!), and make sure it’s set to a straight stitch.
Use one sample square for practice during this lesson.
SEAM ALLOWANCE & A STRAIGHT STITCH
First, what is a seam allowance? The seam allowance is the space between the edge of the fabric and the stitched line.
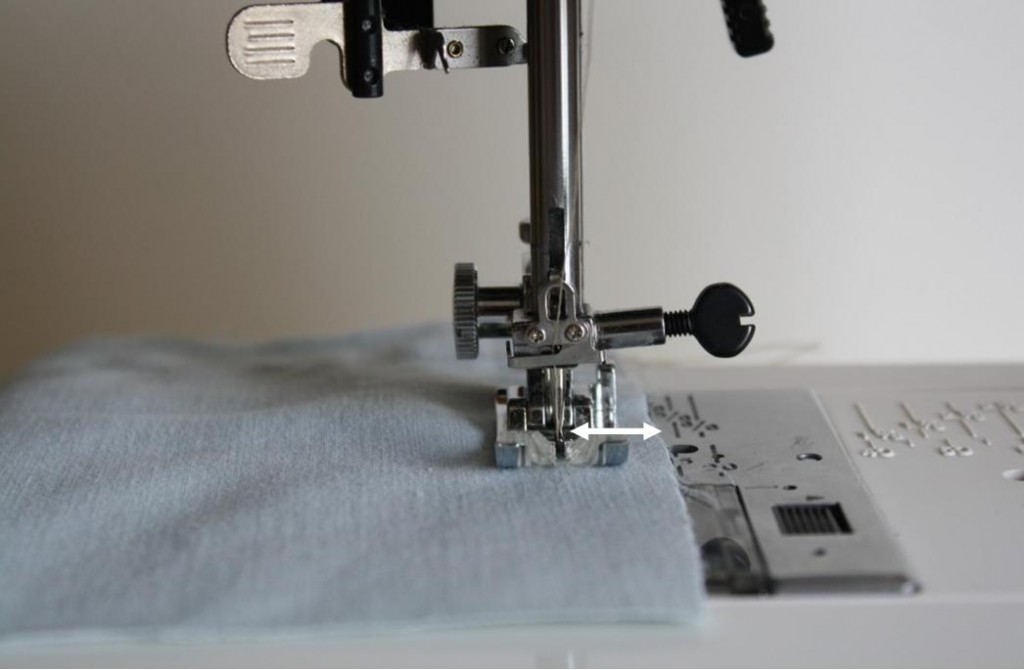
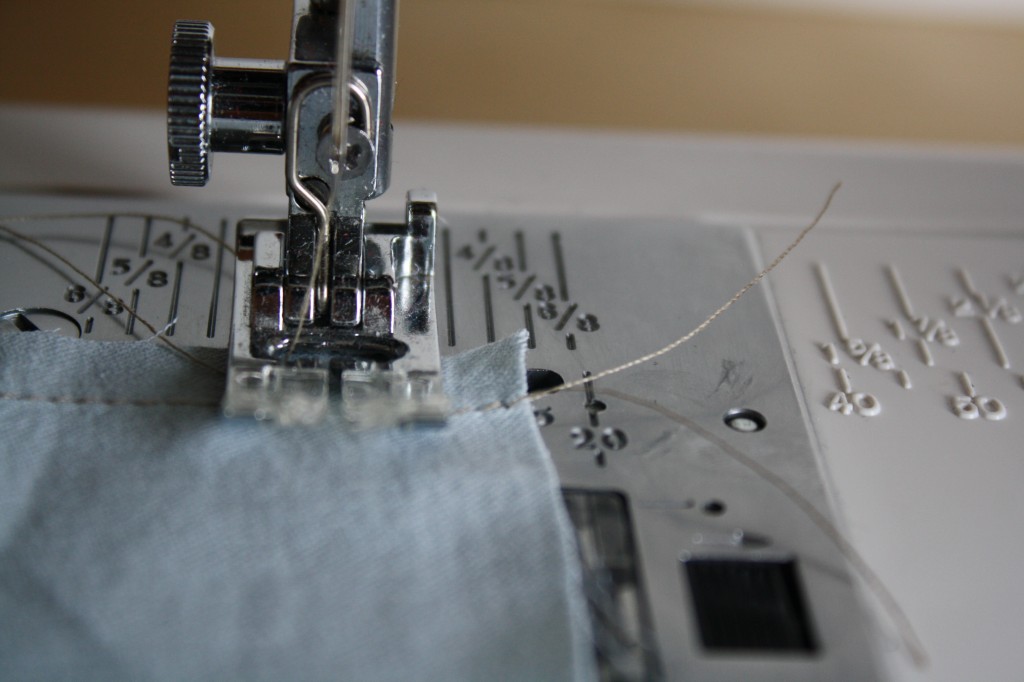
You determine your seam allowance by the marking on the needle plate you guide the edge of the fabric along as you sew. Standard seam allowances are typically 1/4″ and 5/8″.
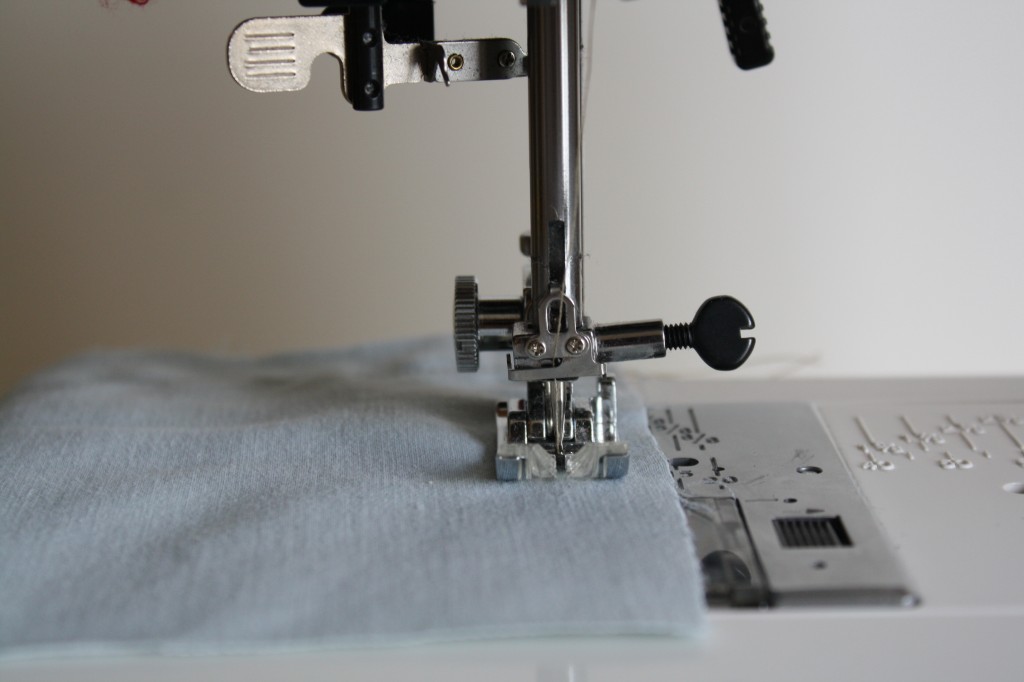
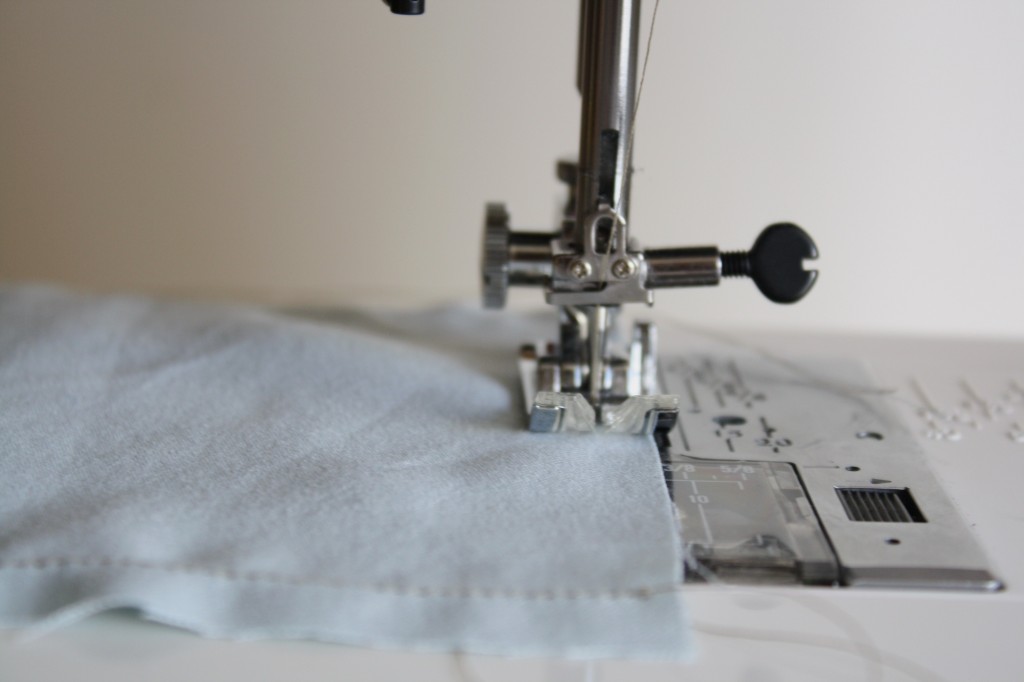
Lift the presser foot, set your fabric in place with one edge lined up with the edge of the presser foot, and lower your presser foot back down.
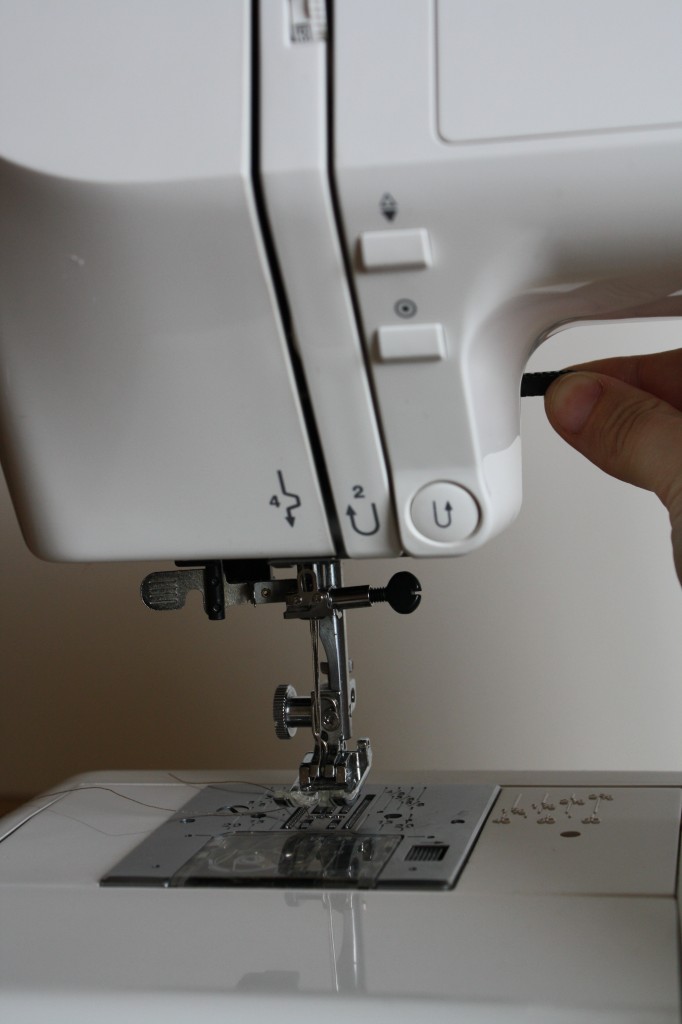
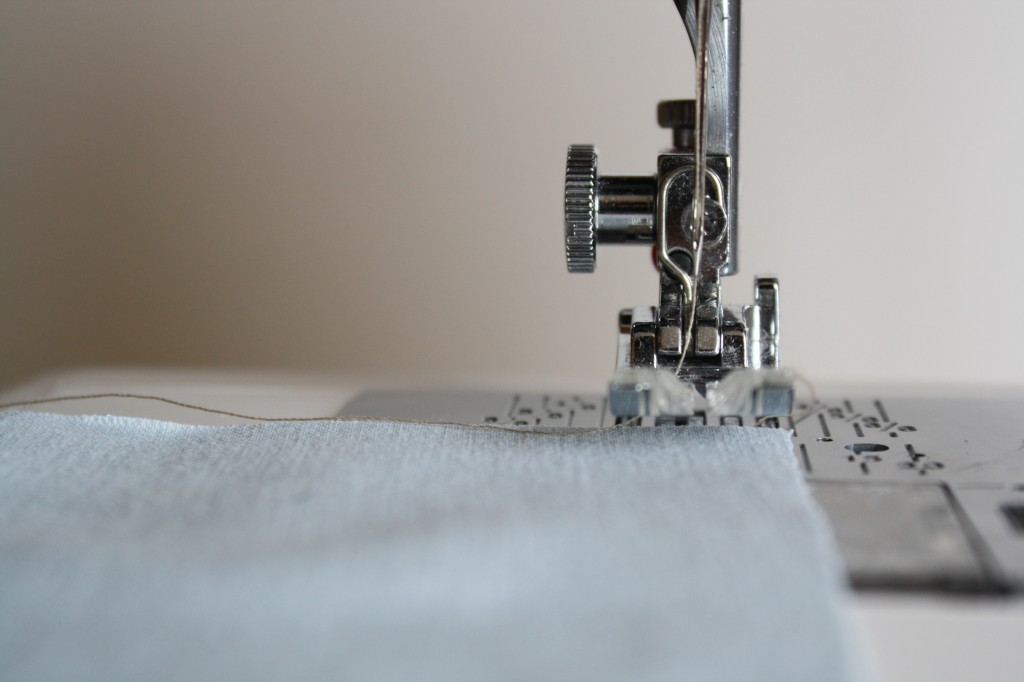
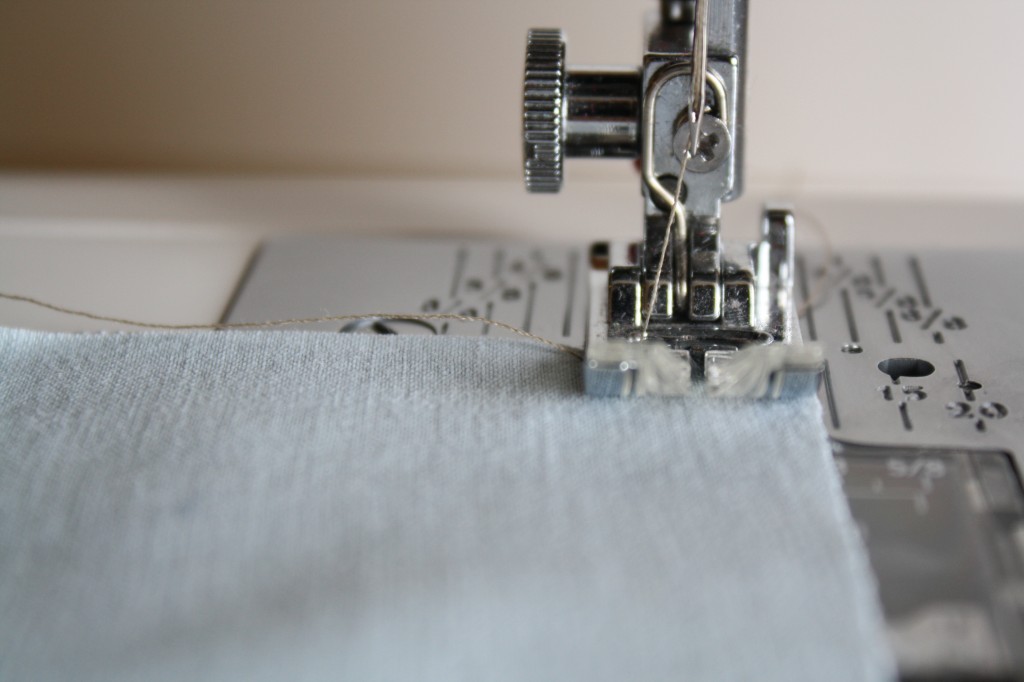
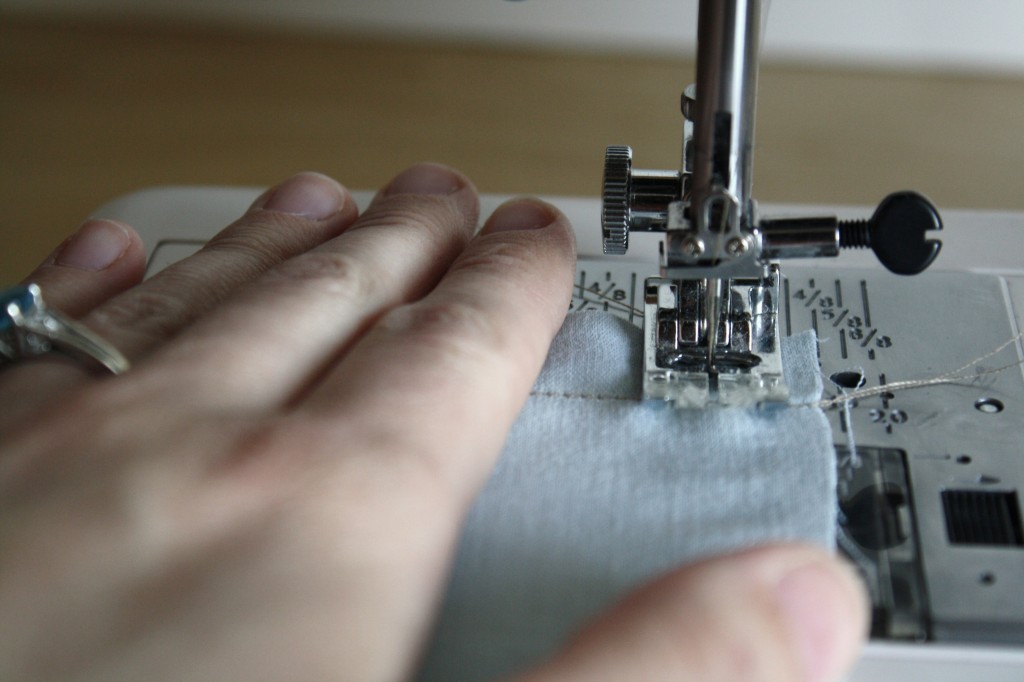
Put your left hand to the left of the presser foot and your right hand in front of the presser foot. This will help you guide your fabric as you sew. All you are doing with your hands is guiding the fabric, you shouldn’t need to push it through (remember, that’s what the feed dogs are for).
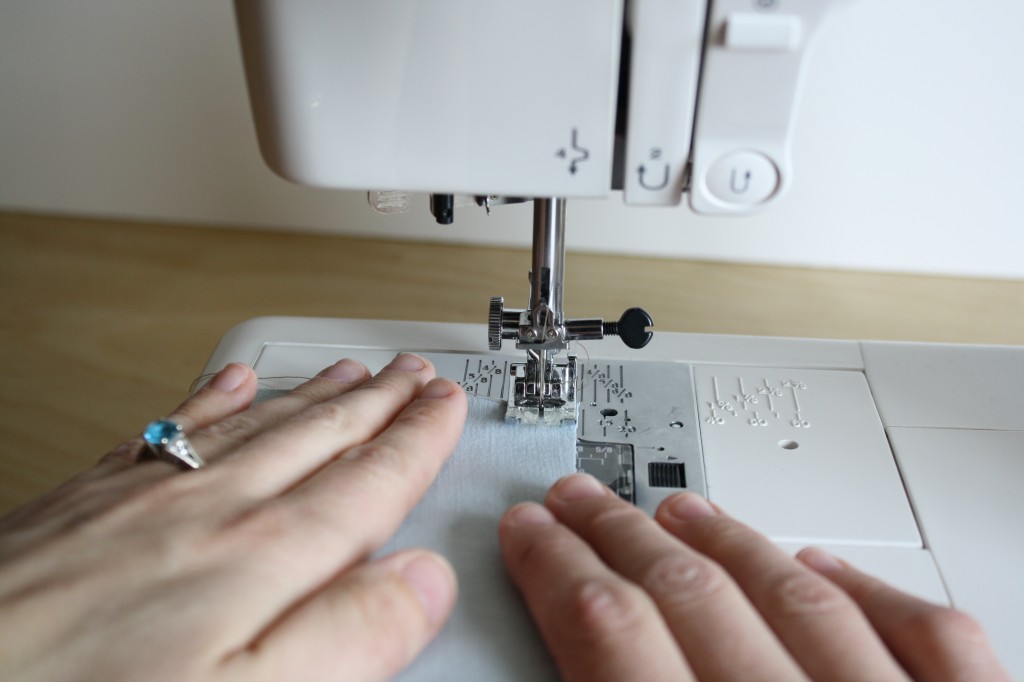
Press lightly on the foot pedal and sew to the end of the fabric, guiding along the edge of the presser foot (1/4″ seam allowance).
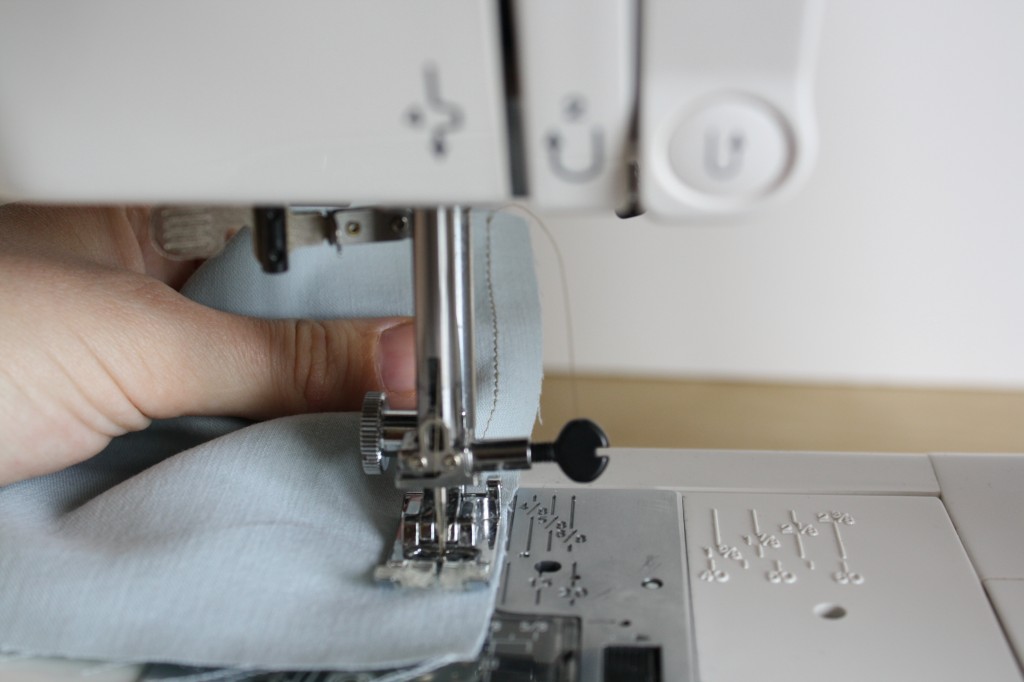
When you’ve finished sewing the first seam, lift the presser foot, and clip the thread (leave several inches of thread off the needle so it doesn’t come undone).
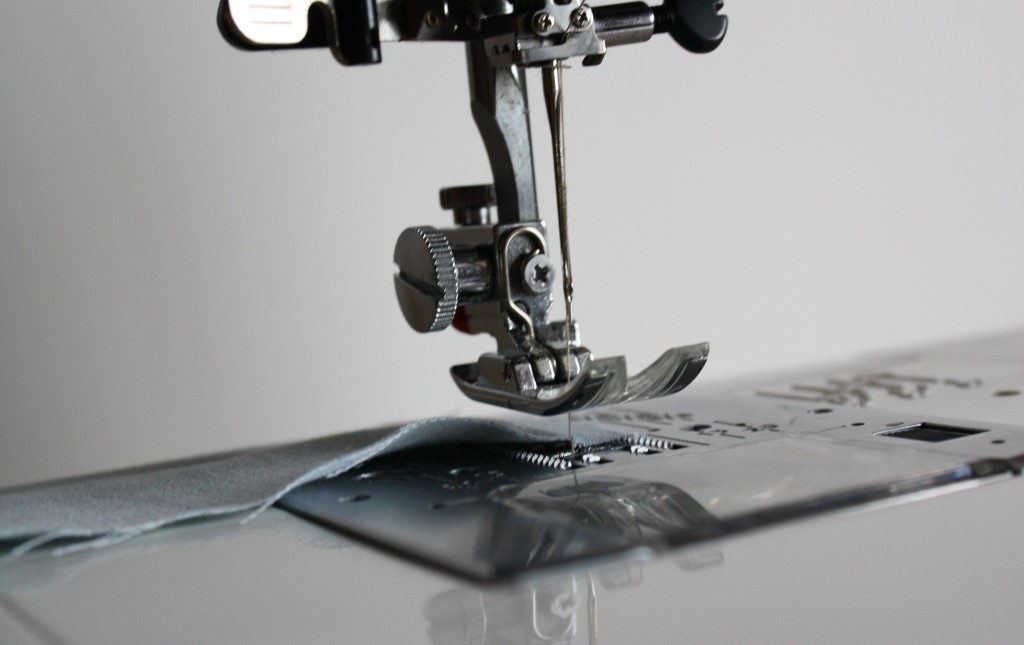
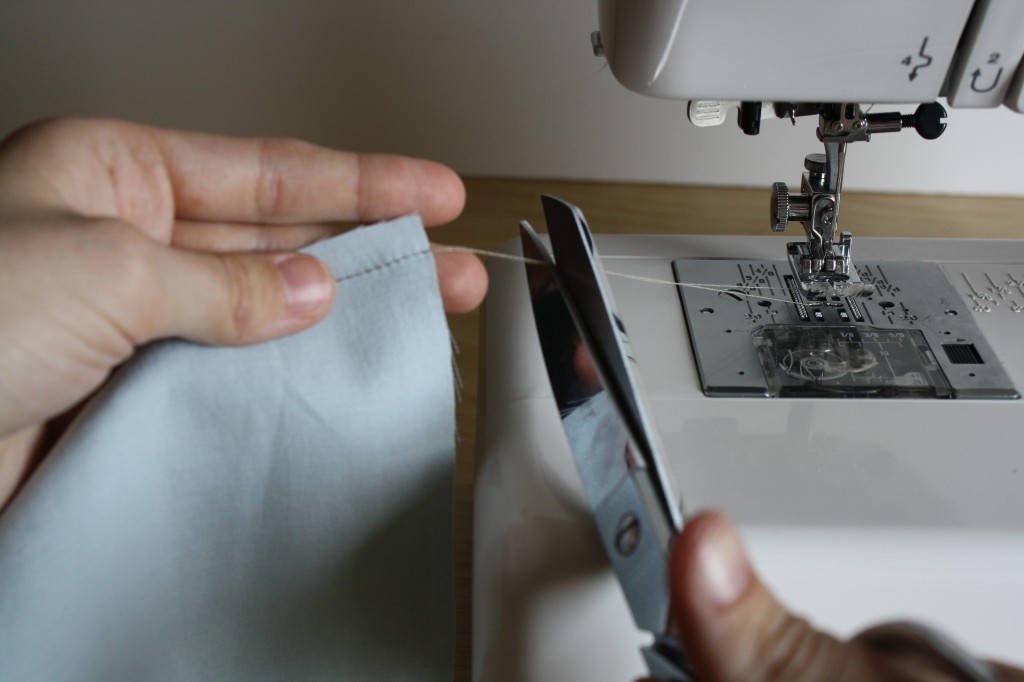
You’ve now successfully sewn a straight stitch with a 1/4″ seam allowance.
Along the second side of the sample square practice sewing with a 5/8″ seam allowance (this is a pretty common one) by lining the edge of the fabric with the 5/8″ marking.
REVERSE STITCHING
Reverse stitching is one way to reinforce a stitch. Without reinforcing a stitch, the stitch might unravel, which is bad news! We’ll go over reverse stitching more on the second half of the sample.
On the third side of the sample we’re going to practice reverse stitching (this is sometimes called “back stitching”, but because that’s one of the hand stitches we went over, we’ll refer to it as “reverse stitching”). Reverse stitching is one method to reinforce a stitch to prevent it from coming out.
Line your fabric up at the 1/2″ (4/8″) seam allowance, and sew forward 2 stitches. Stop. Reverse back 2 stitches, and then sew forward.
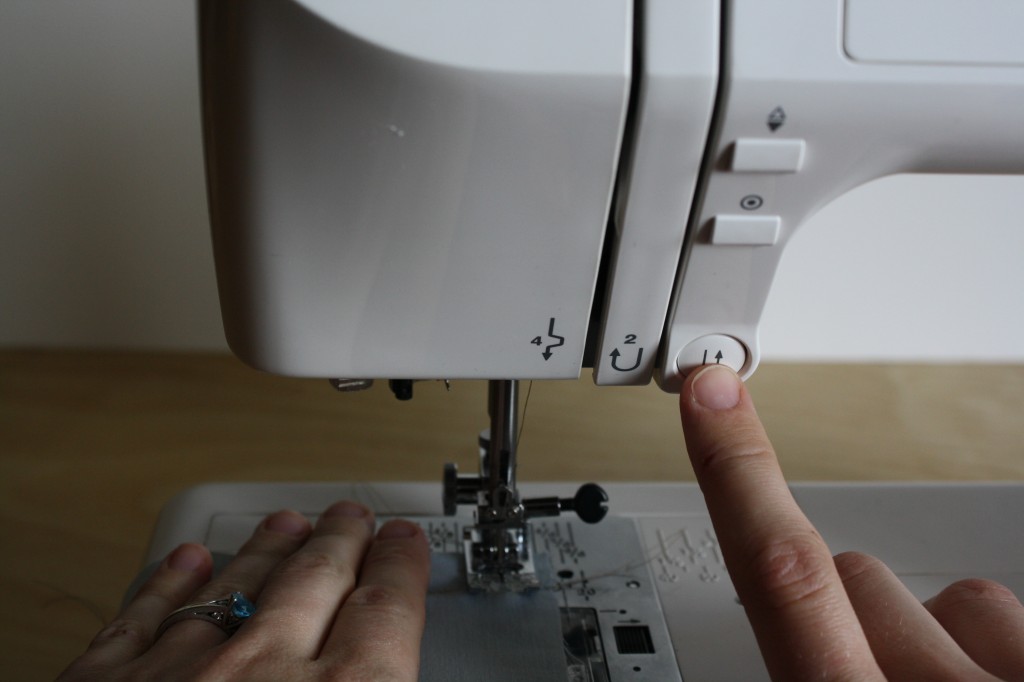
When you reach the end of the third side of your square, reverse stitch 2 stitches and stitch off the edge.
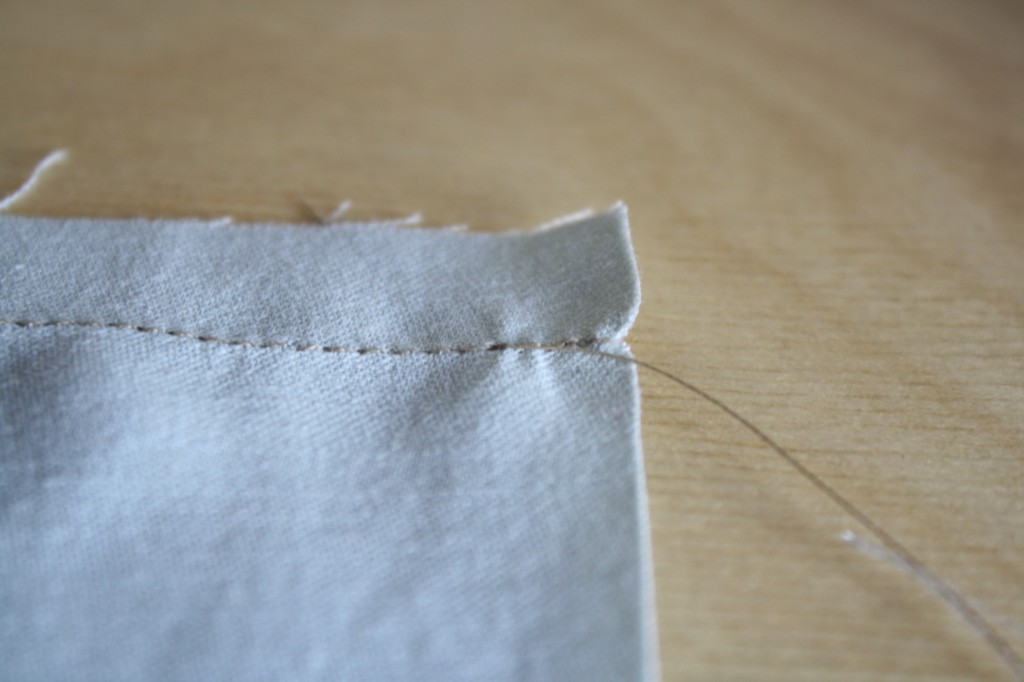
Do you see how much more secure that seam is compared to the other two?
Practice sewing along the last side using whichever seam allowance you’d like! Don’t forget to reverse stitch at the beginning and end.
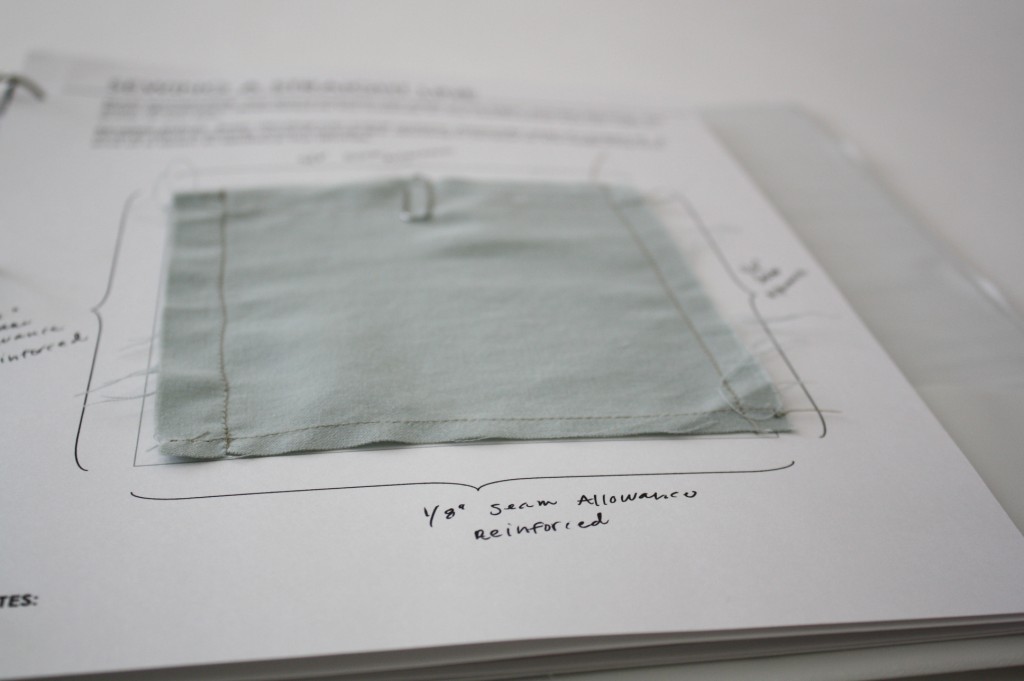
When you add this sample to the Sample Book, label the seam allowance and indicate whether or not the seam was reinforced on each side.
HOMEWORK
love the blog. Can I ask you what sewing machine you use ?
I use a Kenmore, but I don’t think they make them anymore! I’ve looked several times, and just can’t find anywhere that stocks them :( It’s a shame, because it really is a wonderful machine.
I see your blog needs some fresh articles. Writing manually is
time consuming, but there is solution for this hard task.
Just search for; Miftolo’s tools rewriter