THIS LESSON IS PART OF THE SEWING WITH KIDS E-COURSE
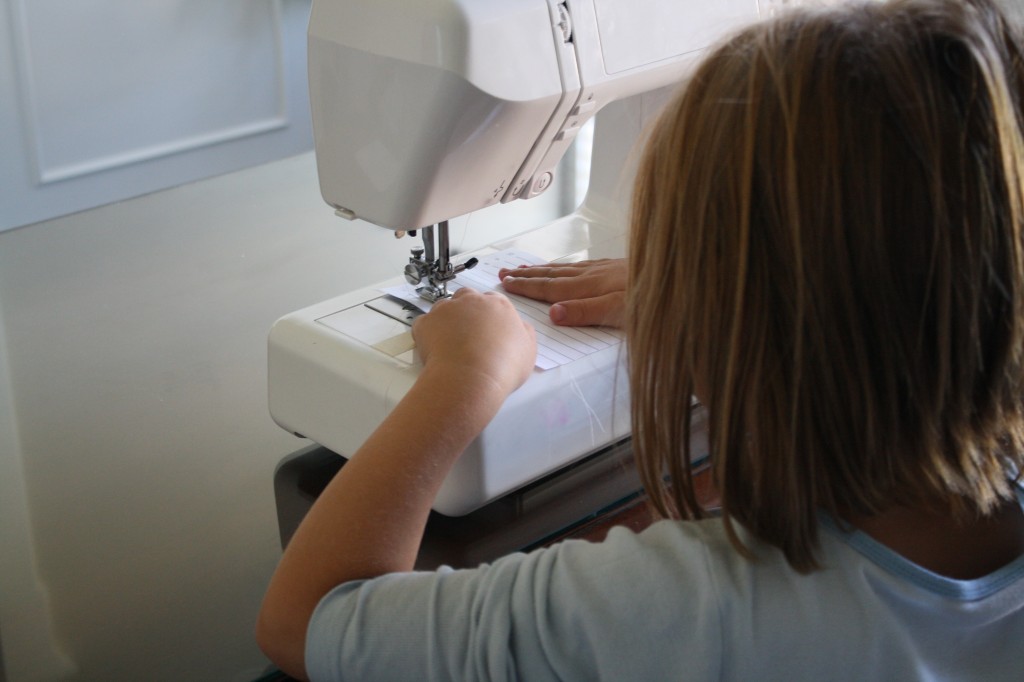
Sewing a straight line might take more practice than you’d think. The machine starts going faster than they’d anticipate as they learn to control their speed with the foot pedal, and they haven’t yet had much practice controlling the fabric as they sew. For a simple introduction, teach them to sew on paper, rather than fabric, because paper doesn’t squirm the way that fabric does.
LESSON PREPARATION
Before you begin teaching this lesson, print out the “Sewing a Straight Line” practice sheet and cut it into quarters along the gray, dotted lines.
DEMONSTRATION
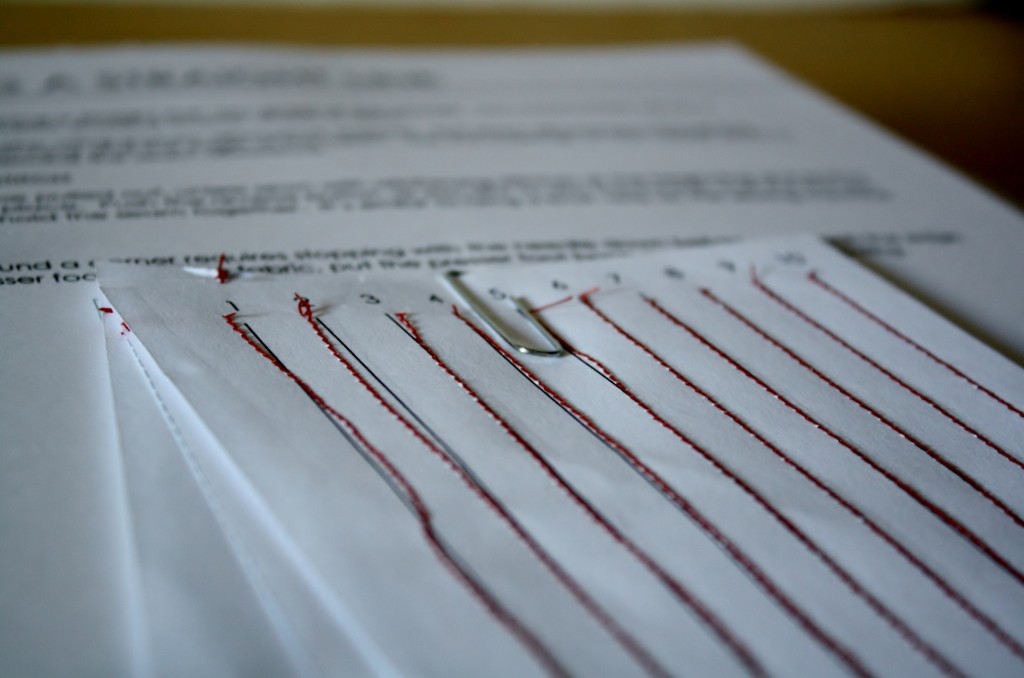
Start with the first quarter, which has numbered vertical lines and let them sew (starting with #1) down the lines on the paper. As they sew, give them tips and encourage them.
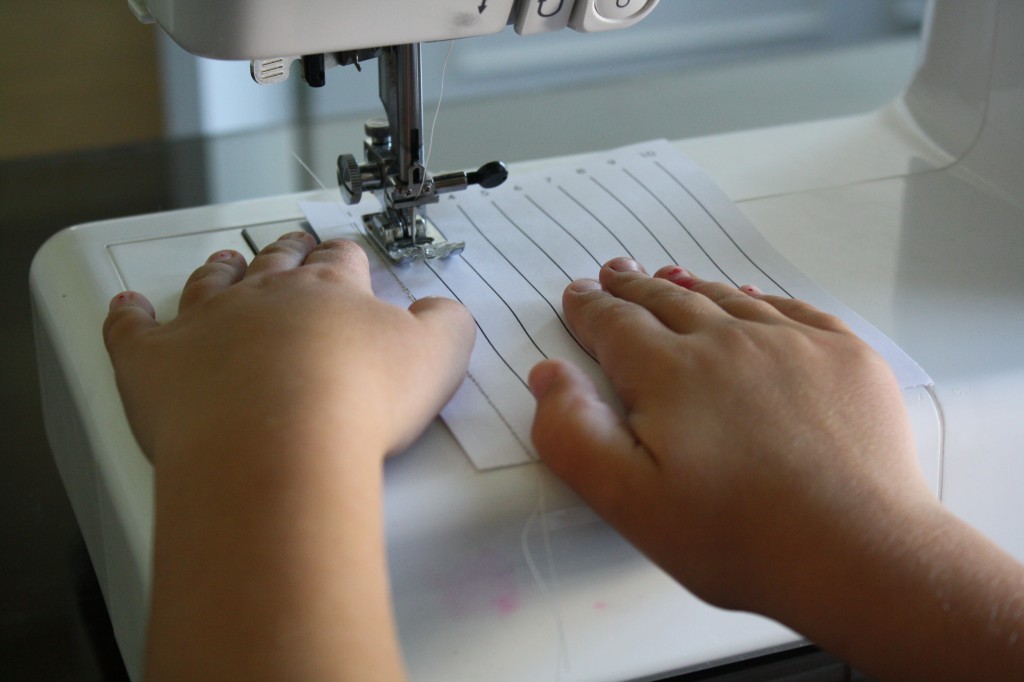
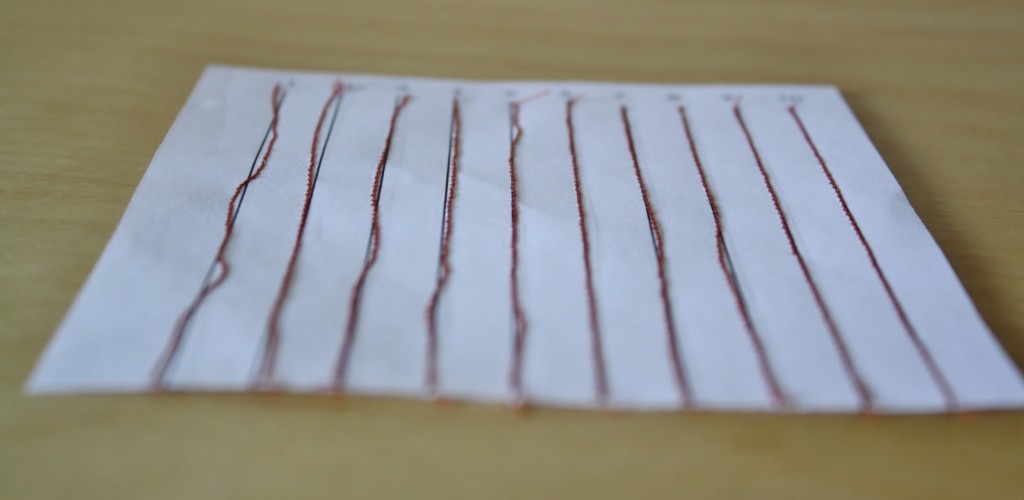
Let them continue onto #2, #3, and so on. Hopefully, by the time they’ve sewn #10 they’ll feel a little more comfortable (but don’t expect perfection, or anywhere near it). When they’ve finished, have them compare each line and show them their own progress, by pointing out how much better their last lines were compared to their first few lines.
Unfortunately, we don’t usually have markings along our fabrics showing us where to guide our needle, so it’s time to teach them about seam allowances. The seam allowance is the space between the edge of the fabric and your stitching.
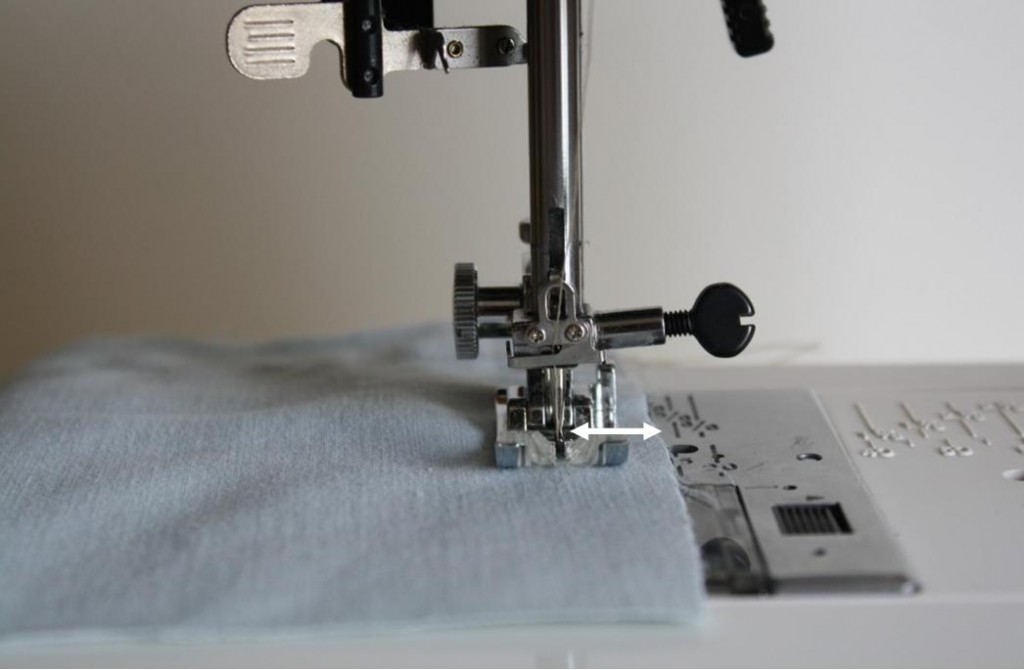
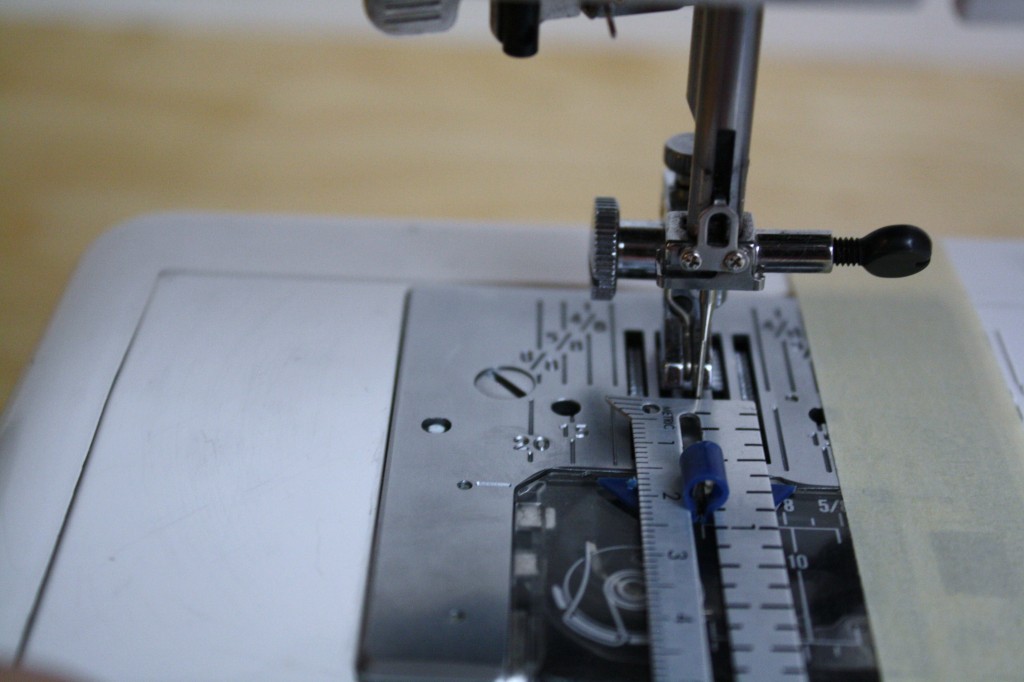
When you sew, you usually decide how big you want your seam allowance is, and guide the edge of the fabric along that marking on the needle plate. Show them the markings and quiz them for a minute, asking them to point to the 5/8″ marking, the 1″ marking, the 1/4″ marking, etc.
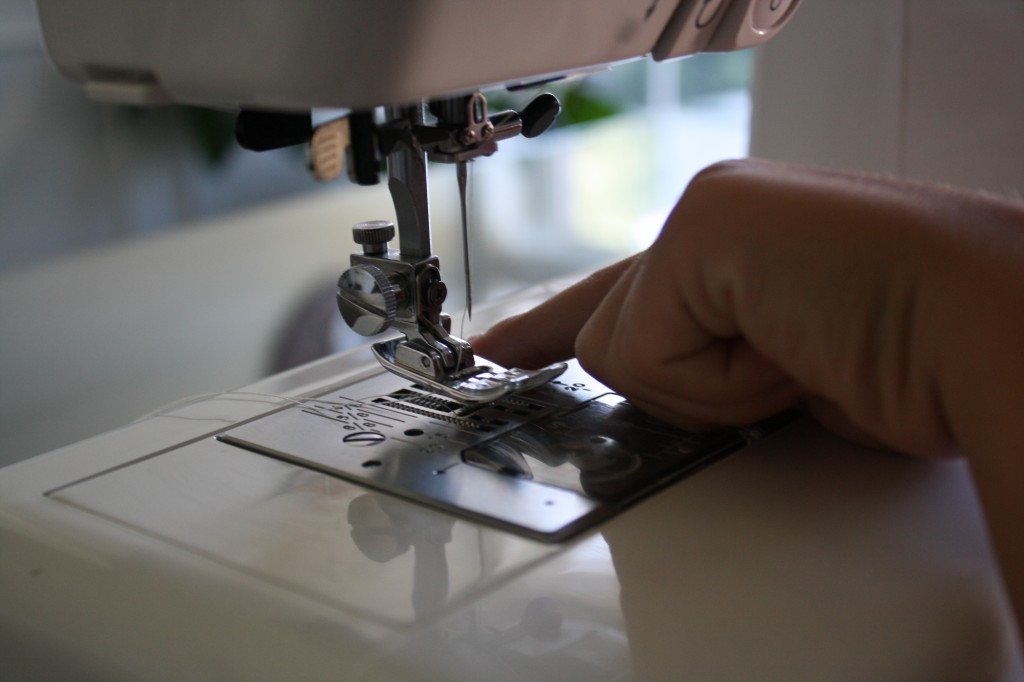
The easiest guideline for an adult beginner is the edge of the presser foot, because it is easy to see while you’re trying to focus on so many new things as you sew. A kid, on the other hand, will have even less control of their seam allowance as they first learn, and 1/4″ (the seam allowance with the edge of a standard presser foot) may not be wide enough to keep them from sewing off of the edge. The problem is, they still need something bold showing them where to guide their fabric. If not the edge of a presser foot, then what? Masking tape.
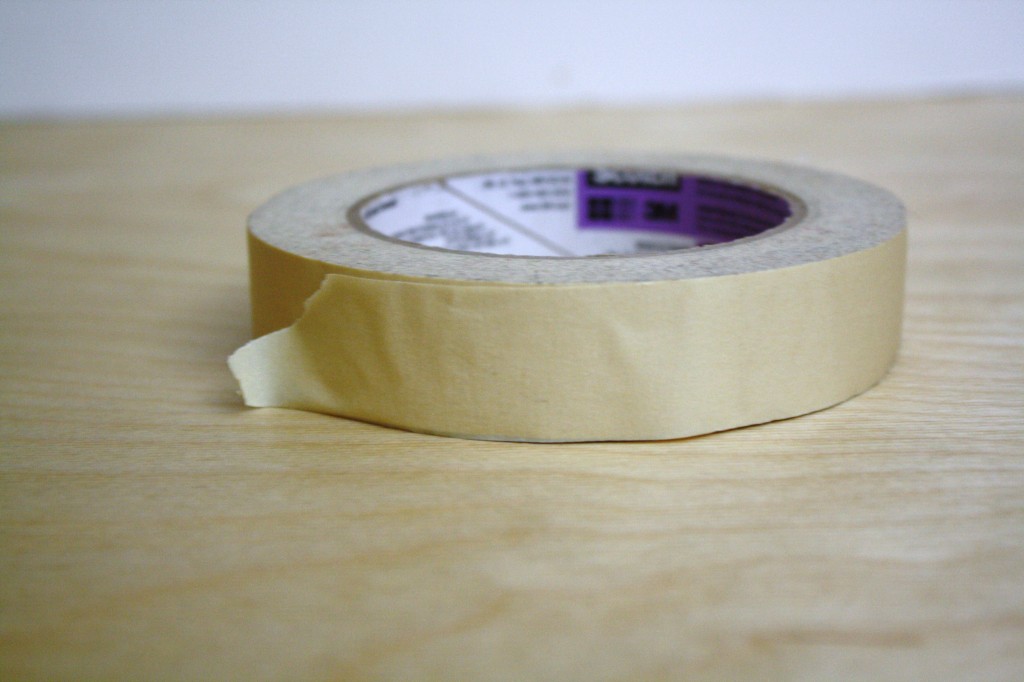
Decide which seam allowance you’d like to start with. 5/8″ is pretty standard for most sewing projects, and is what we’ll use here. Place a long piece of masking tape on the needle plate, with the left edge of the tape lined along the 5/8″ marking. Now they will have a guideline that they can see well (if you have colored masking tape, that will make it even easier for them to see as they sew).
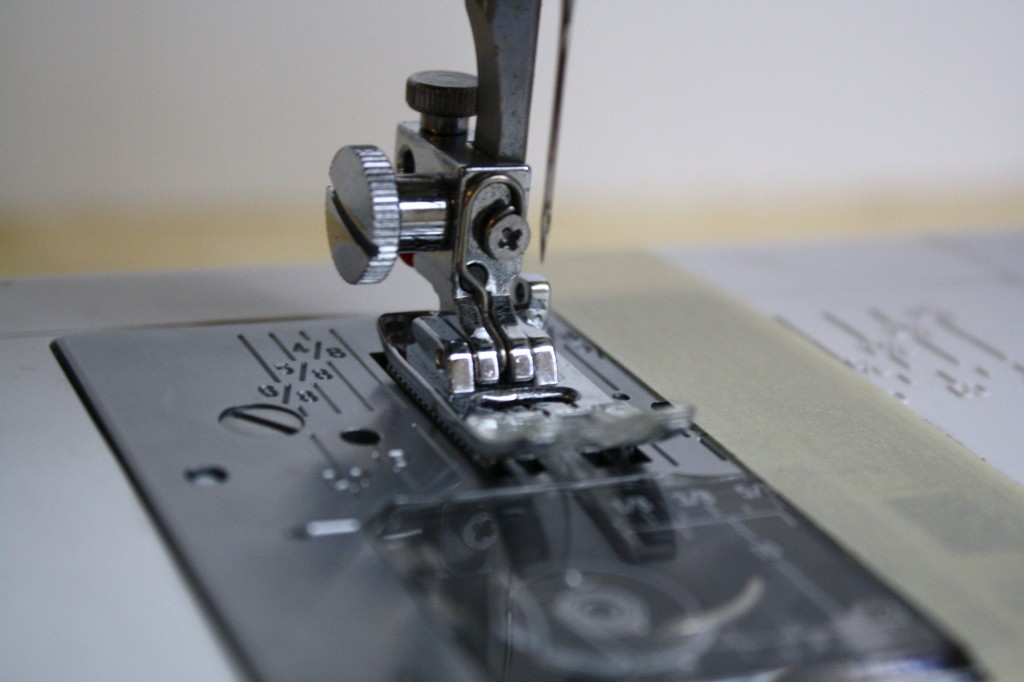
Using the paper quarter that is marked “straight lines”, let them practice sewing a 5/8″ seam along all 4 edges of the paper quarter.
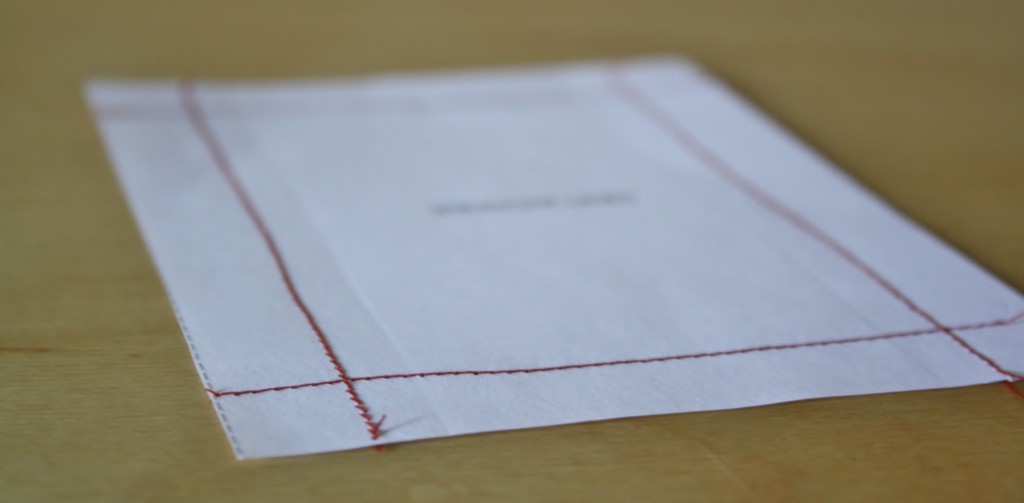
If they made a mistake, don’t let them worry about it, just print out another copy of the “sew a straight line” practice sheet, or better yet, let them practice on scrap fabric!
Once they know how to sew a straight line, talk about reinforcing a stitch with a reverse stitch. You can take the sample seam, and tug on the tail threads to show that they come undone. Using the paper quarter that is marked “reinforced stitches” and have them sew down all 4 sides, the same way they did before, but this time remind them to reverse stitch at the beginning and end of each seam.
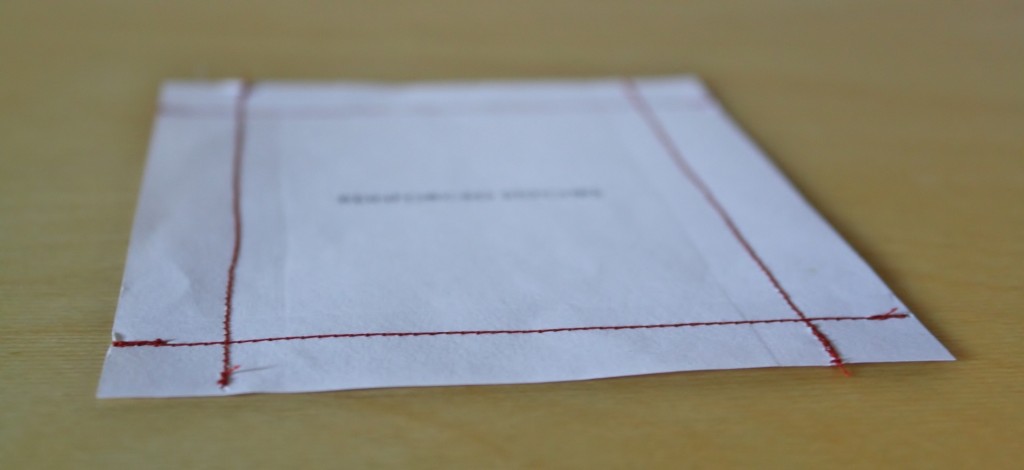
Now they’re ready to learn about sewing around a corner. The key to sewing around a corner is stopping with the needle down before you reach the edge of the first side, leaving enough space to pivot the fabric and line the new edge up with the same seam allowance. This is hard enough for adults, so for kids, it’s a good idea to use a piece of masking tape to mark 5/8″ from the needle, perpendicular to the first marking. This will show them when to stop sewing in order to put the needle down and pivot the fabric. (For more on how to pivot fabric, see this lesson)
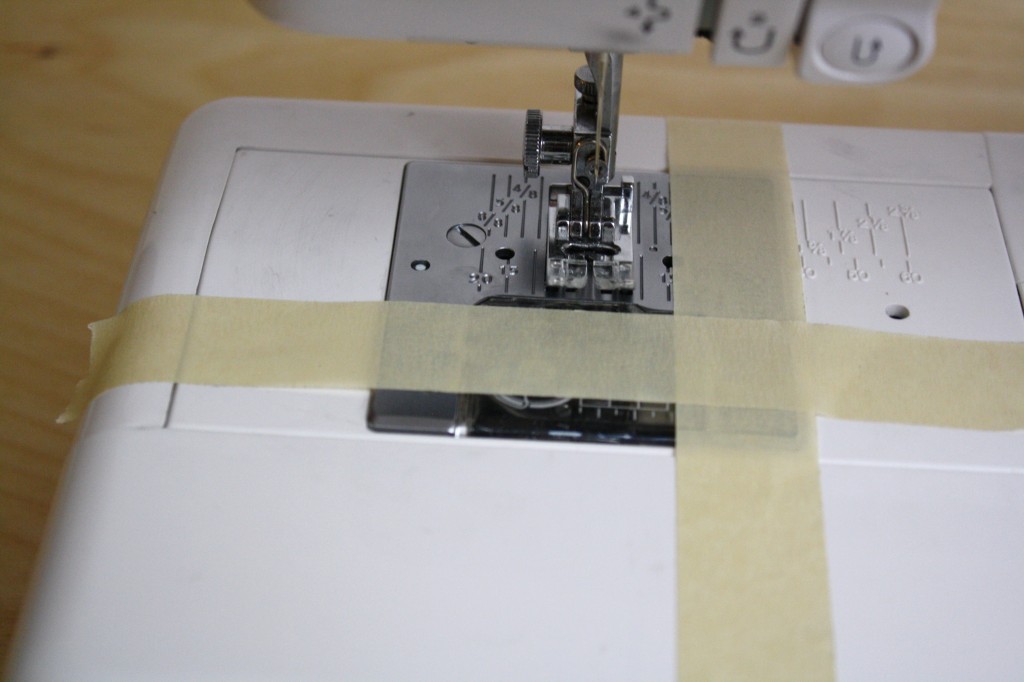
Using the last sample quarter, marked “corner”, let them practice sewing around all 4 corners. As they approach each corner, remind them to put their needle down, lift their presser foot, turn the fabric, and put the presser foot back down.
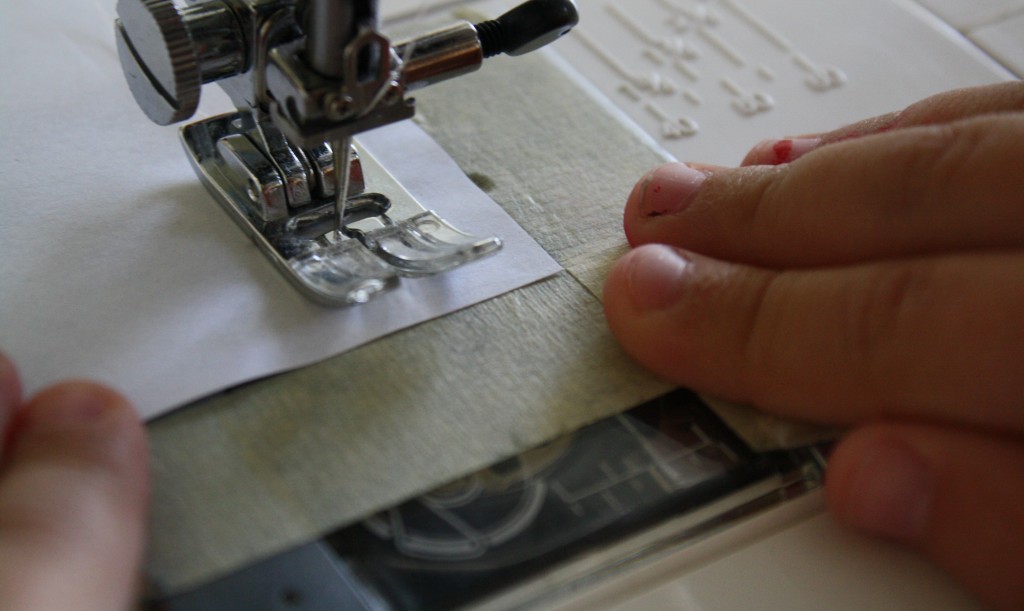
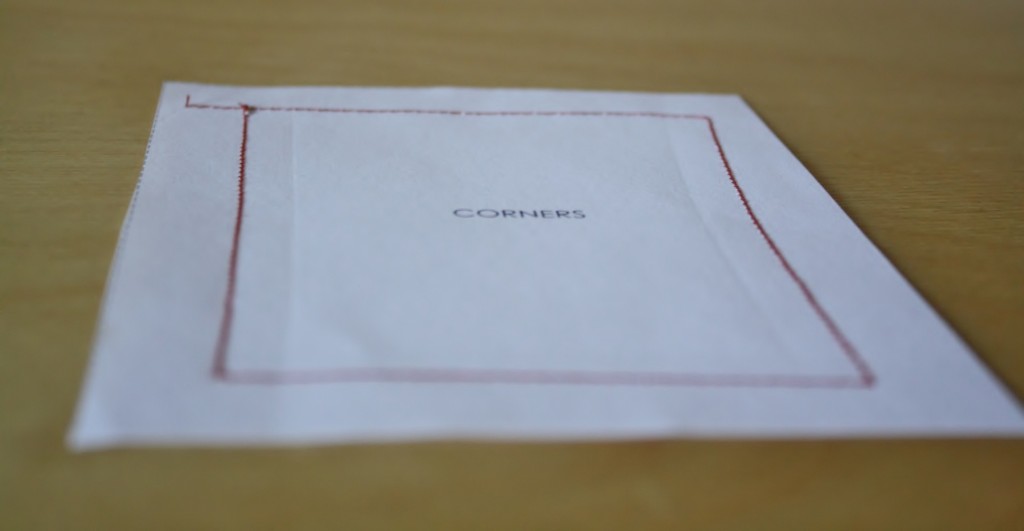
Once they’ve completed all four practices, they can add these samples to their sample book!
HOMEWORK
I like it very much can you make me one hehe
I stumbled upon your e-course tonight and found it a great resource. I’m hoping to incorporate sewing into my life-skills-based special education class this year. I was unable to find things like the practice pages for sewing a straight line. Are these something that is purchased or am I not looking in the correct places?
Thanks!