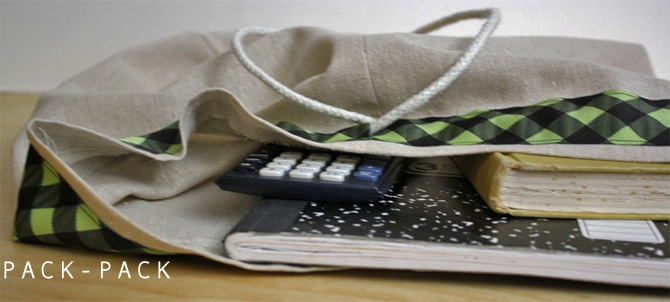
THIS LESSON IS PART OF THE SEWING WITH KIDS E-COURSE
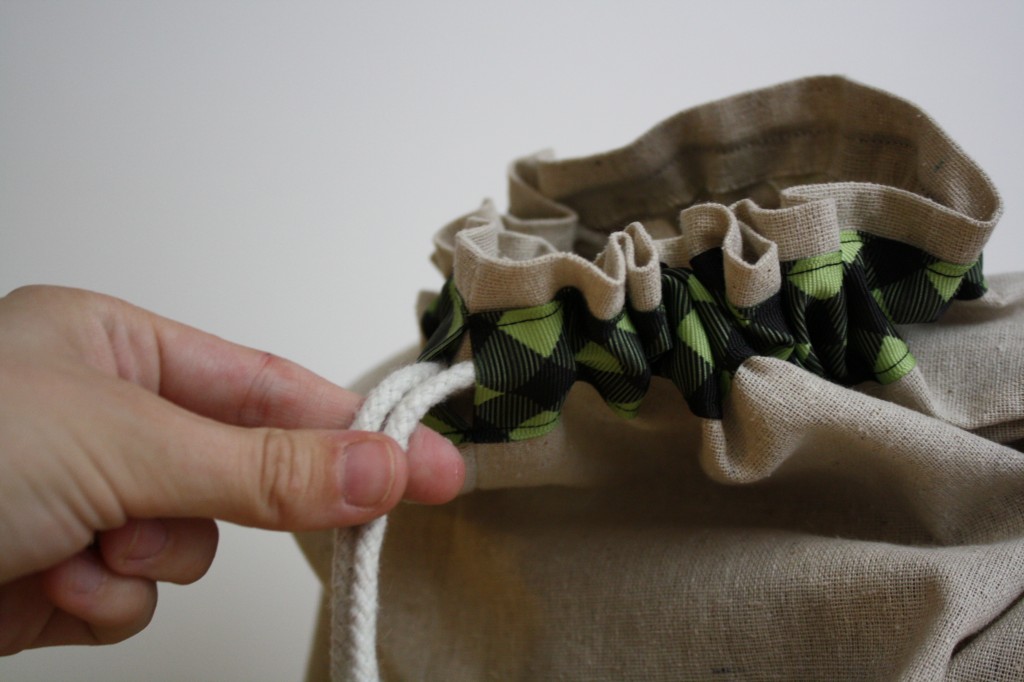
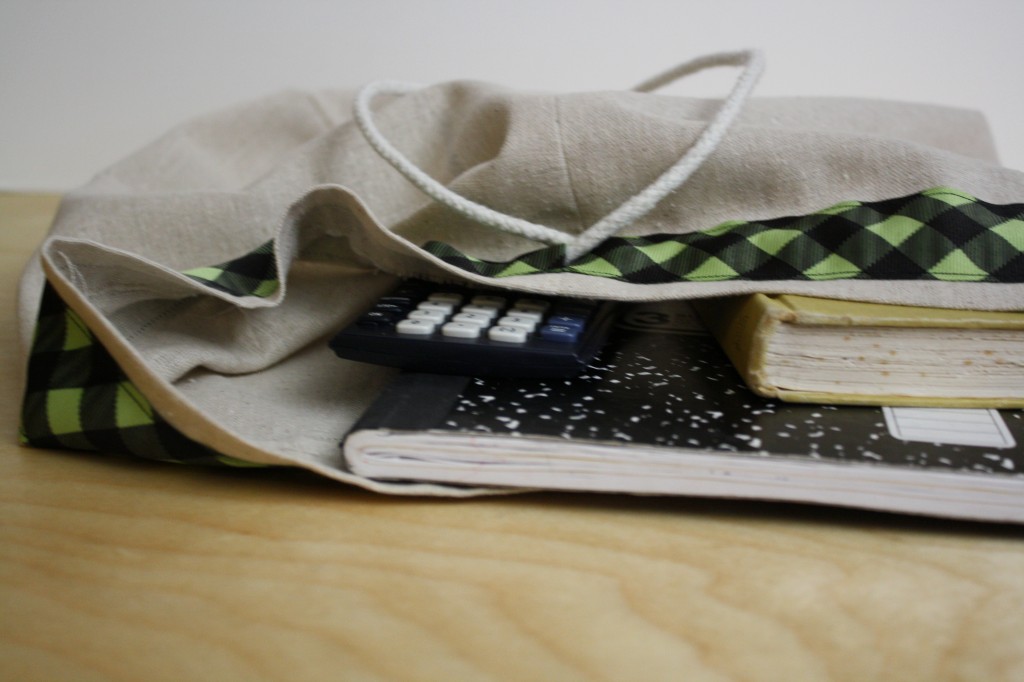
Casing is a tube sewn along an edge to run a drawstring or elastic through so the edge can be tightened and loosened. It’s great for those growing bellies! There is no casing lesson in the Intro and Intermediate sewing courses, but casing is used a lot with growing kids, so it’s a good thing for them to learn. There are countless tutorials out there on how to make casing, see here. This lesson will just teach one, kid friendly way to make casing. It’s bright and easy.
LESSON PREPARATION
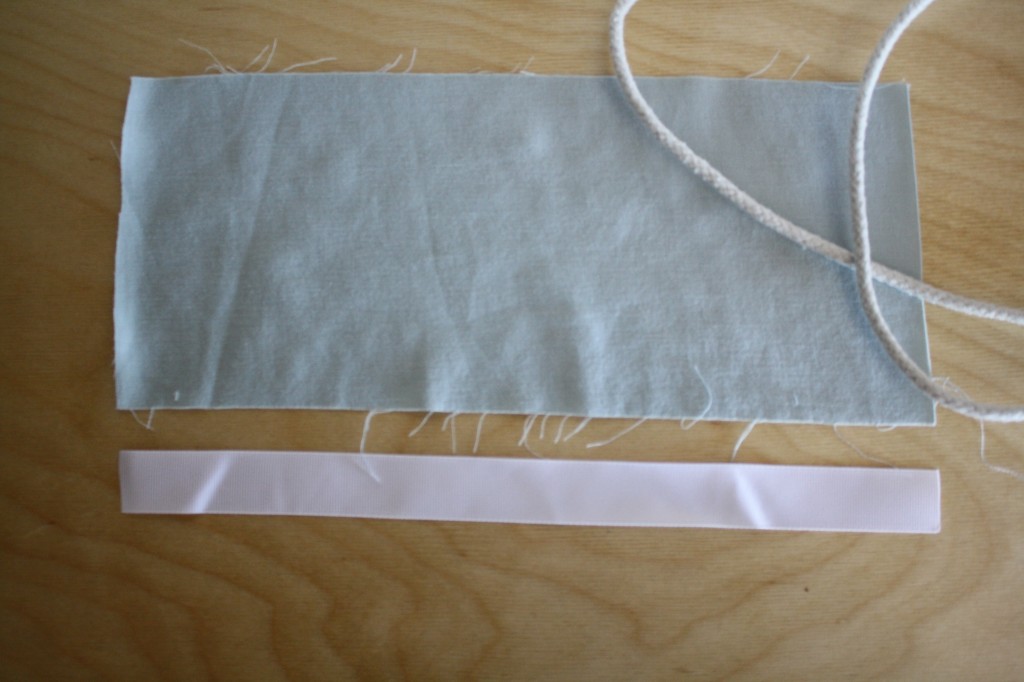
Cut 1 piece of scrap fabric 12″x6″
Cut 1 piece of ribbon (1″ or wider) 12″ long
Have rope or ribbon, smaller than the other ribbon, ready
DEMONSTRATION & PRACTICE
If you’re looking for a finished edge inside, either serge or zigzag the edges of the fabric before sewing the casing.
Fold the fabric in half with right-sides-together and sew all the way down the side using a 5/8″ seam allowance. Press the seam open.
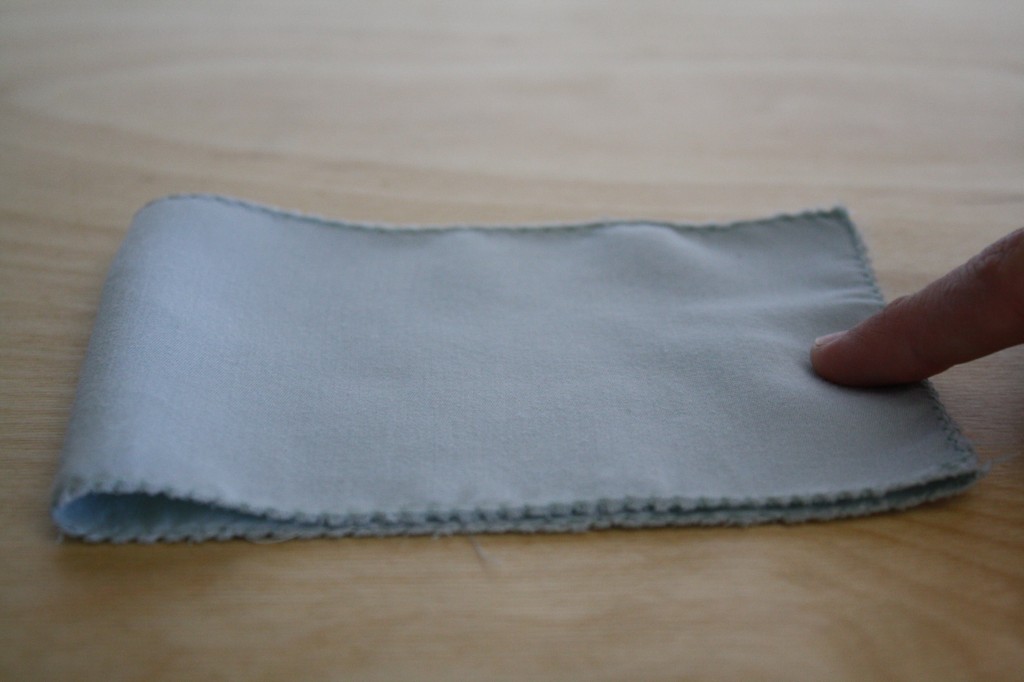
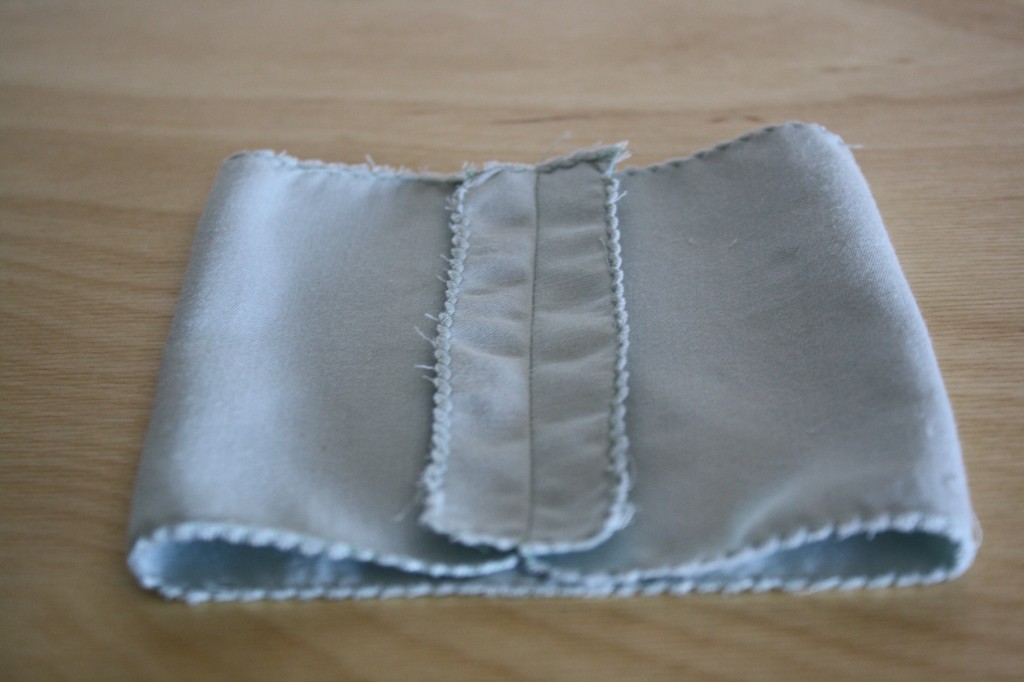
Iron the top edge down 1″ to the wrong side.
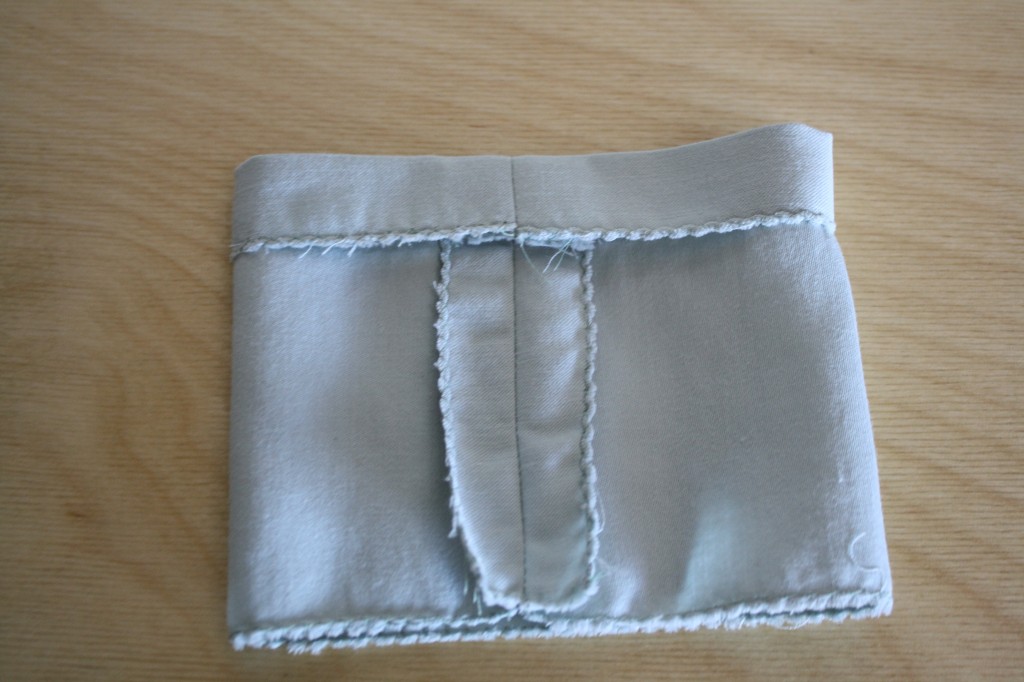
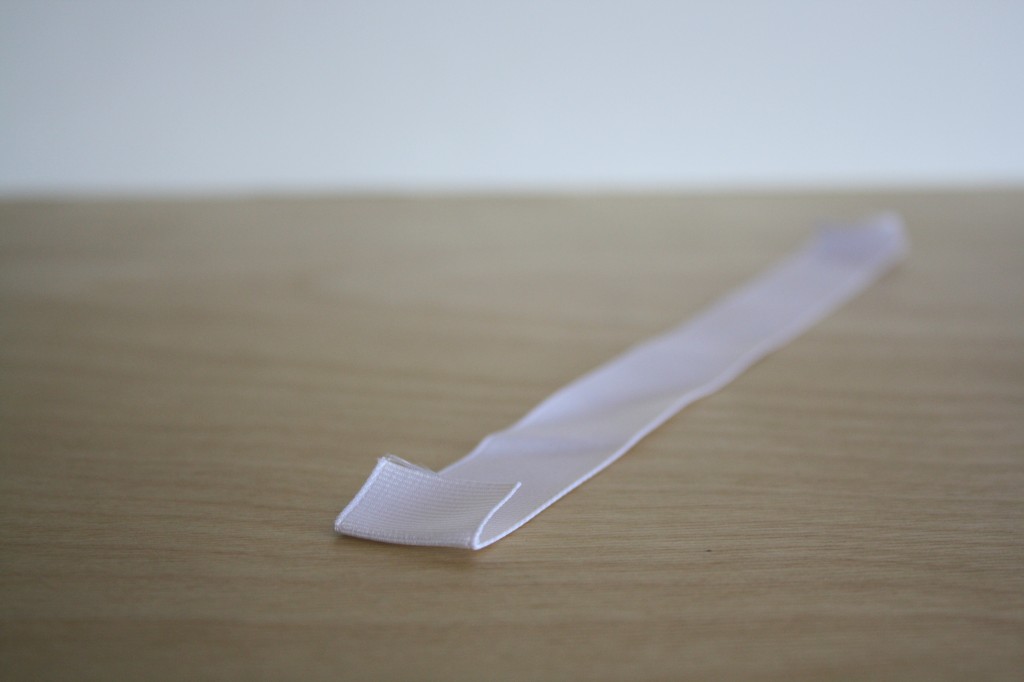
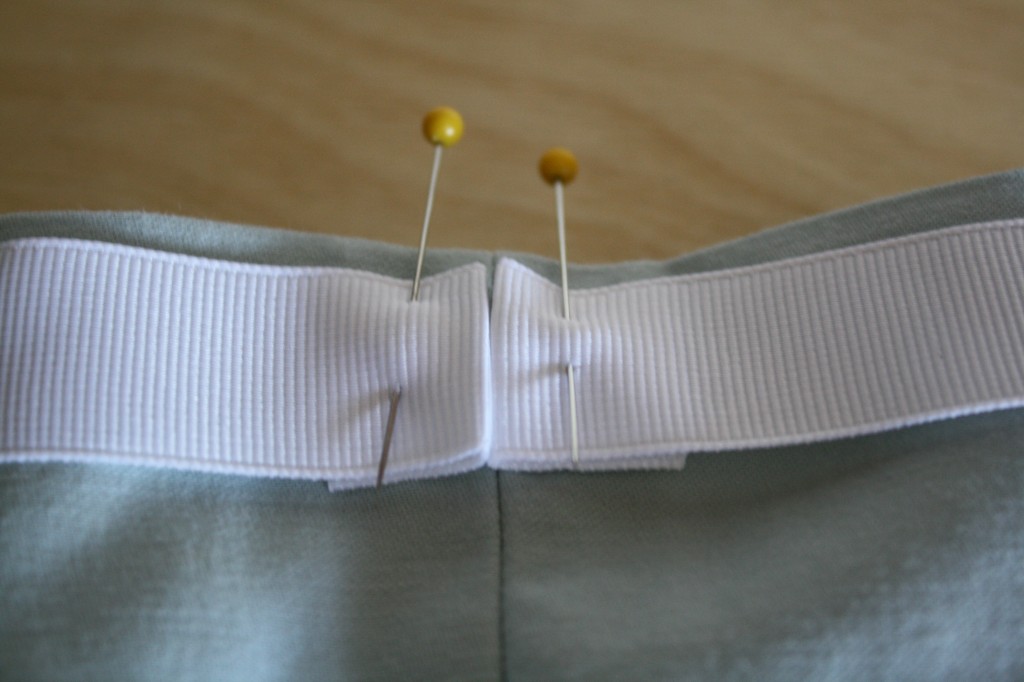
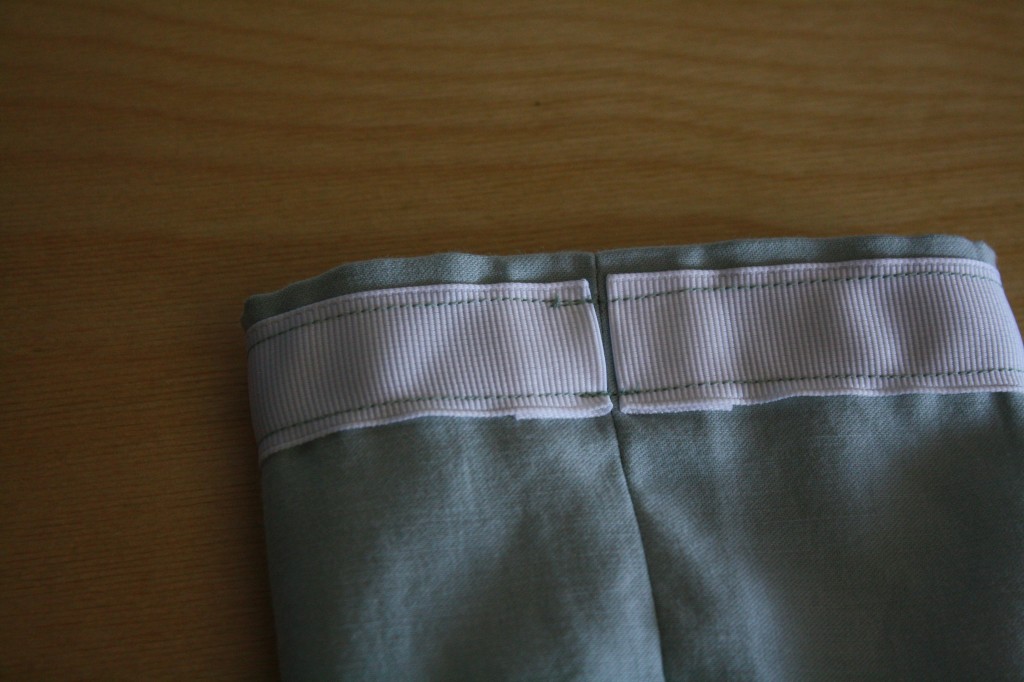
Iron both ends of the ribbon under 5/8″ (the same as the seam allowance). Line the ends of the ribbon with the side seam, and pin it all the way around near the top edge on the right side of the fabric (the inside of the tube).
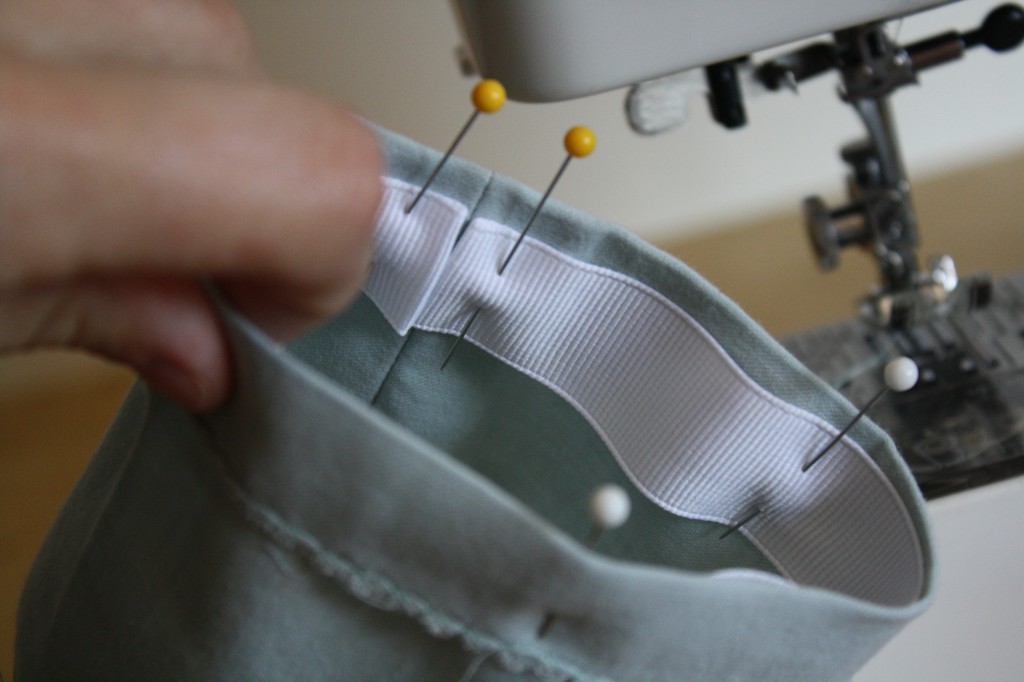
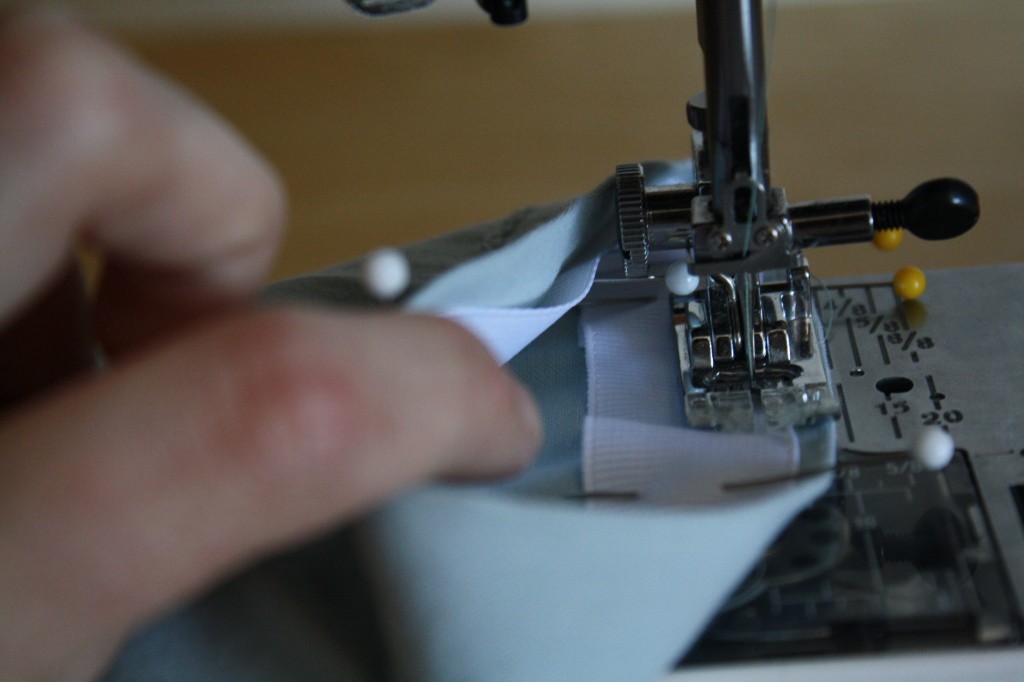
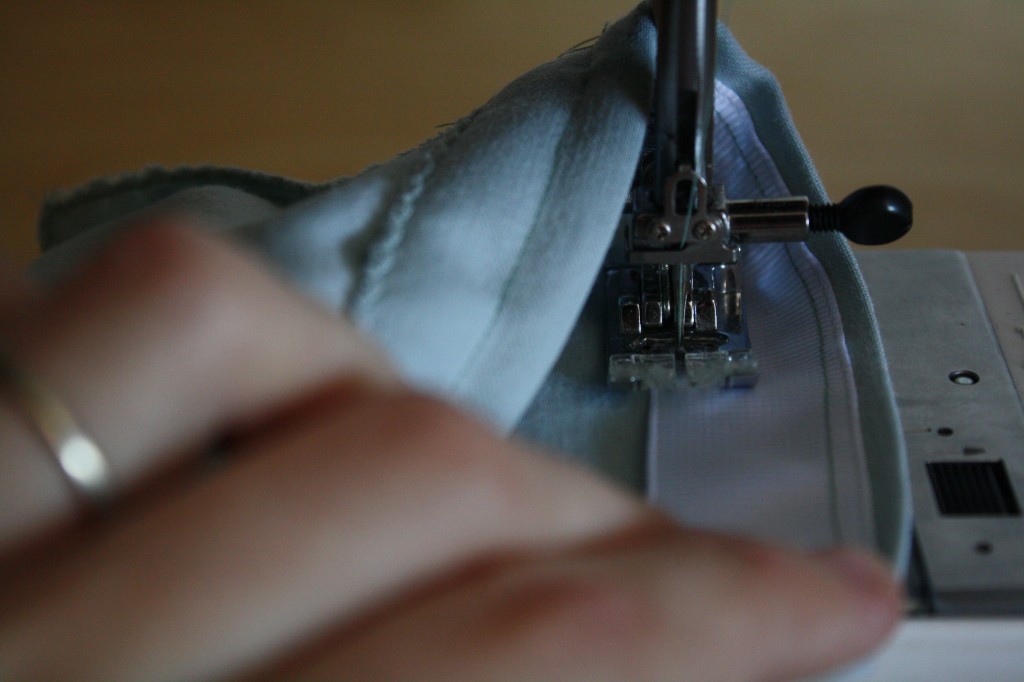
Top-stitch along the top and bottom of the ribbon. The casing opening is in-between the edges of the ribbon.
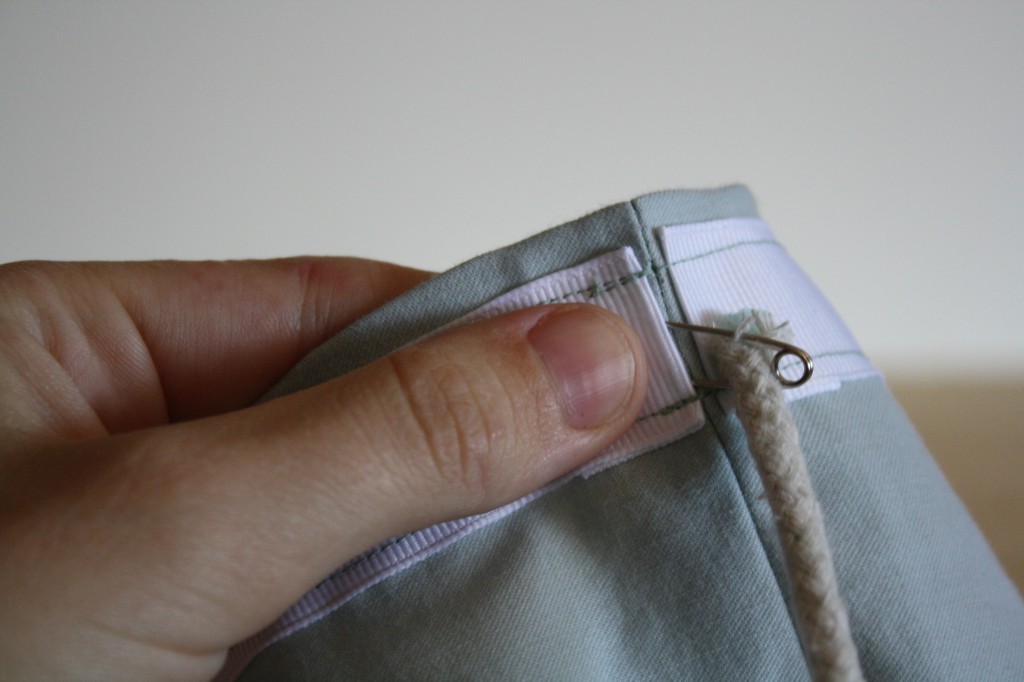
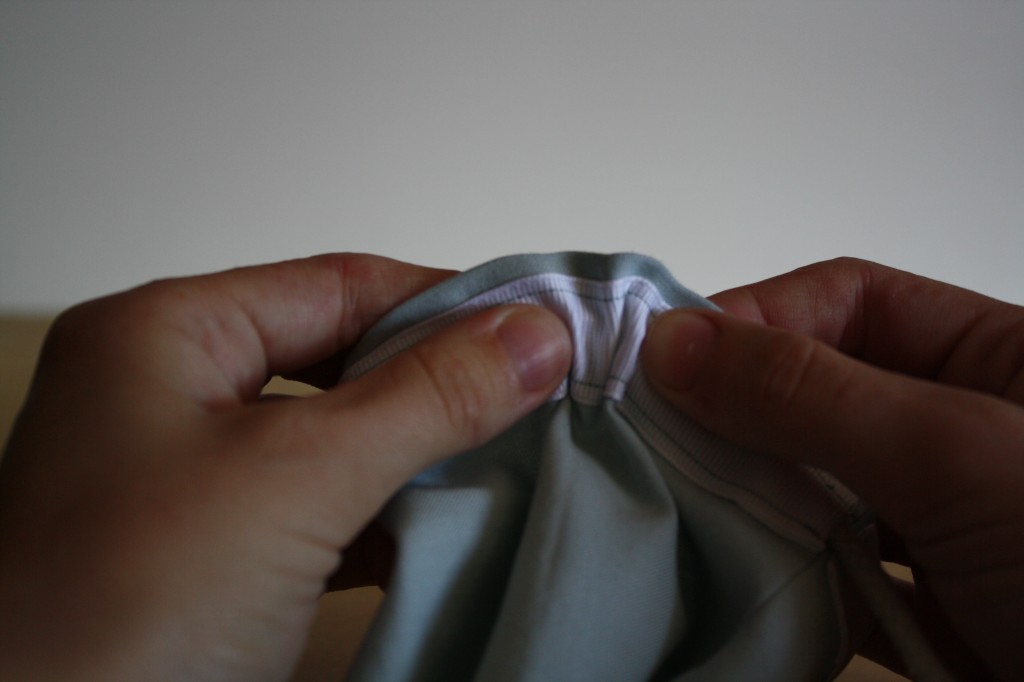
Pin the end of your drawstring to a small safety pin, and push it all the way through. Tie knots at both ends of the drawstring to prevent it from getting lost inside the casing.
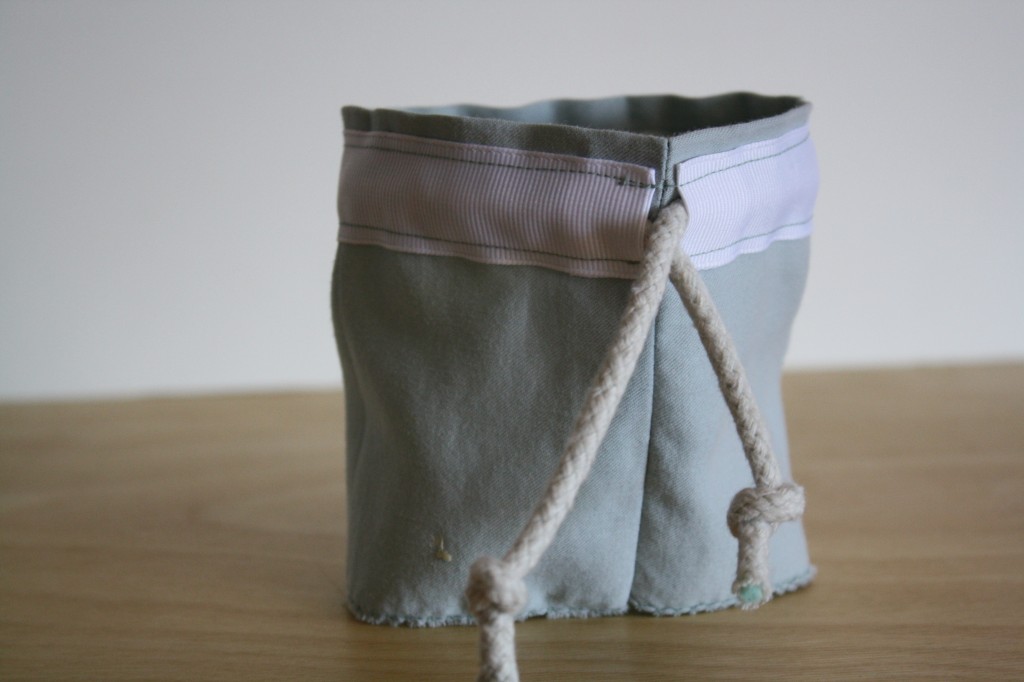
It’s a simple method, where you don’t need to worry about skipping or ripping stitches, and with the freedom to choose any ribbon, it makes the casing a lot more fun.
HOMEWORK
