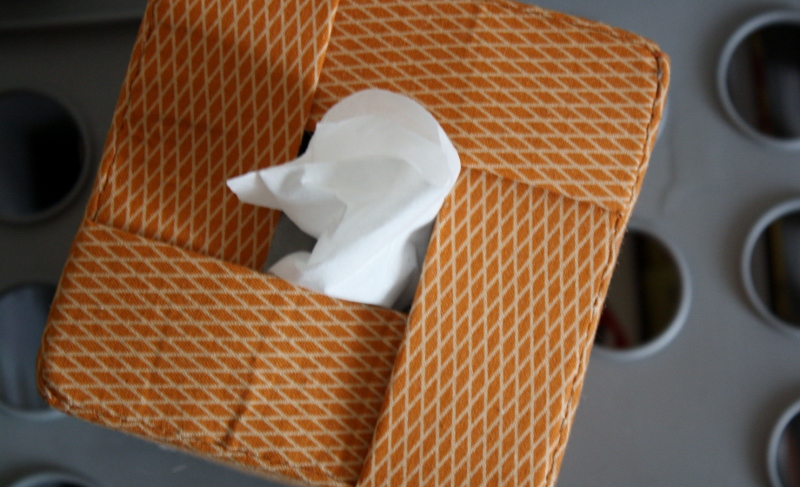
When my husband gets a cold he keeps a roll of toilet paper by his side of the bed. This leaves us with a few issues. First, it’s a roll of toilet paper- stationed on the nightstand… not my favorite. Second, and much more significant, he usually steals it from the bathroom leaving me, or anyone else, stranded in a time of need. After years of this, I finally got with the program and bought our first ever box of actual tissues. And in just a few steps, we’ll put together a tissue box cover.
My favorite part about it… the criss-crossed top.
MATERIALS NEEDED
printable pattern
2/3 yd. fabric
1/3 yd. very heavy fusible interfacing
matching thread
INSTRUCTIONS
Use a 5/8″ seam allowance.
1. Print out the PATTERN PIECES and cut out the fabric (the bold outer line of the pattern) and the interfacing (the dotted line of the pattern).
2. Starting with the side pieces, center the interfacing resin-side-down (the glue side) onto the wrong side of the fabric pieces. Iron the interfacing to the fabric, leaving a 5/8″ seam allowance around all 4 sides.
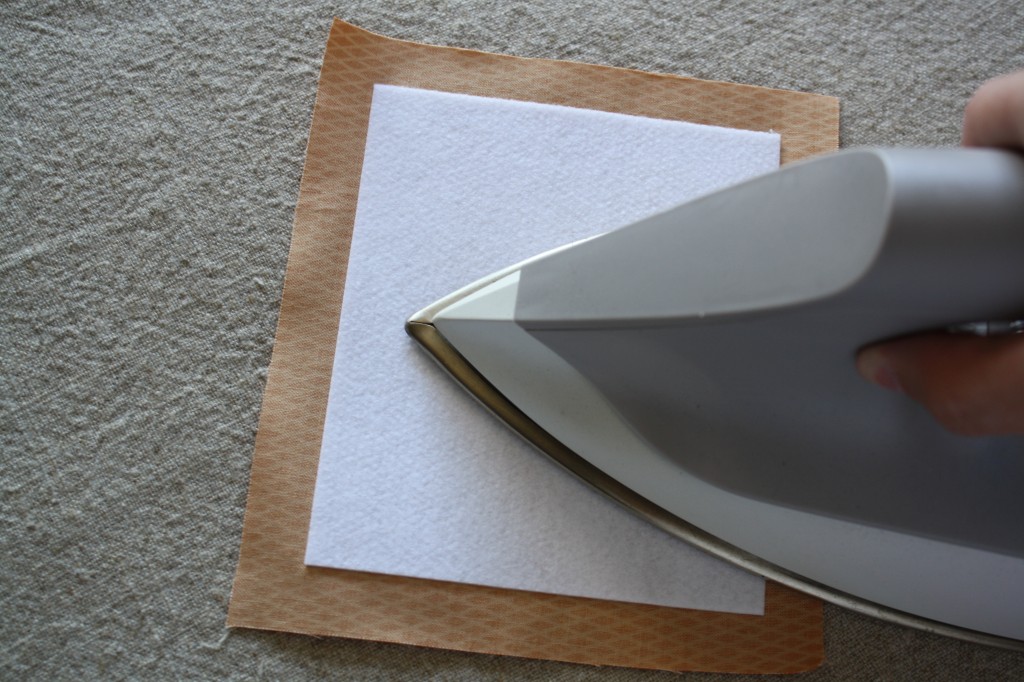
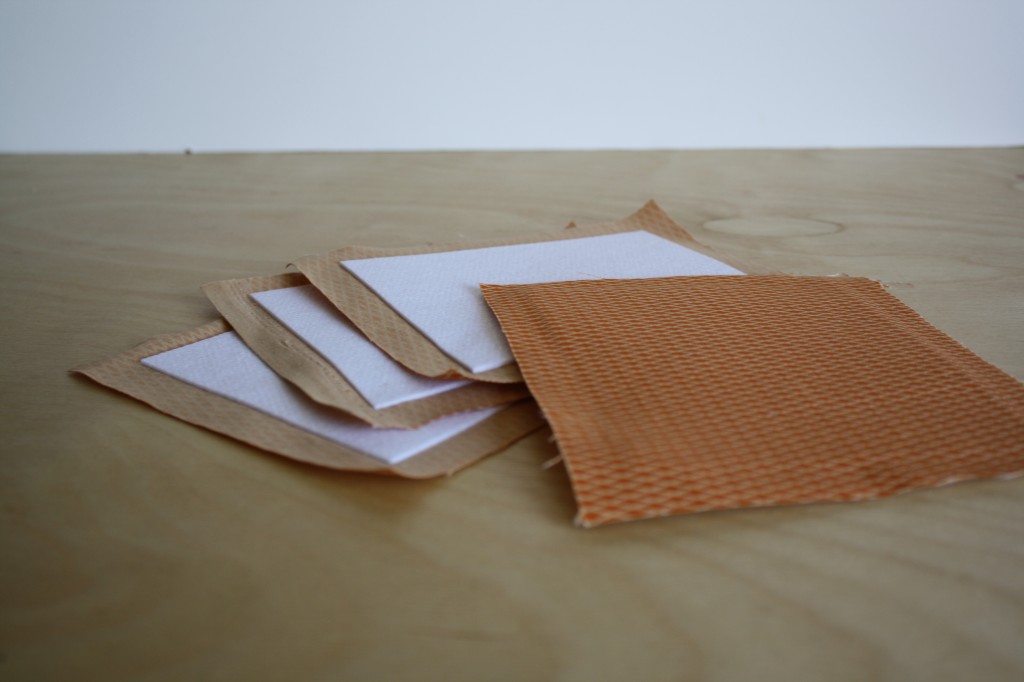
3. Next iron the top pieces in half with wrong-sides-together. Open the piece back up and line the interfacing with the ironed crease, and leaving 5/8″ seam allowance on the other 3 sides.
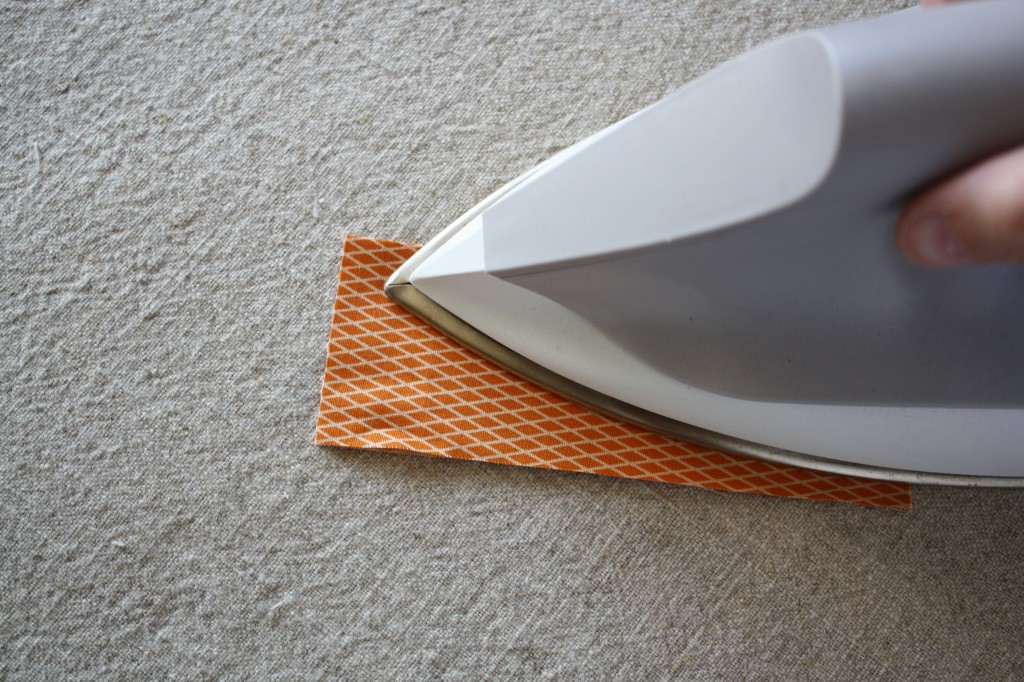
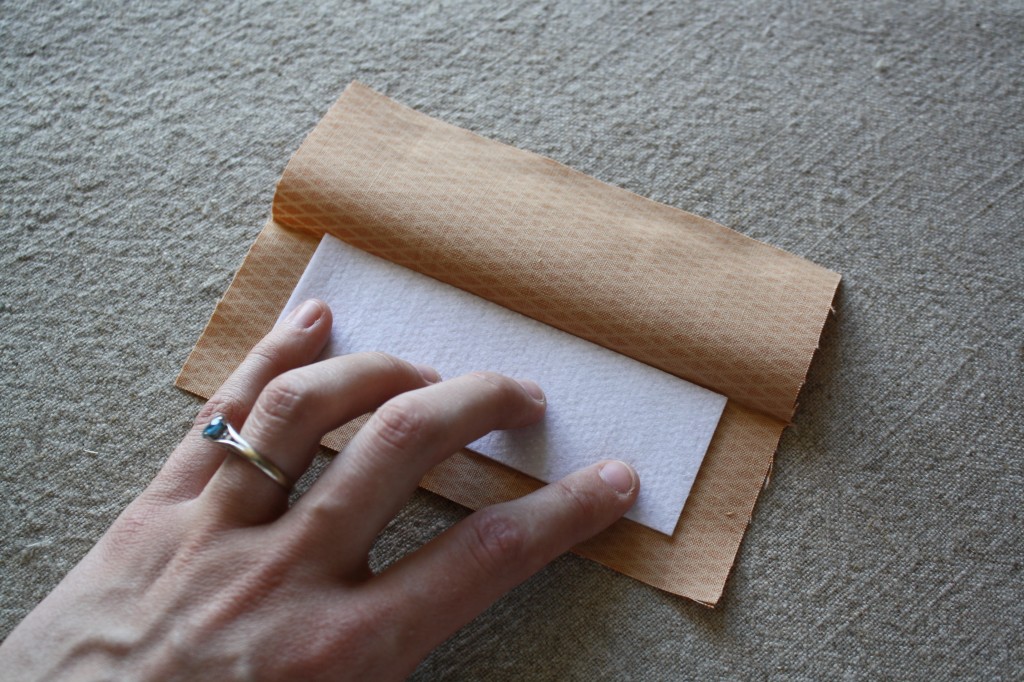
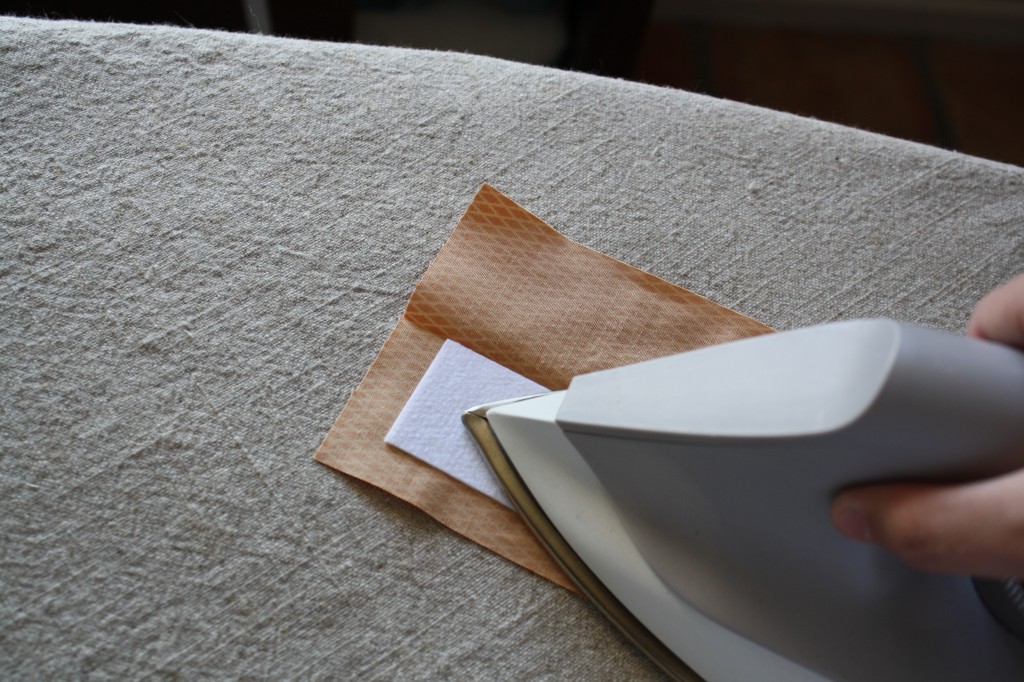
Fold each top piece back in half.
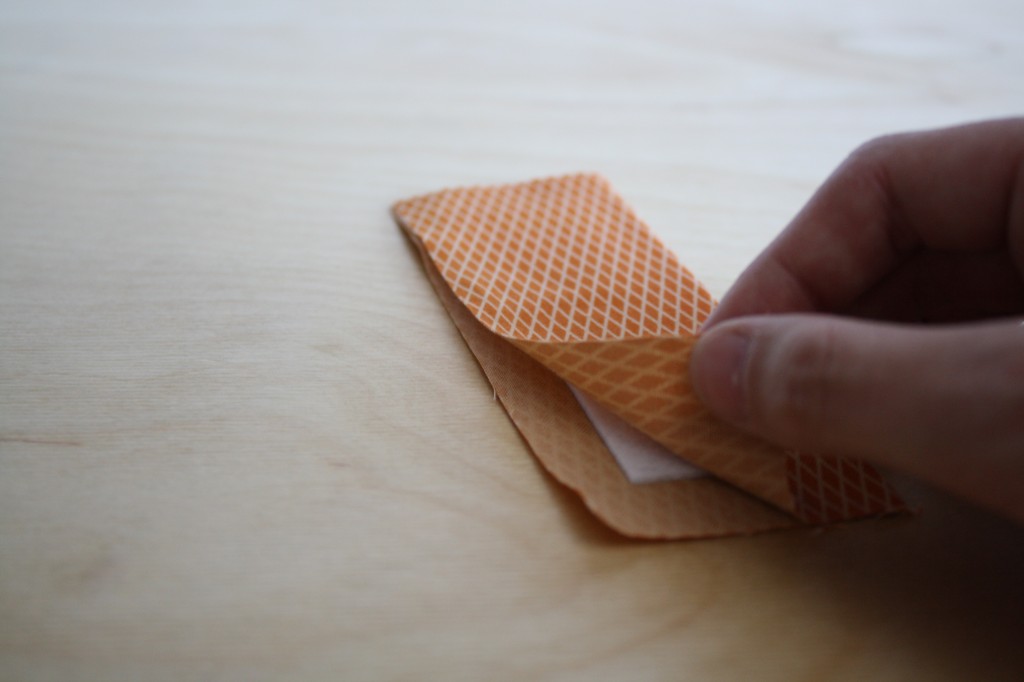
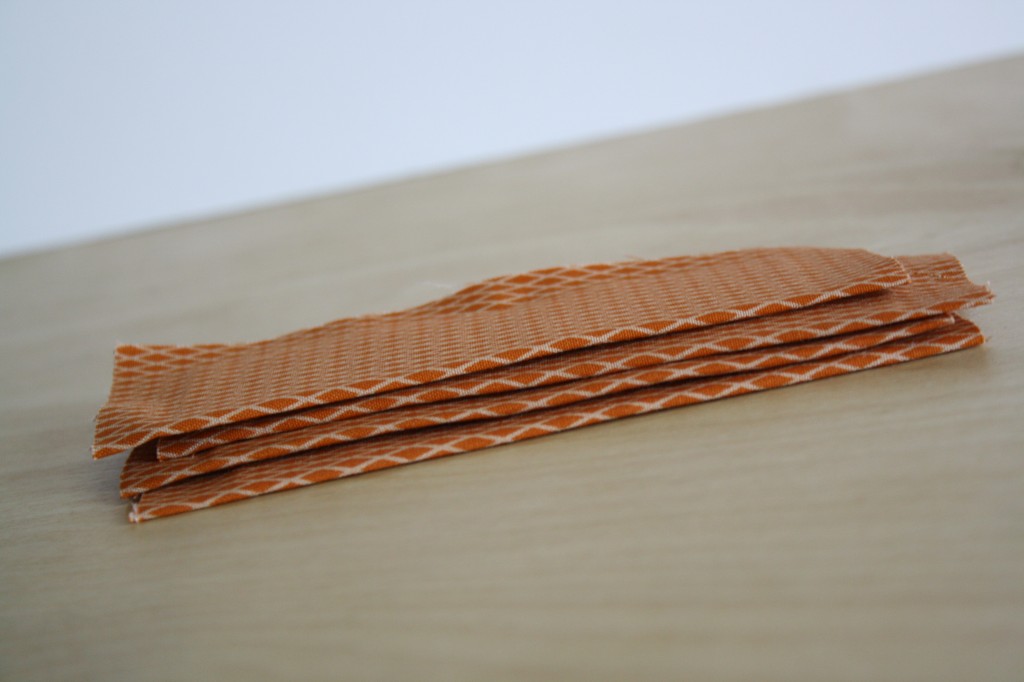
4. Line two side pieces (the bigger pieces) with right-sides-together and sew down one of the longer sides, using a 5/8″ seam allowance.
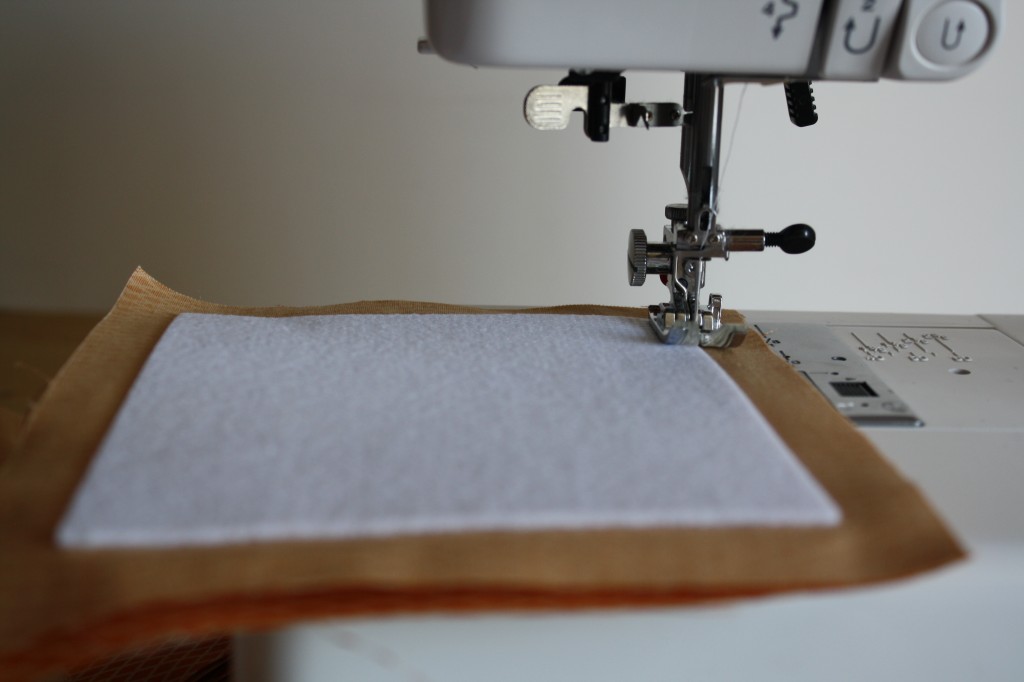
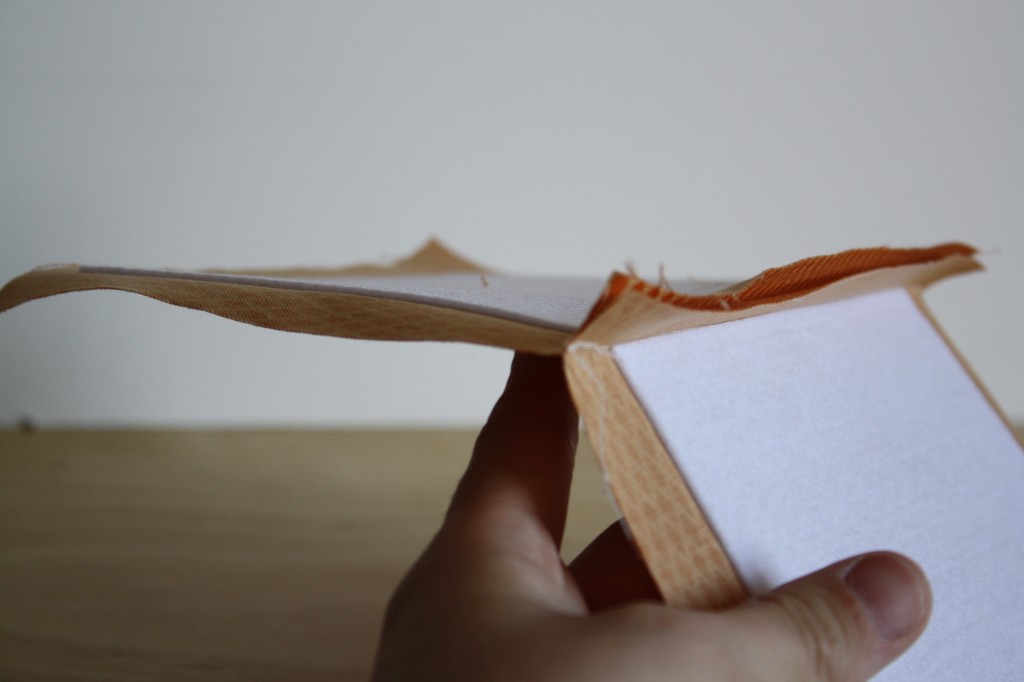
5. Sew the other 2 side pieces to the first two, the same way. This creates a line of side pieces.
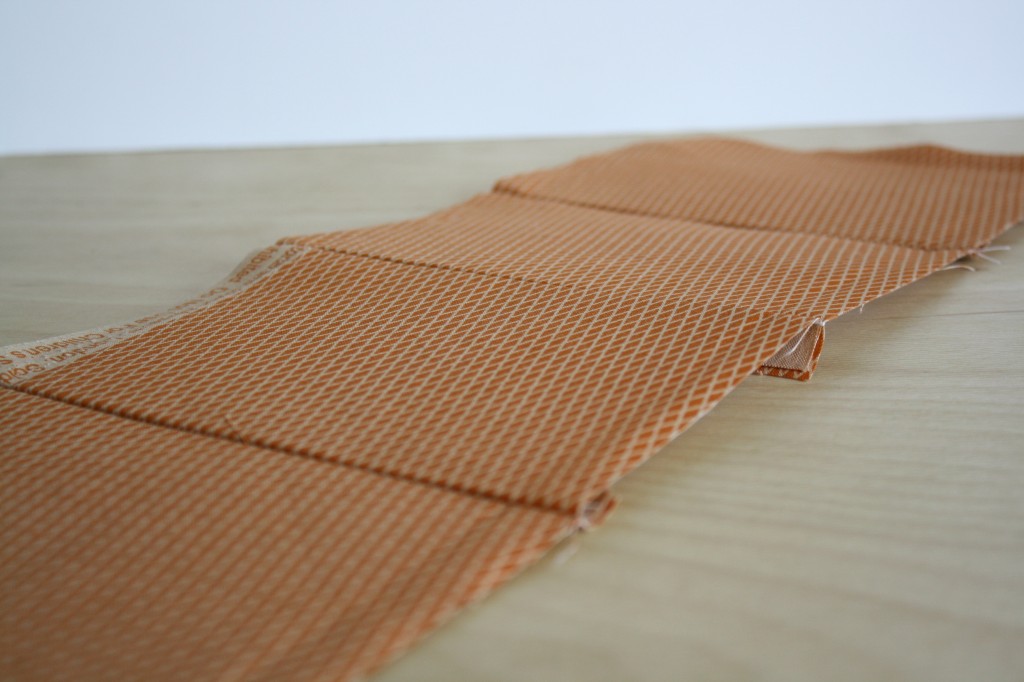
6. Line the remaining raw edges up with right-sides-together and sew down the length of the side, creating a hollow box.
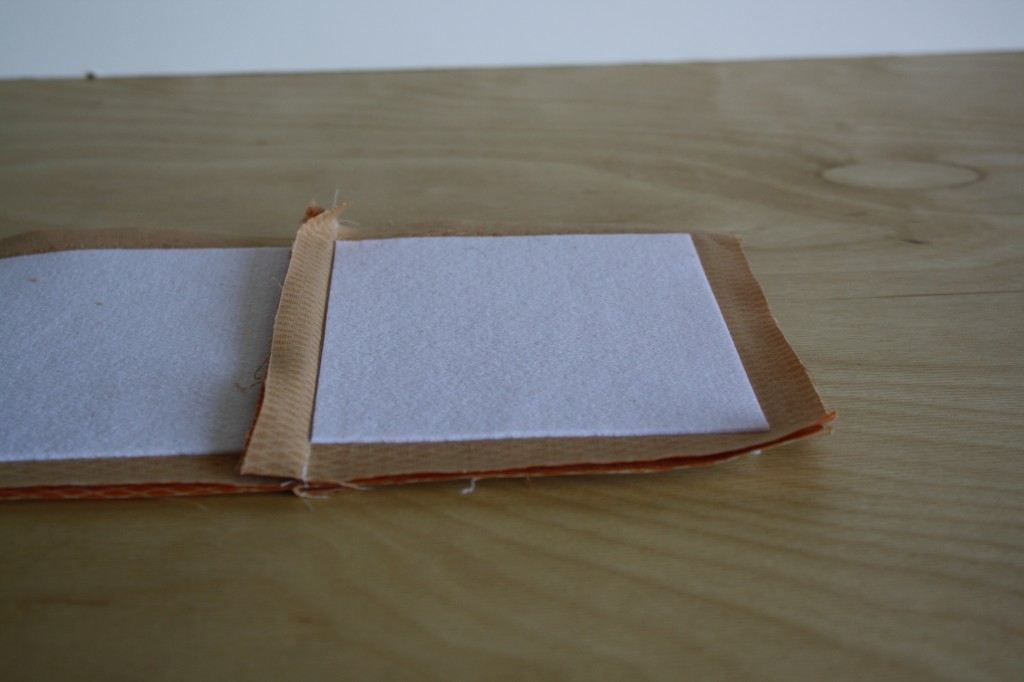
7. Fold the bottom edges under to the wrong side, using the edge of the interfacing as a guide. Sew around the hem.
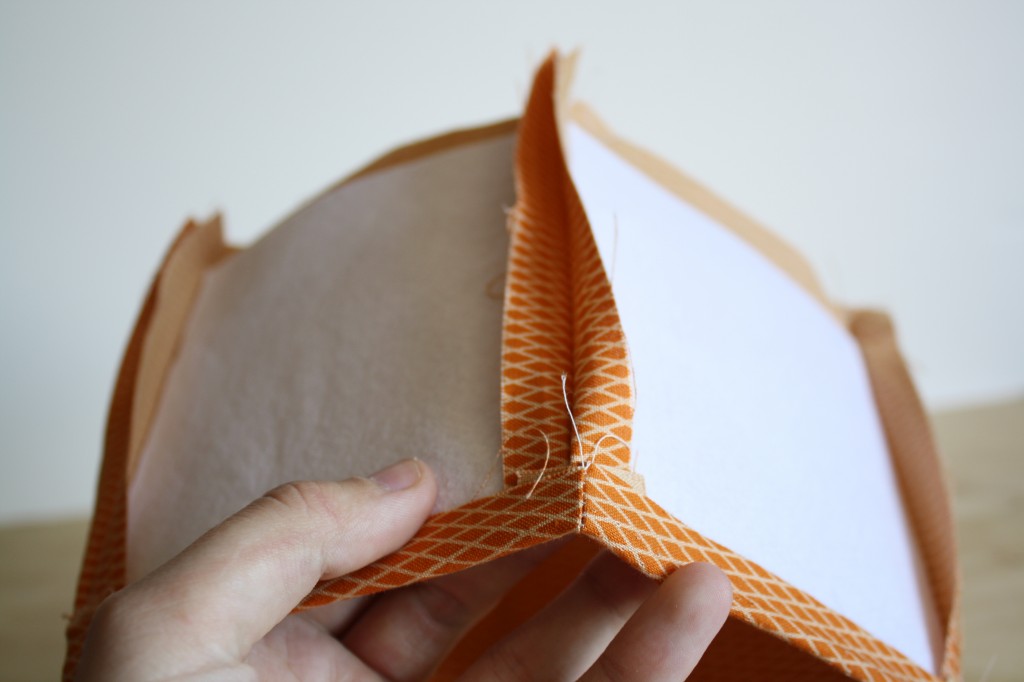
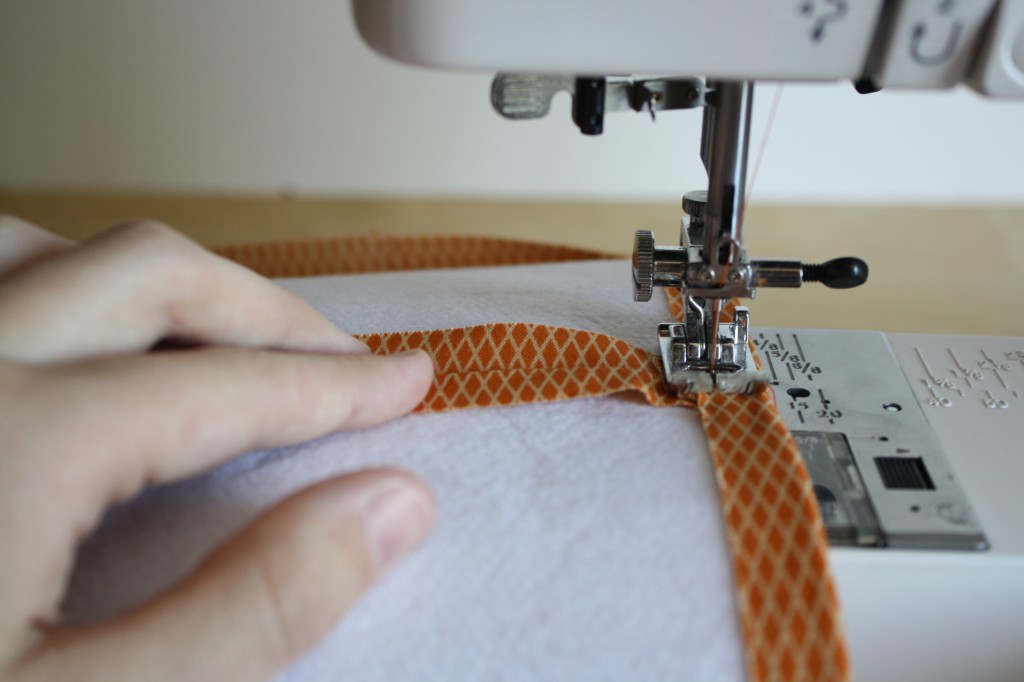
8. Turn the box right-side-out (with heavy interfacing, this can be tricky), and press the raw edges under to the wrong side.
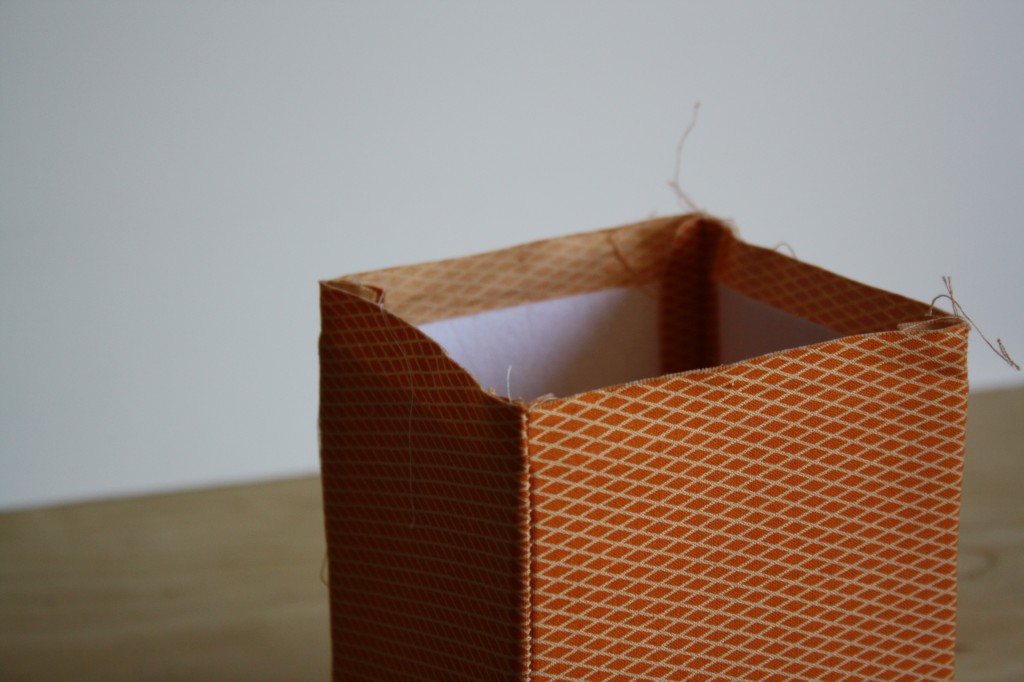
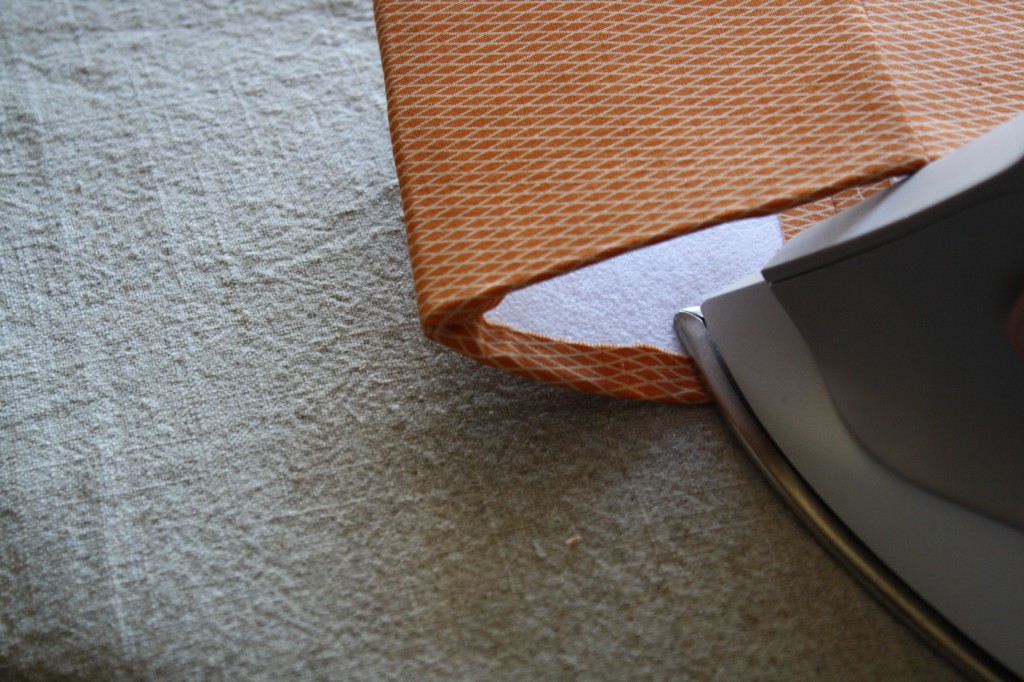
9. Criss-cross the side pieces, making a square, with left over- right under. The folded edges should be facing the center, and the raw edges should be along the outside of the square.
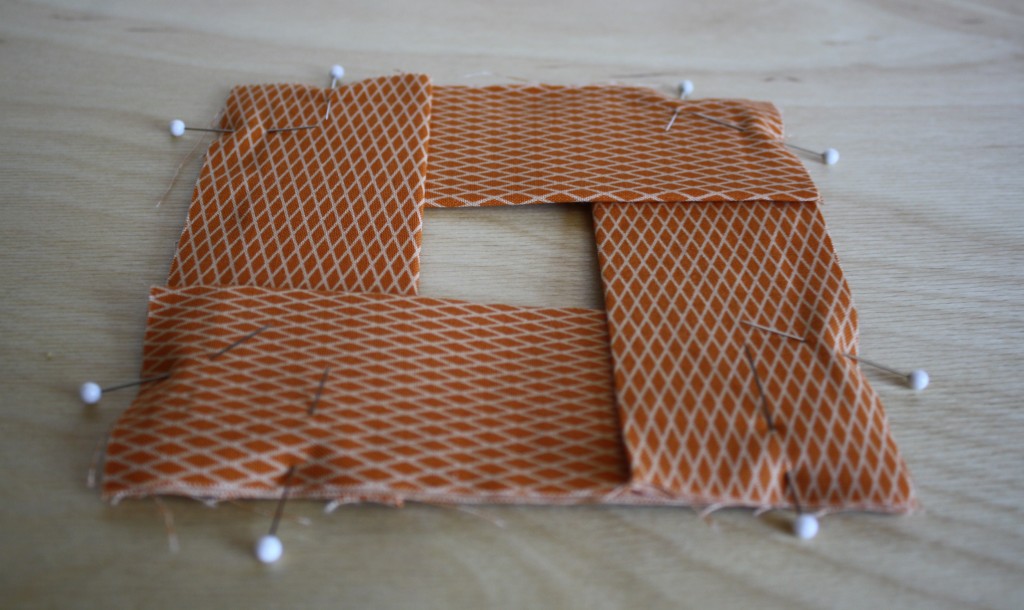
10. Baste (stitch lengthened) along all 4 sides.
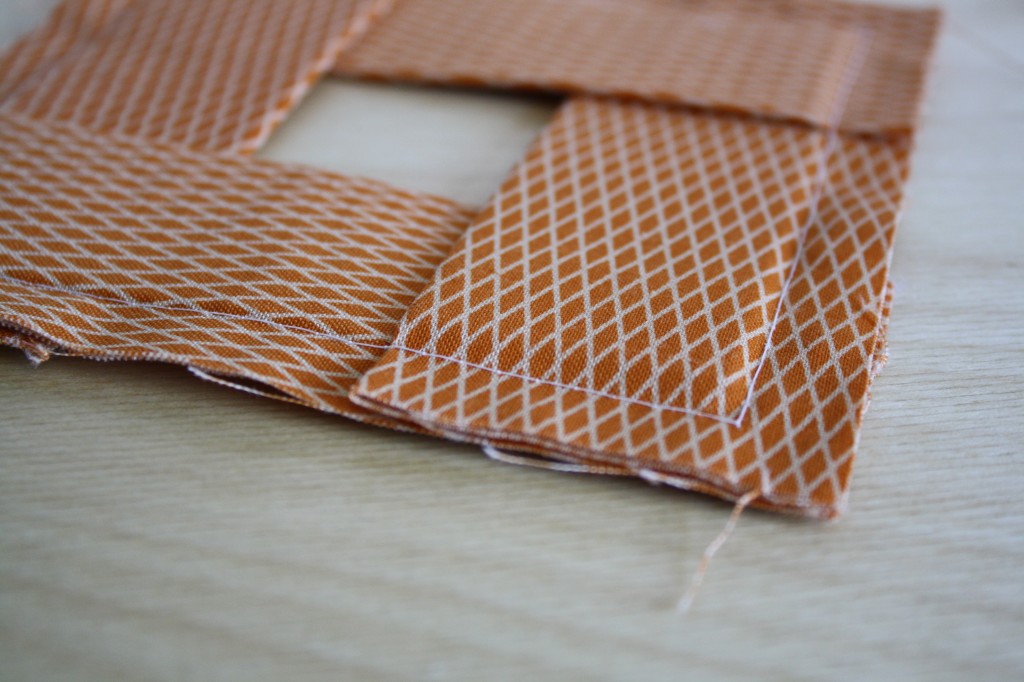
11. Set the top inside the box. I found it easiest to do this coming up from the inside of the box.
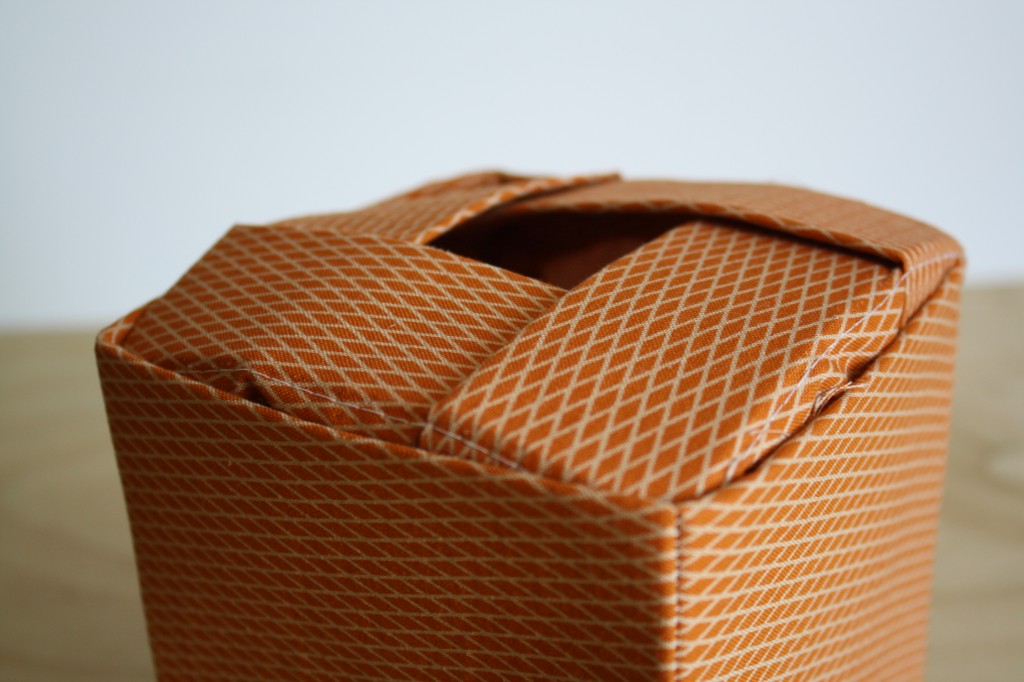
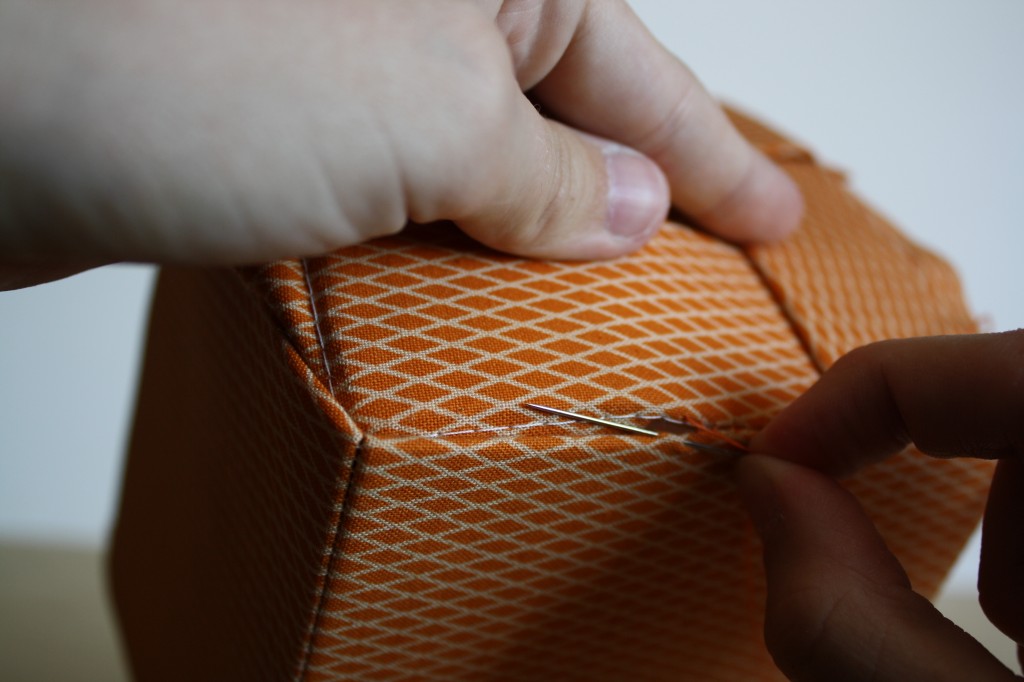
12. Use a ladder stitch to fasten the top to the sides.
Then just slip the cover over a square tissue box.
