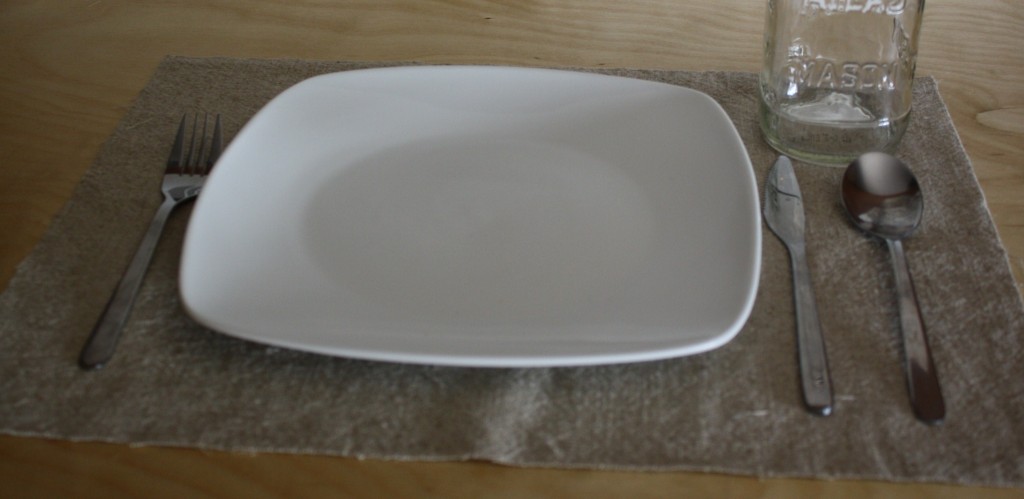
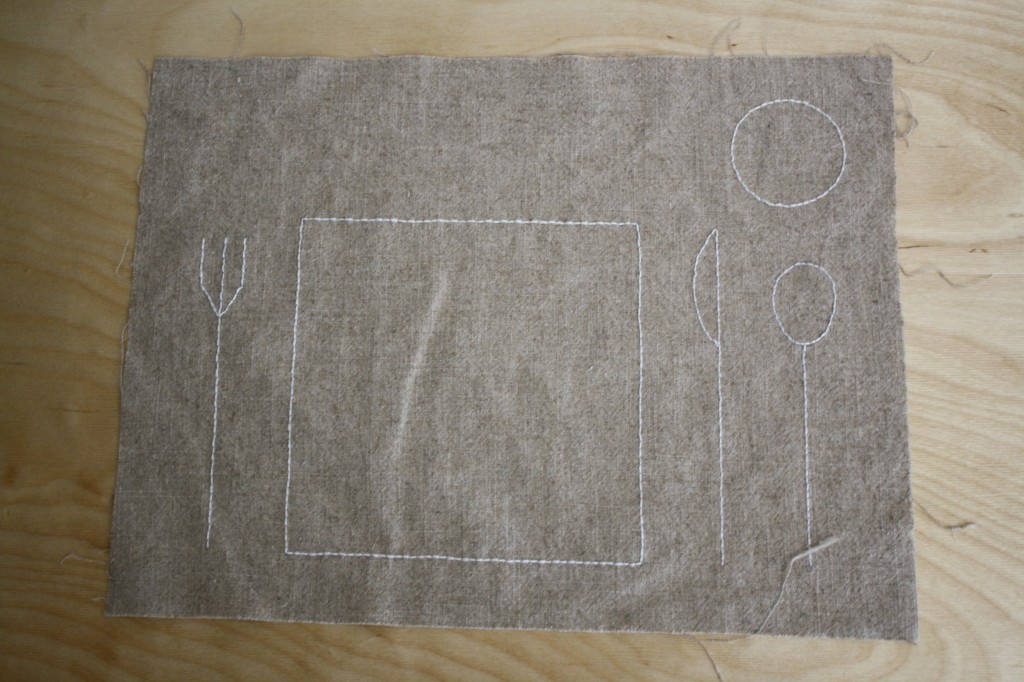
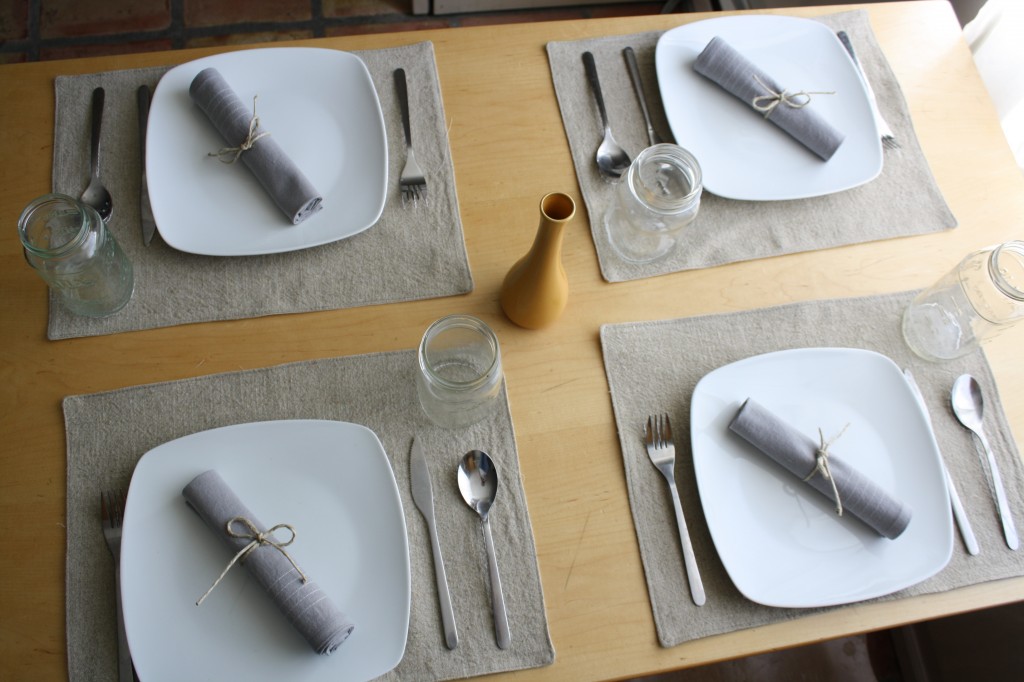
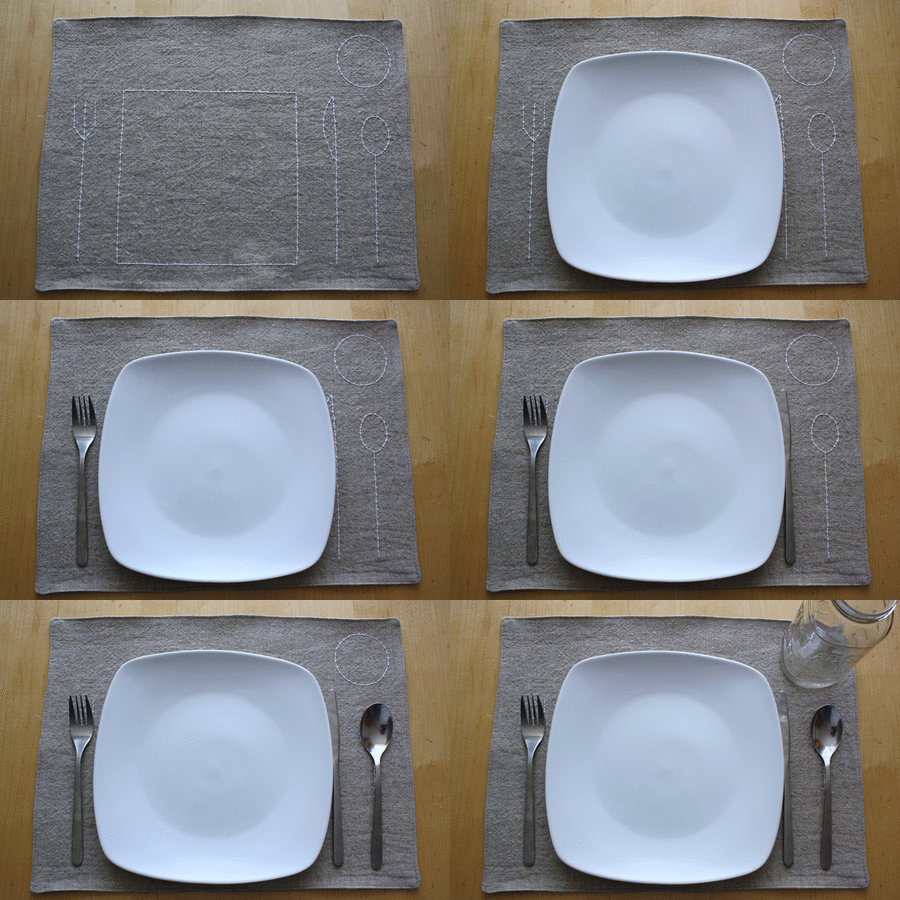
The idea behind the Placed Mats is that they have a template stitched onto them, showing where each element of the table setting goes. It’s great for teaching kids to set the table, but I’d even be excited about them if I didn’t have kids.
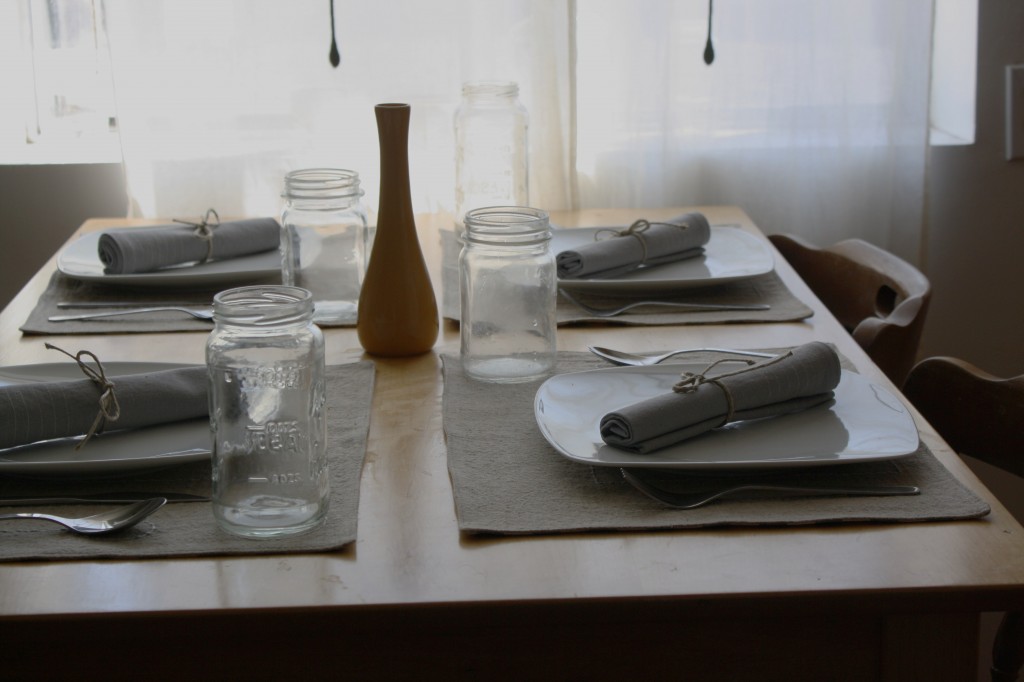
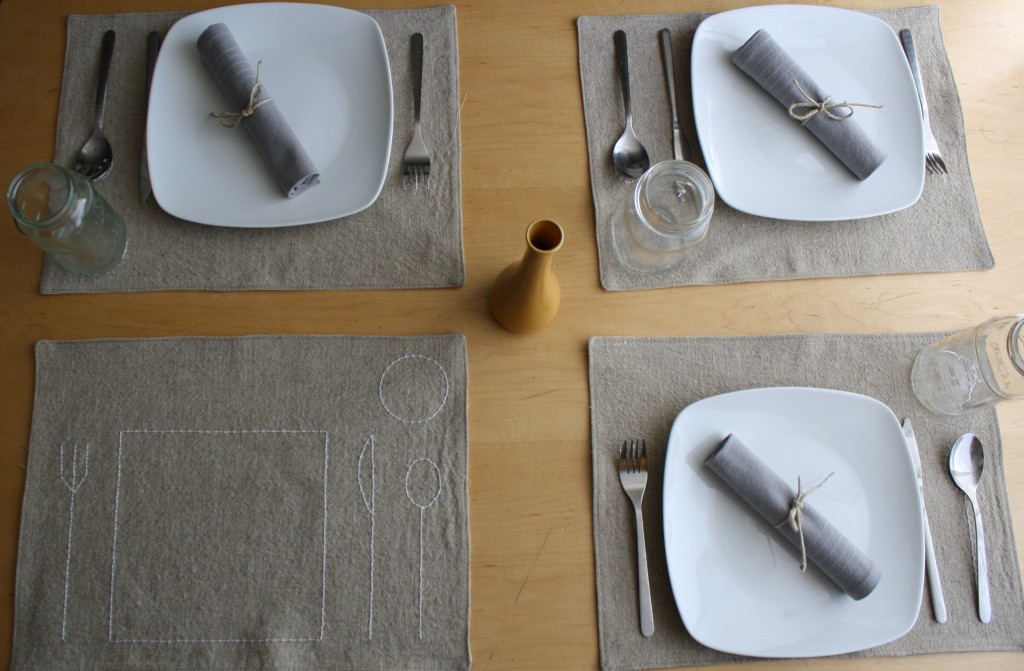
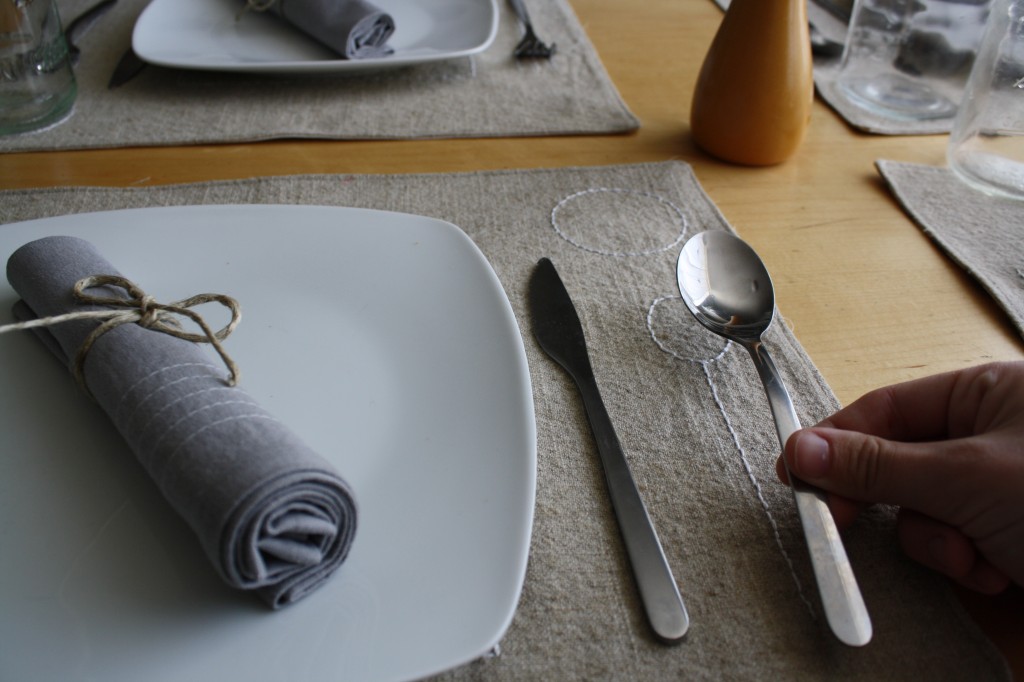
***NOTE: This pattern is for a set of 4 placemats***
MATERIALS NEEDED
1 1/2 yds. fabric (or 3/4 yds. of 2 contrasting fabrics)
Matching thread
Embroidery floss to contrast fabric
Large hand needle
INSTRUCTIONS
1. Start by cutting out the fabric for the placemats. You’ll need 8 pieces cut 14″x18″. These can all be cut from the same material, or half of them can be cut from a contrasting fabric for the back side of the placemats.
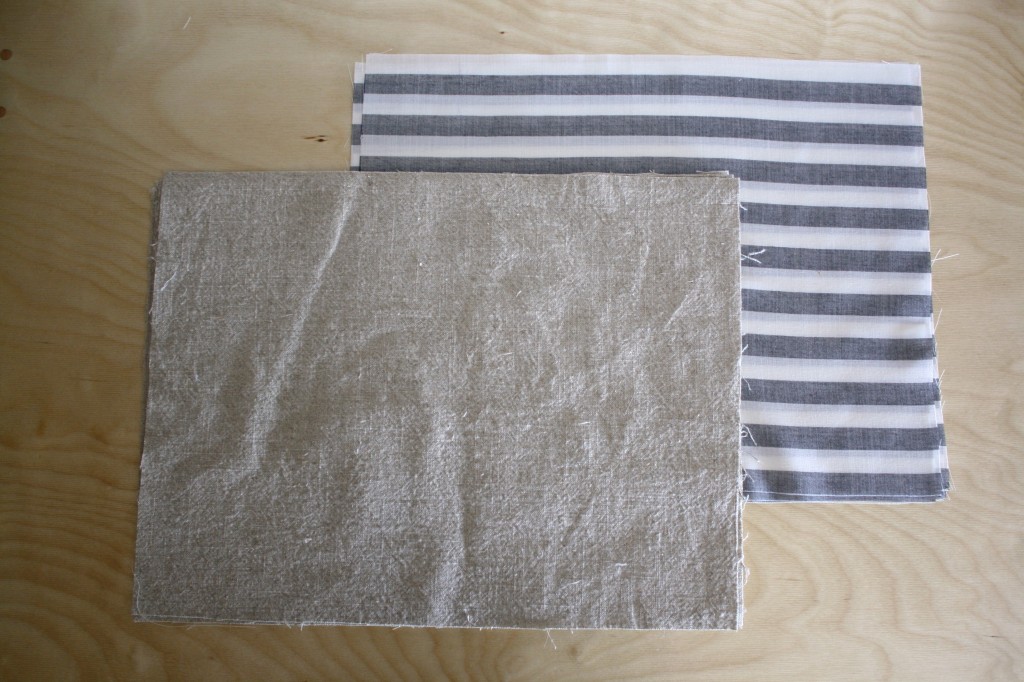
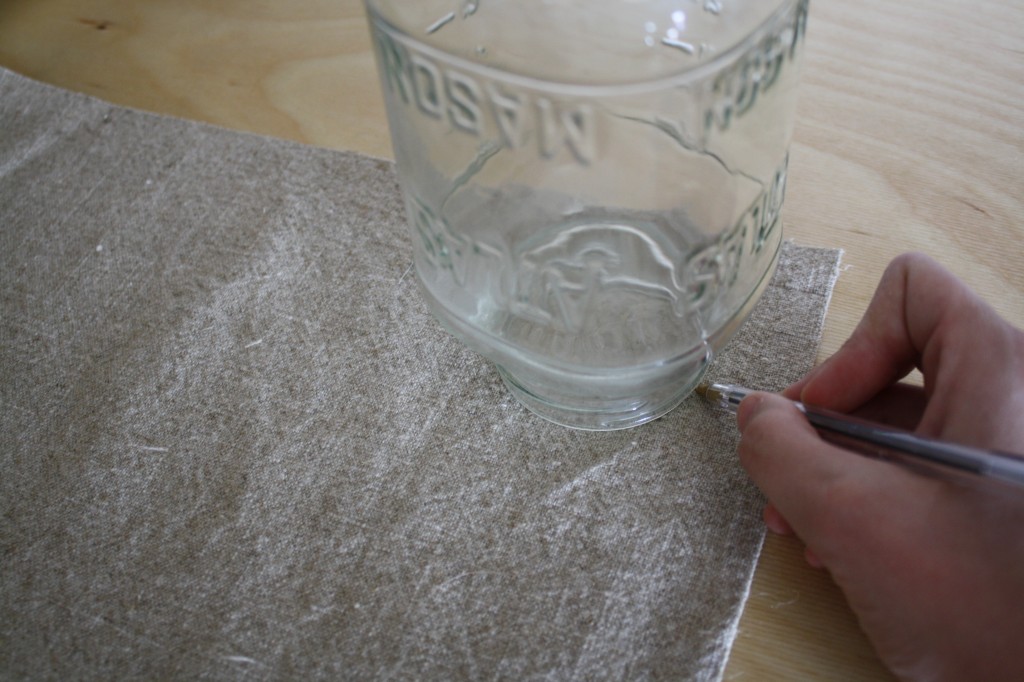
2. Separate the pieces into two piles, fronts and backs. Start with the fronts and put your table settings in place on the placemat. Trace each element lightly with a pen (for simplicity’s sake, you may want to keep the silverware geometric, as pictured below).
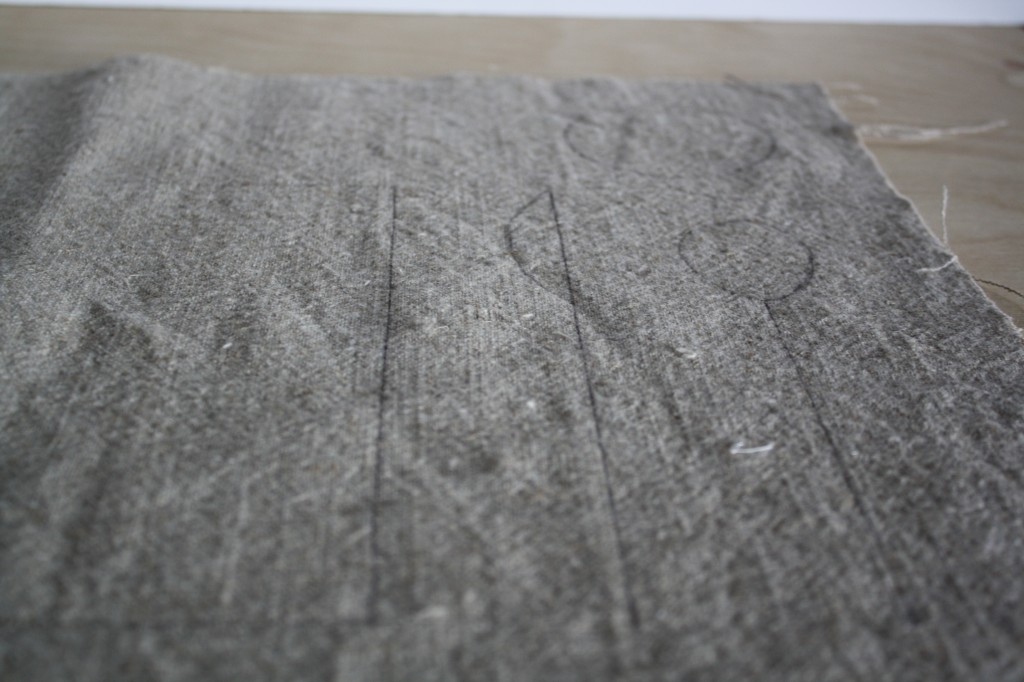
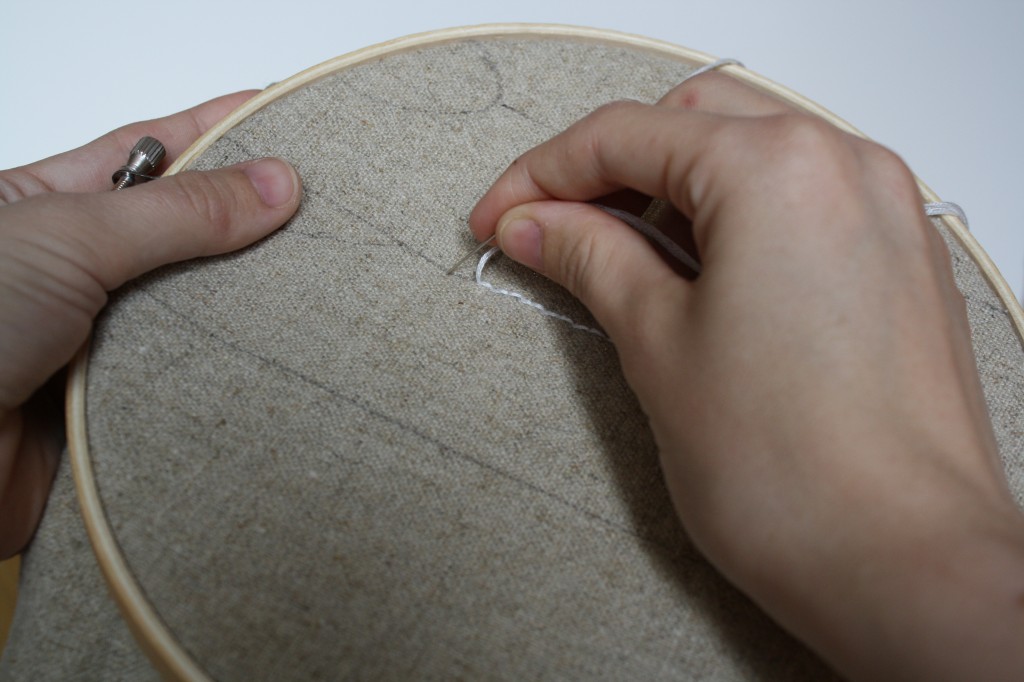
3. Use the embroidery floss and hand needle to back stitch the table setting onto the placemat piece. Do this on all of the placemat fronts.
4. Line up each front and back piece RIGHT-SIDES-TOGETHER and pin.
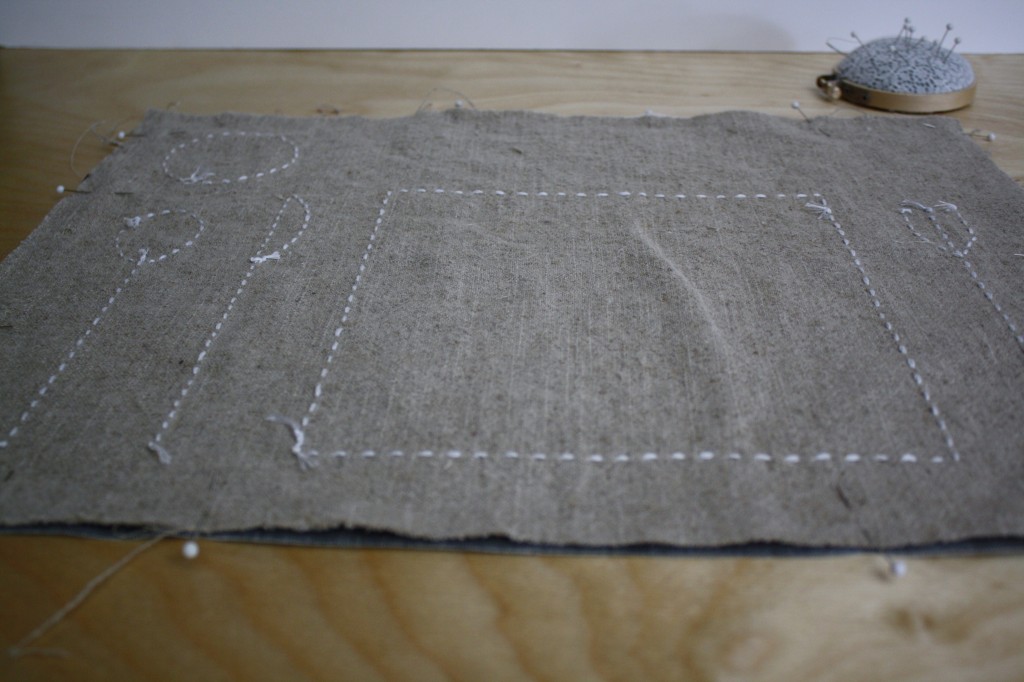
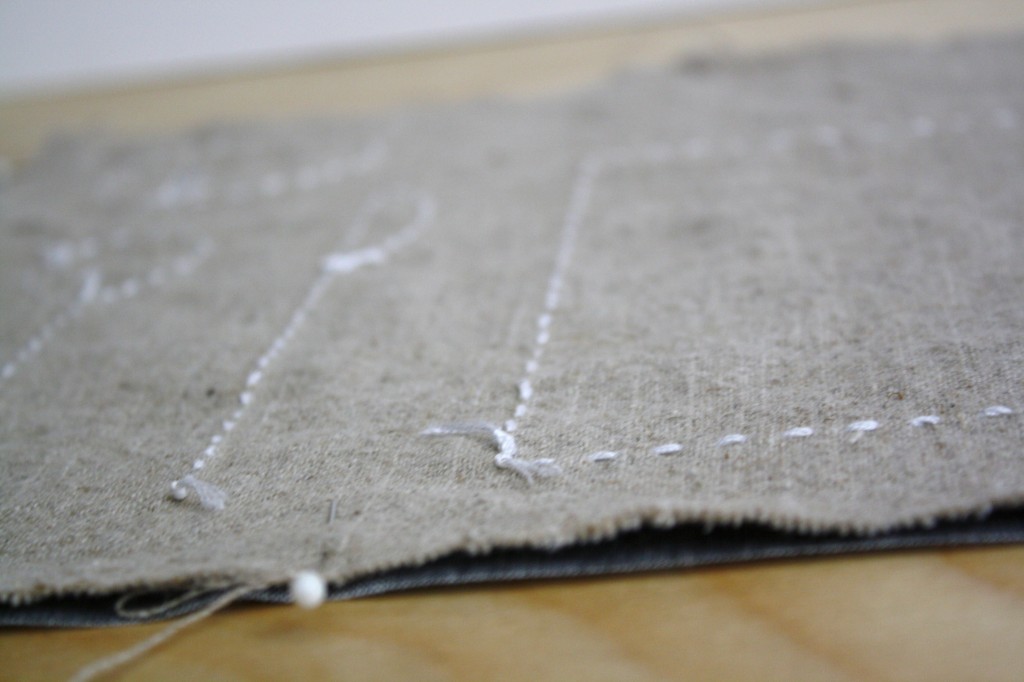
5. Sew around all 4 sides of the placemats, leaving a 4″ opening at the bottom. Either sew the entire length of each side, or sew around the corners.
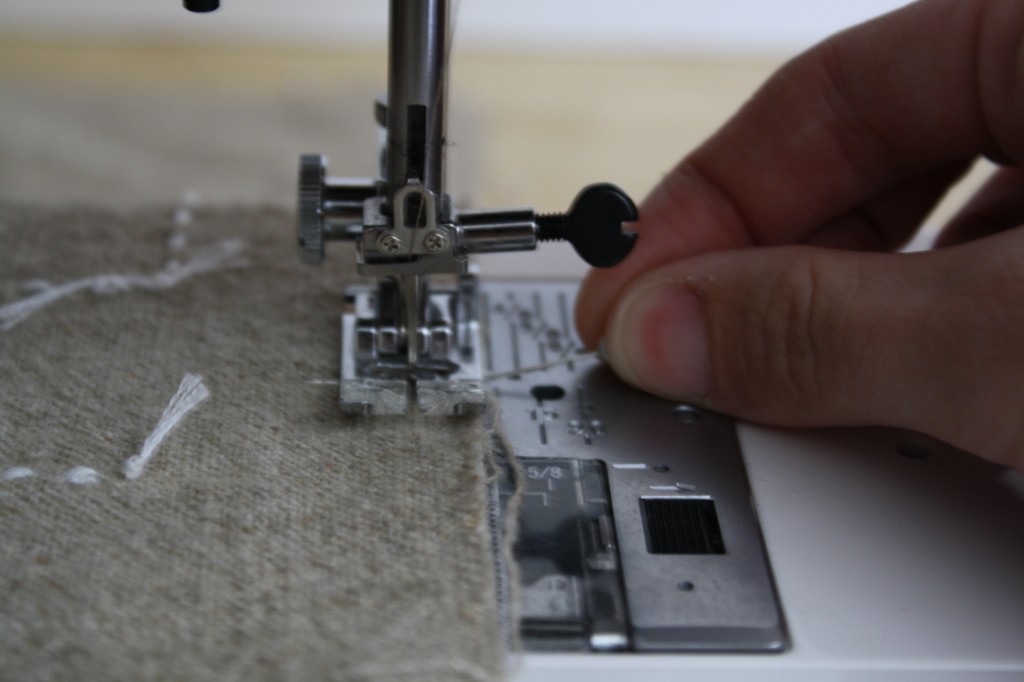
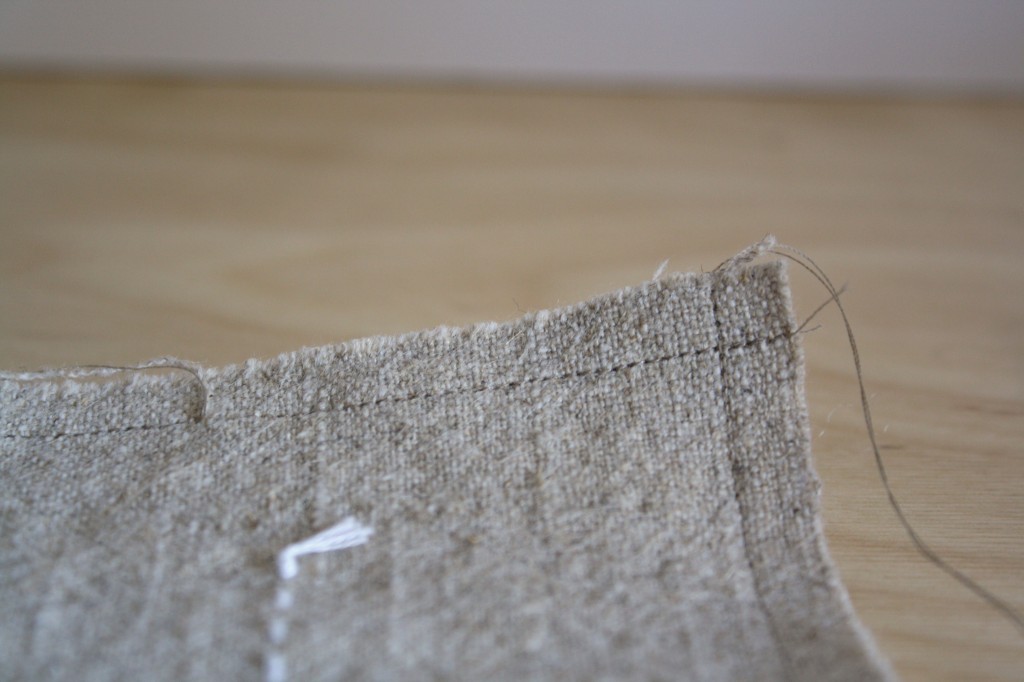
–OR–
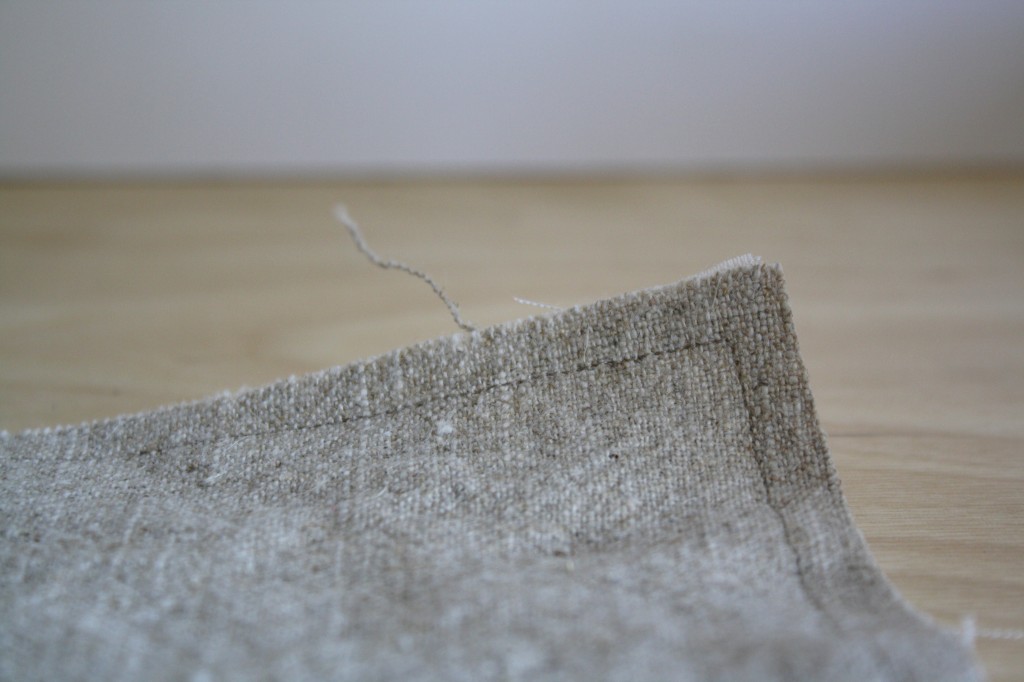
6. Turn the placemat right-side-out through the 4″ opening, and iron it flat.
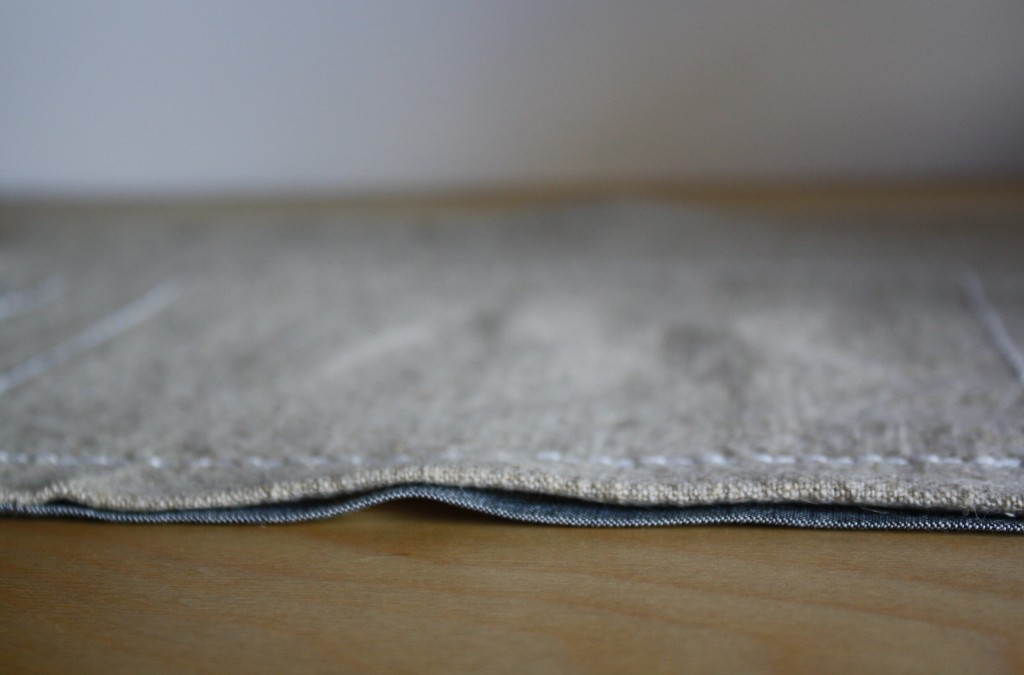
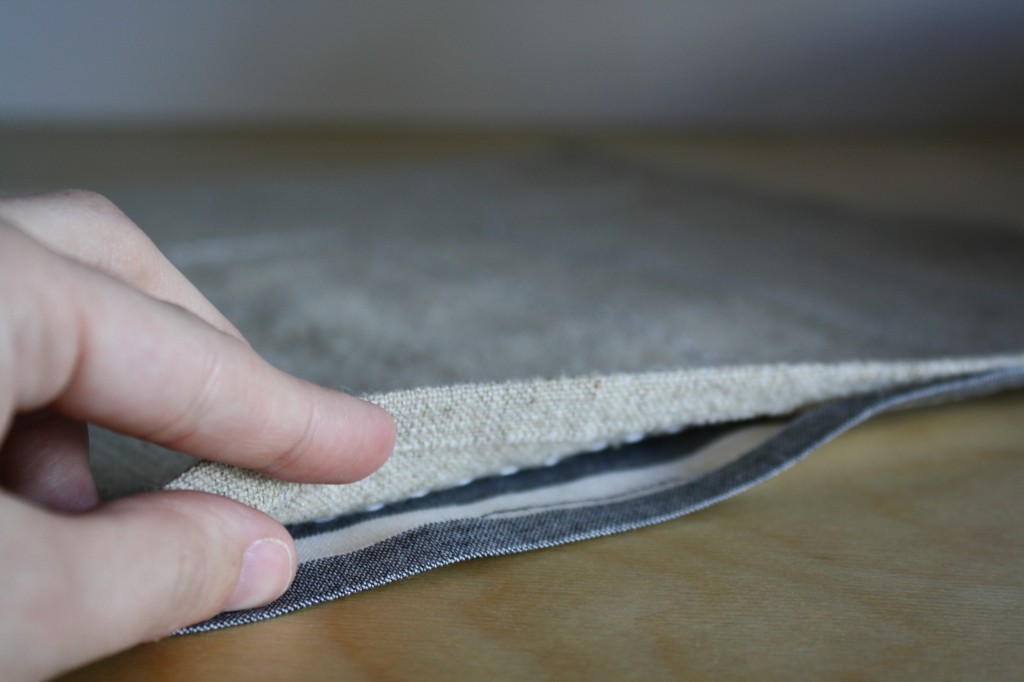
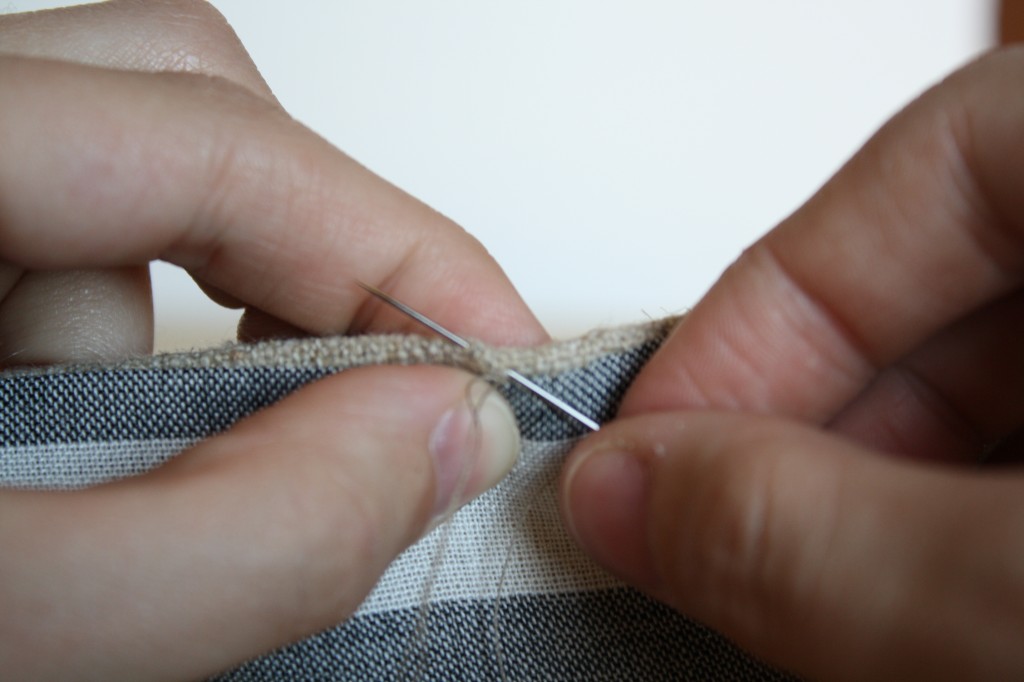
7. Stitch the opening closed using a ladder stitch.
8. Top stitch around all 4 sides of the placemat to help hold it’s shape.
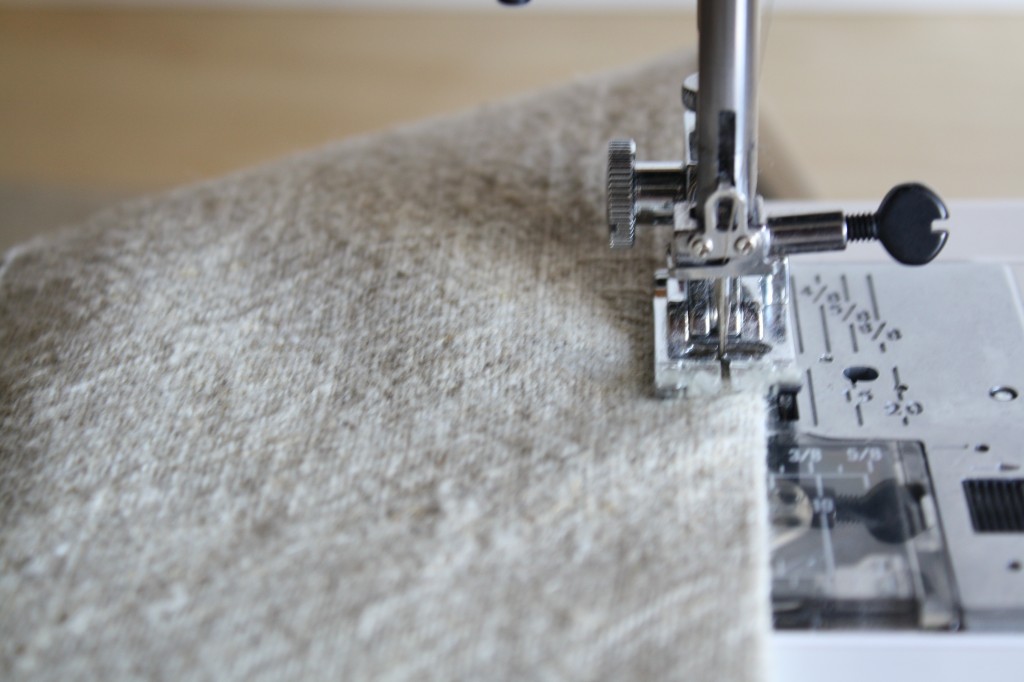
Do this to all of the placemats and trim excess threads.
I love this. I had been thinking of drawing place settings and then laminating the mats. Your idea is so much more elegant. I love it!
What a great idea and a great project to do while watching tv with my husband. ;)
you should sell these! so cute
Very simple and very nice.
oh, I love this! so easy to make, so useful and SO good looking! thanks a bunch for sharing – straight to my to do board!
I love the design of these placemats!
Already pinned for the future :)
Cecilia
I found your tutorial on Sew Mama Sew. Your placemats look lovely! What a great idea!
Such a cute and simple design! Just perfect with any decor too! Thanks for sharing your talents with us at Gettin’ Krafty!
kay, I love these placemats, I usually only feature one item from someone a month, but I’m featuring this tomorrow on Topsy Turvy Tuesday’s! i can’t help it, I love them both!