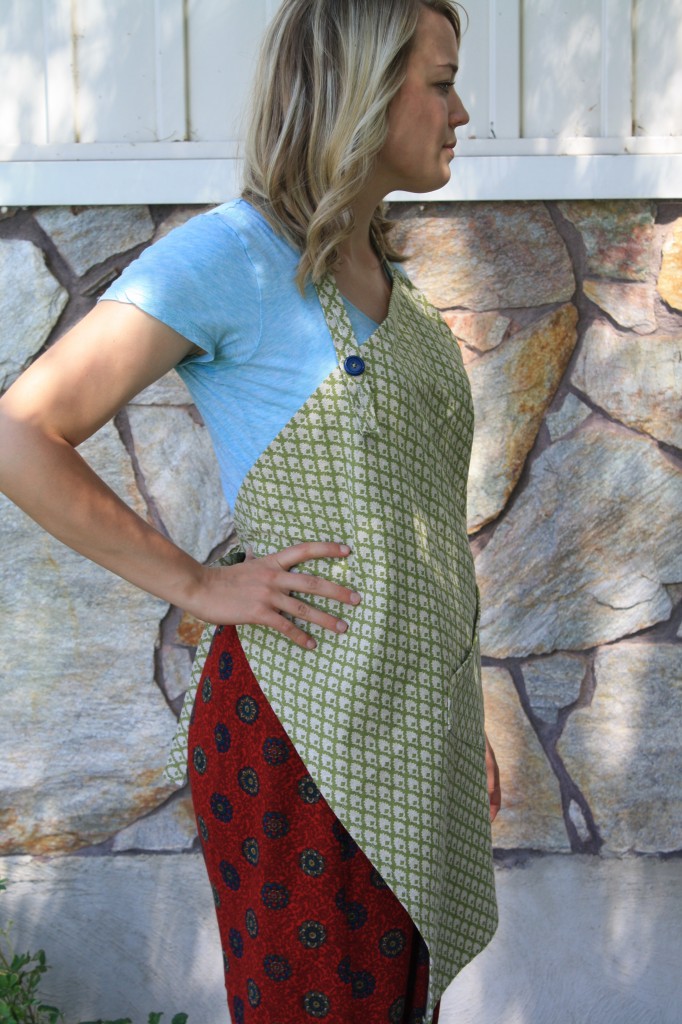
Sewing machines are as different as you and me. There are no sure set rules here, but generally, sewing machines with knob adjustments instead of electronic buttons, use a standard buttonhole foot, and have a buttonhole dial.
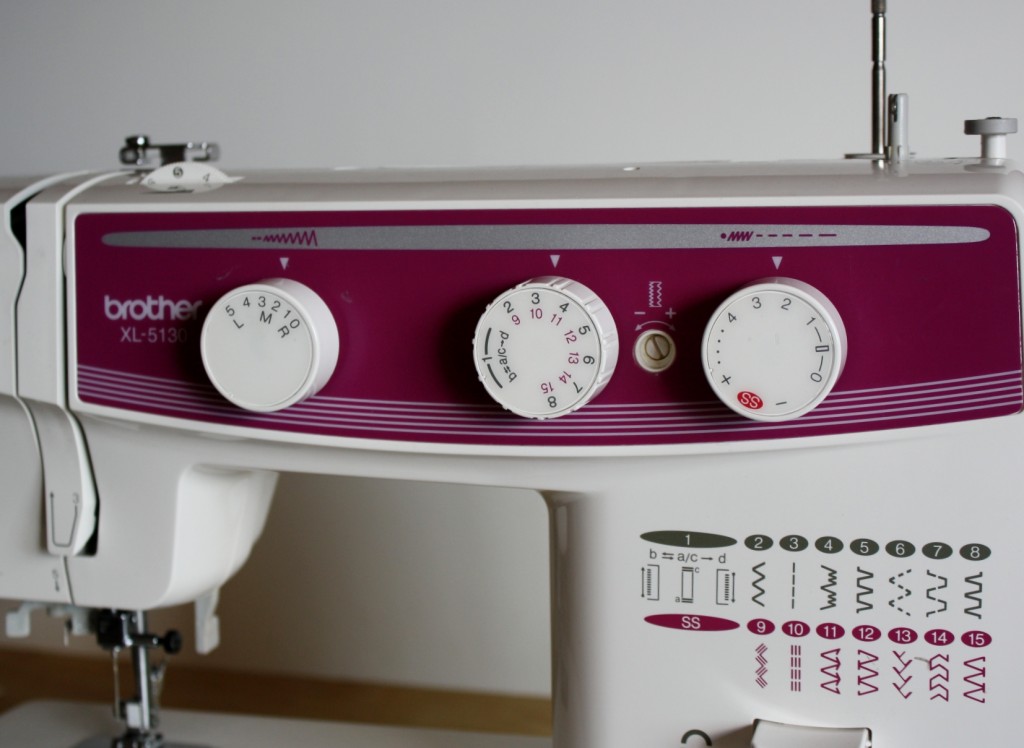
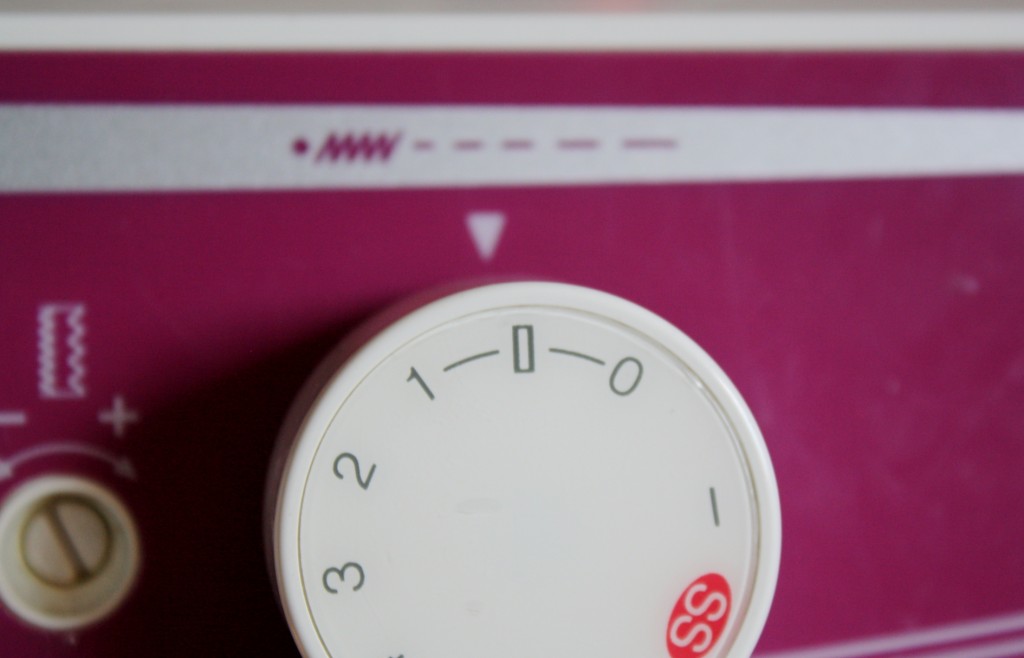
Start by adjusting the machine to buttonhole settings. Depending on the machine, there may be a buttonhole option on the stitch length adjuster (on this machine it looks like a rectangular buttonhole). If your machine doesn’t, you can set it to a small stitch length, just slightly above 0. The reason for this is that you want the zigzag around the edges of the buttonhole to be tight for better strength.
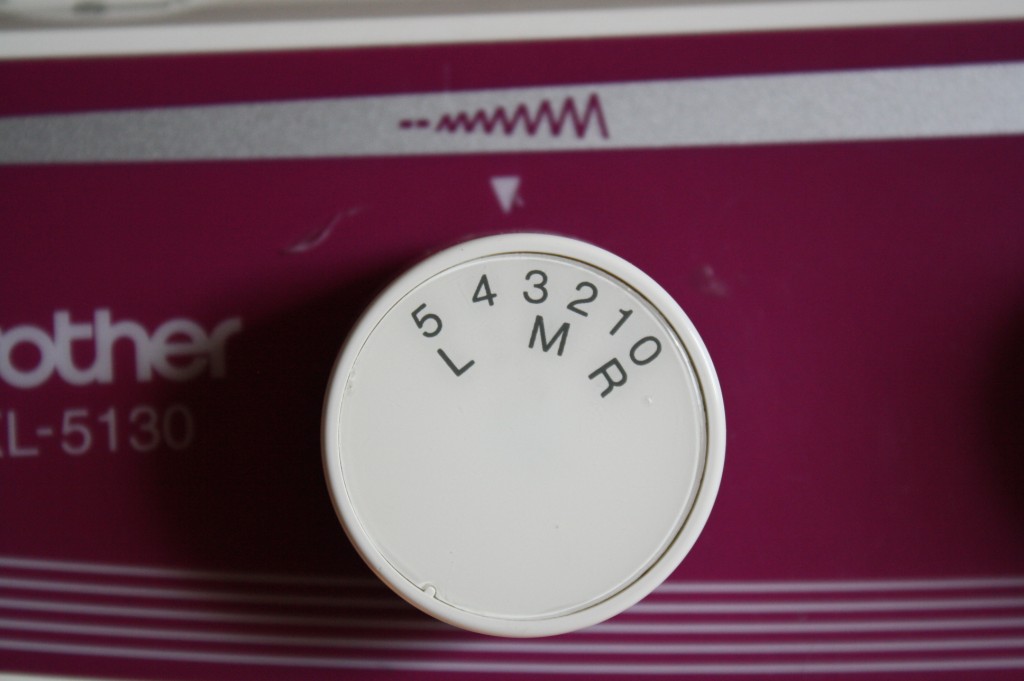
Set the stitch width somewhere in the middle.
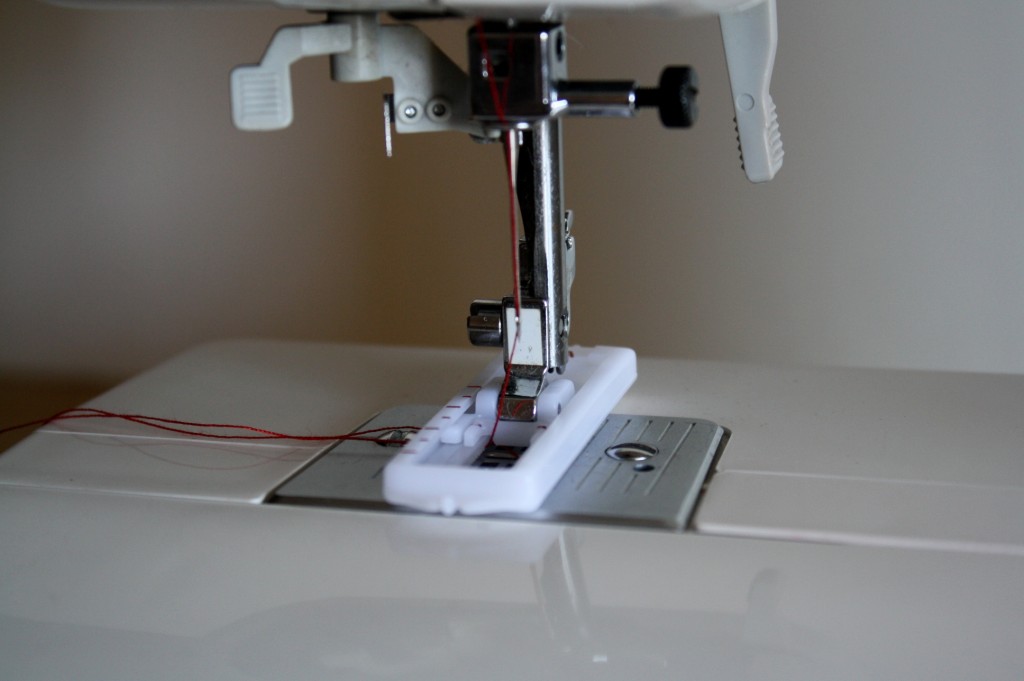
And put the buttonhole foot on the sewing machine.
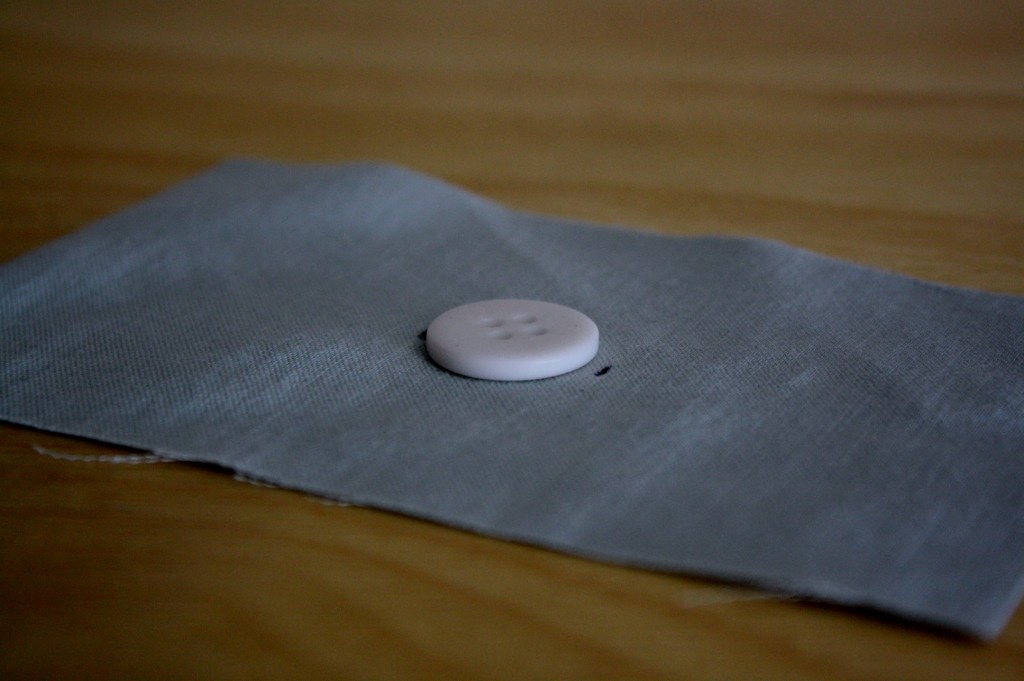
Place the button where you’d like the buttonhole and mark just above and below the button, to indicate where the buttonhole will be.
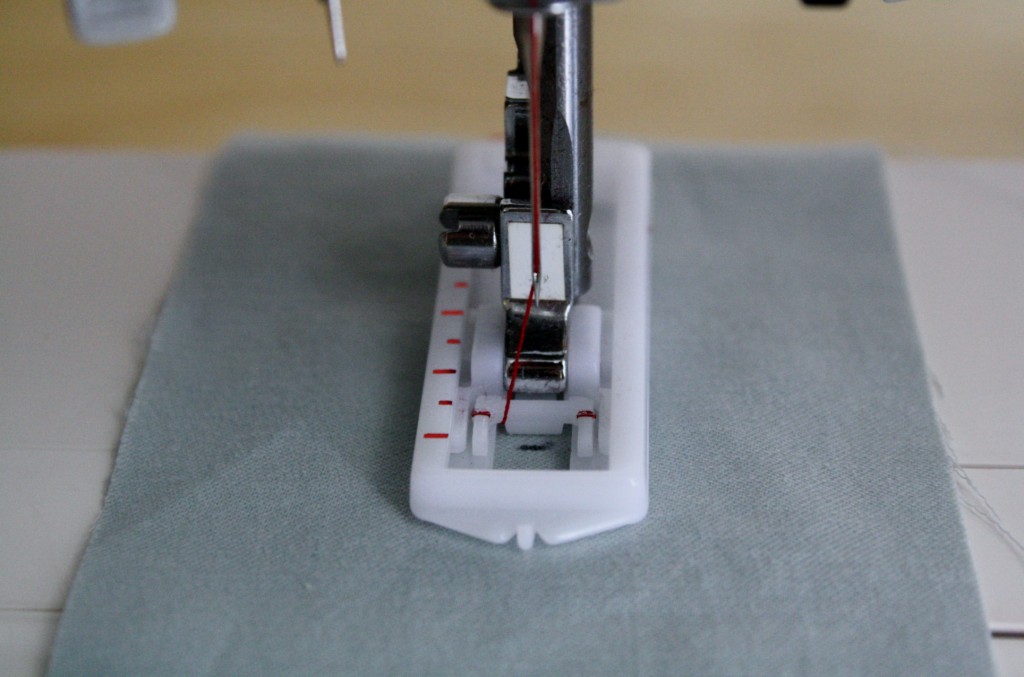
Line the marked fabric underneath the presser foot with the lower marking directly below the needle. If you’re not sure if it’s lined up right, turn the hand wheel towards you until the needle moves down enough to see if it’s in place.
Now this is where it will differ a bit from machine to machine. Some standard buttonhole systems are marked with a numbered dial, this particular one is labeled a-b-c-d. Either way, you will turn the dial at the finish of each step. A buttonhole is made by creating a bar at the top and bottom of the buttonhole, and a zigzagged line on each side, moving in a rectangular motion.
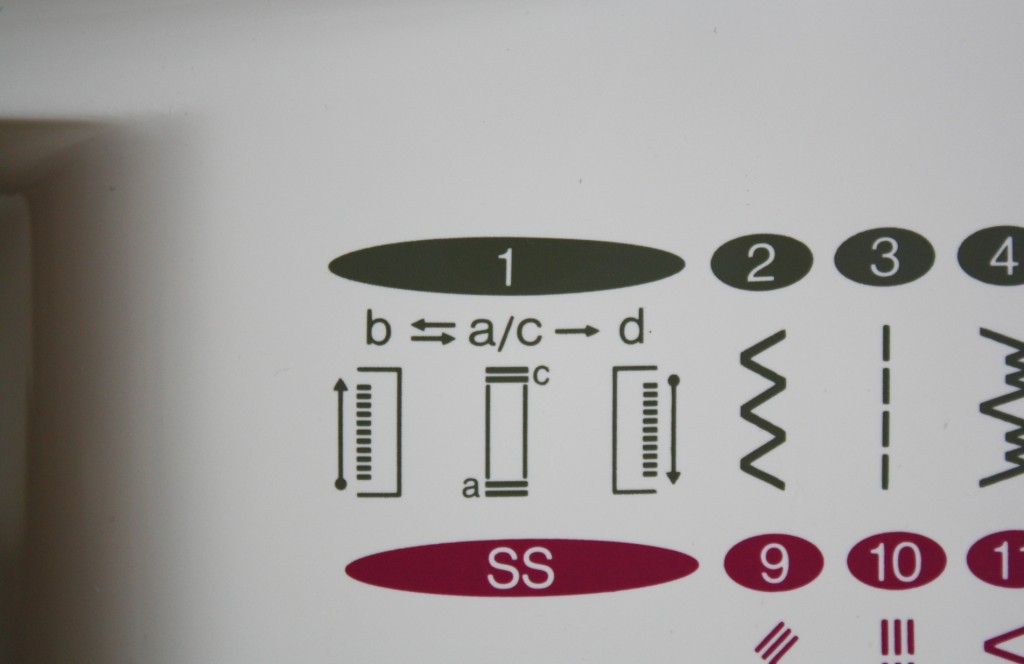
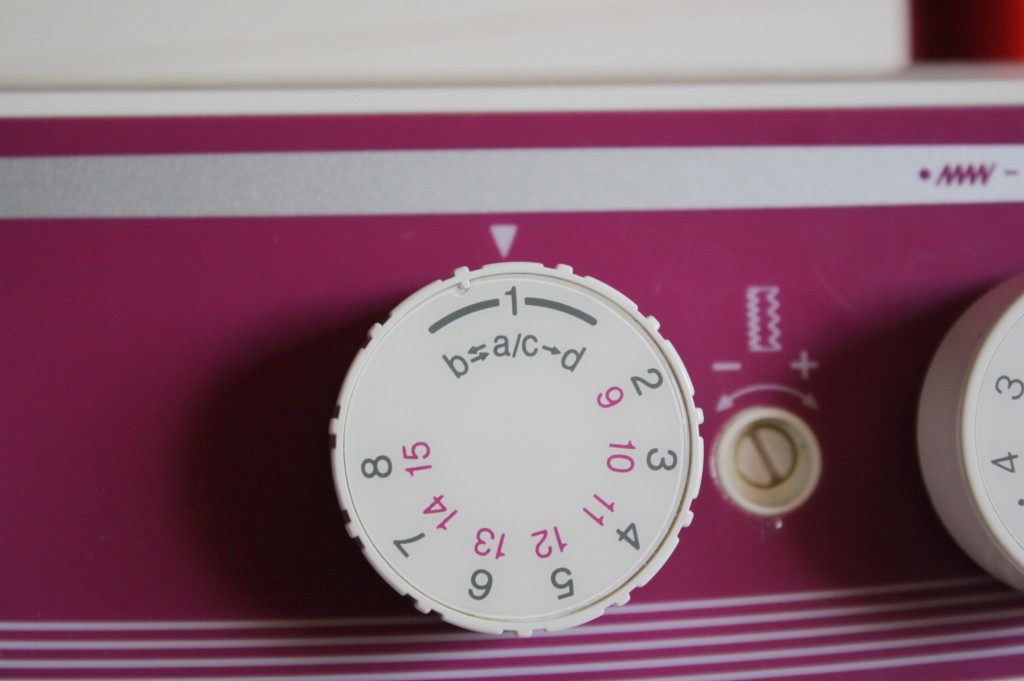
Start with the dial set at 1/a. This will make the first bar at the bottom of the buttonhole.
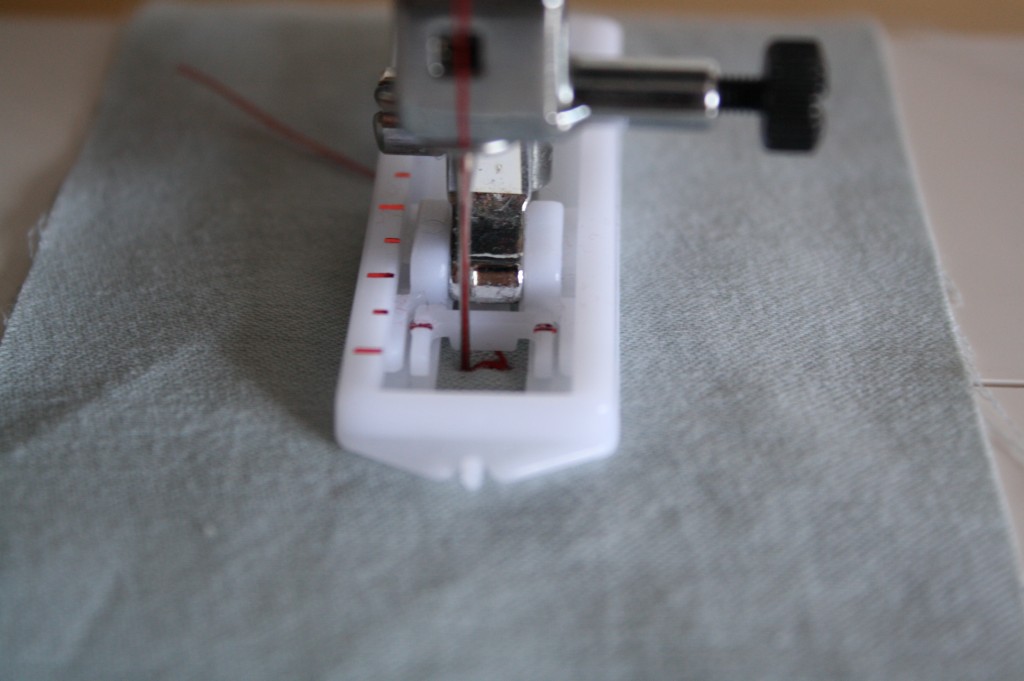
After it’s sewn back and forth a few times, turn the dial to the next step. This will change the stitch settings automatically in order to move on. This step moves backward with a tight zigzag stitch, making the first side of the buttonhole. Stop sewing when you reach the top marking.
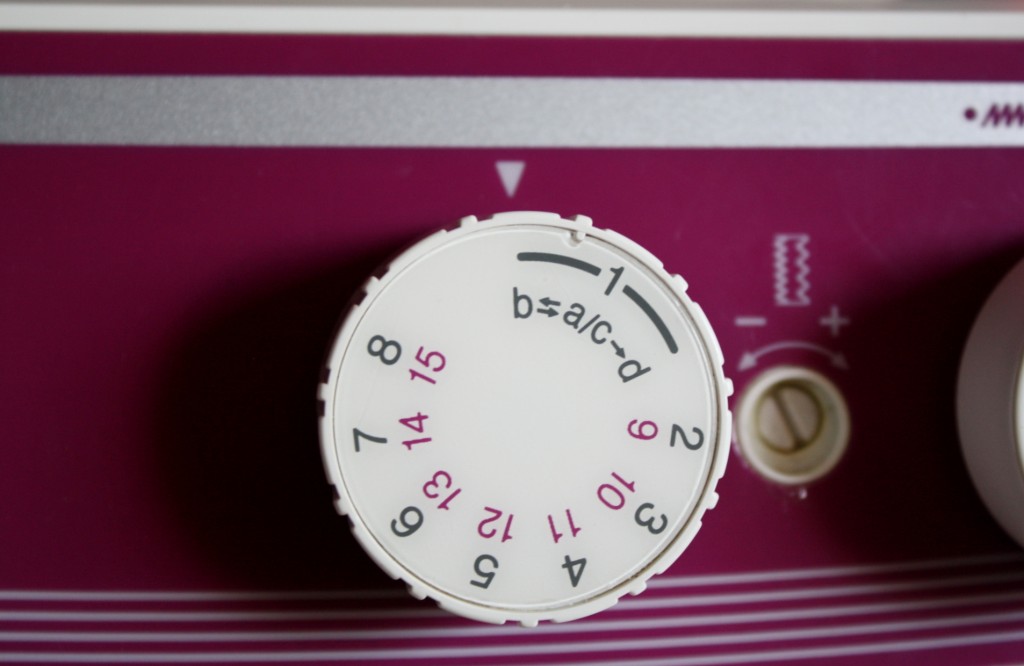
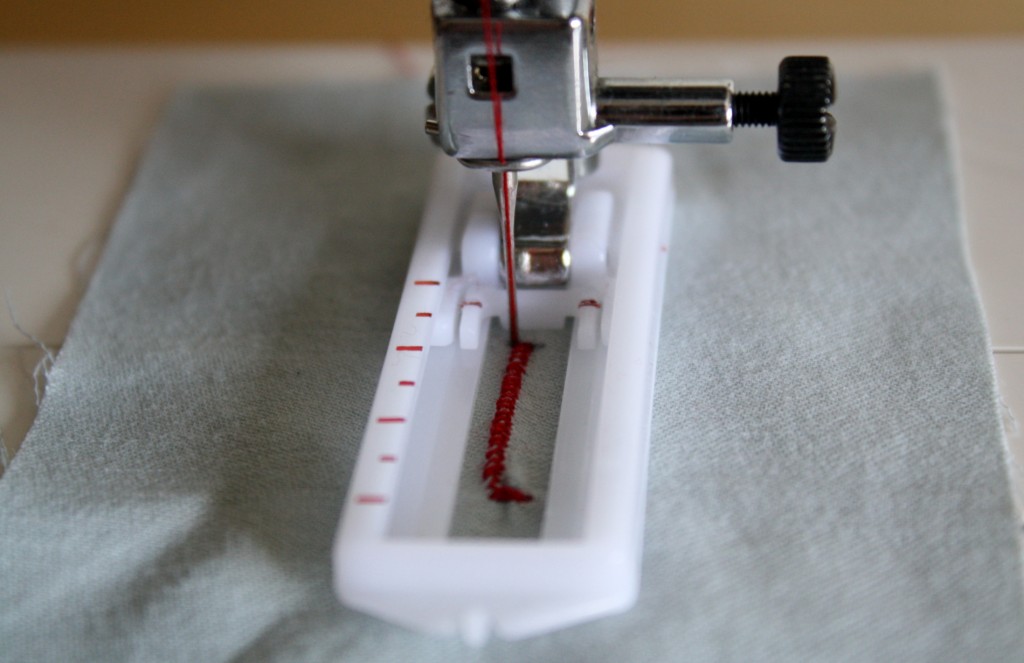
Turn the dial again, and sew the top bar back and forth a few times.
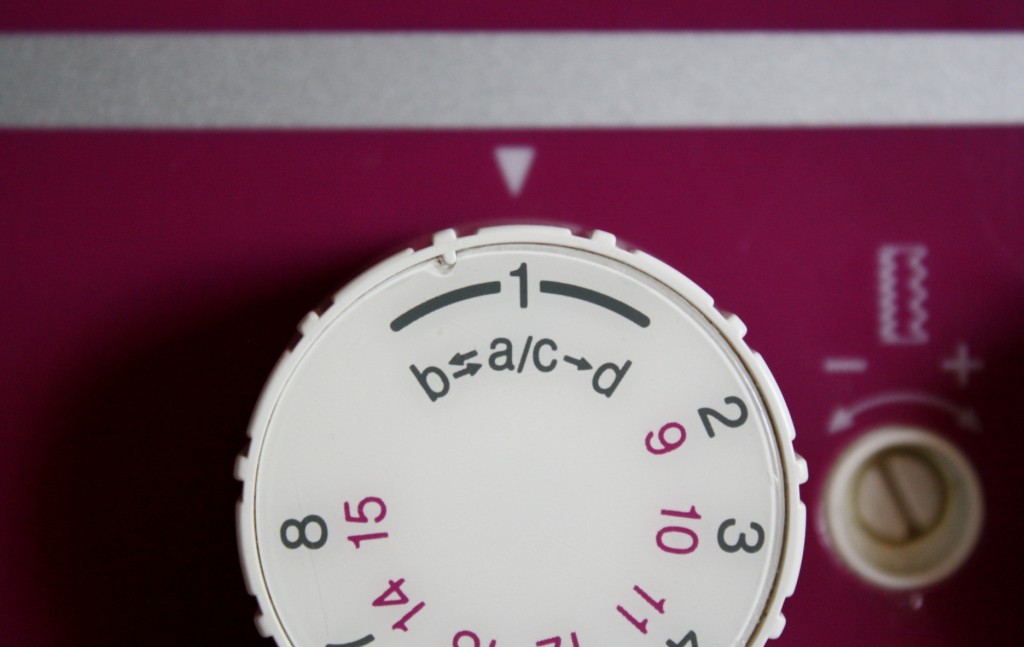
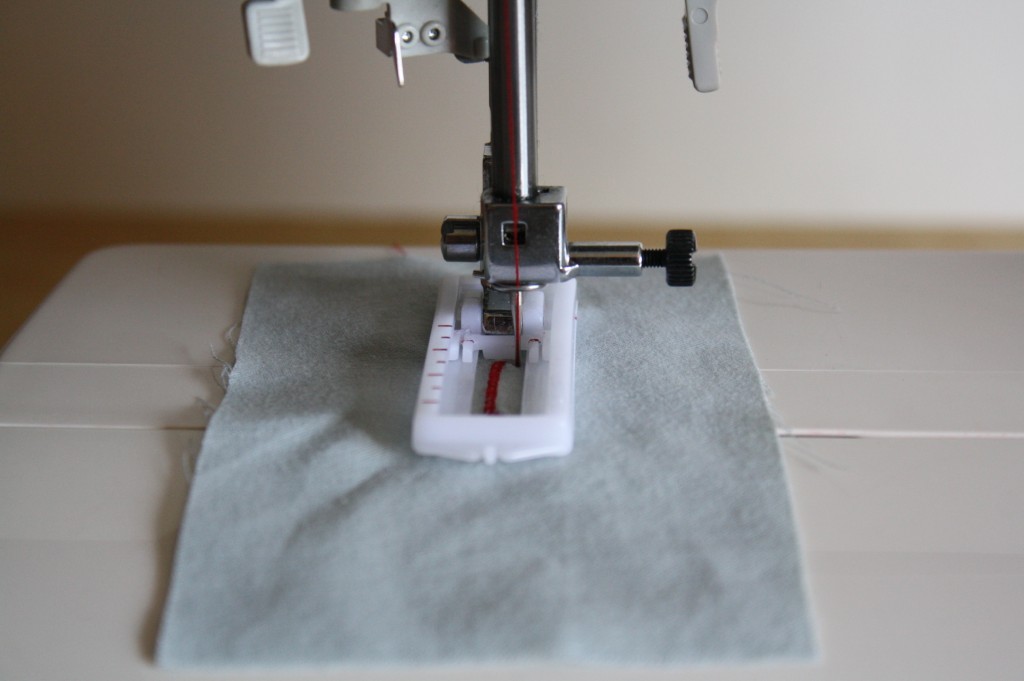
Then turn the dial once more and sew the last side of the buttonhole.
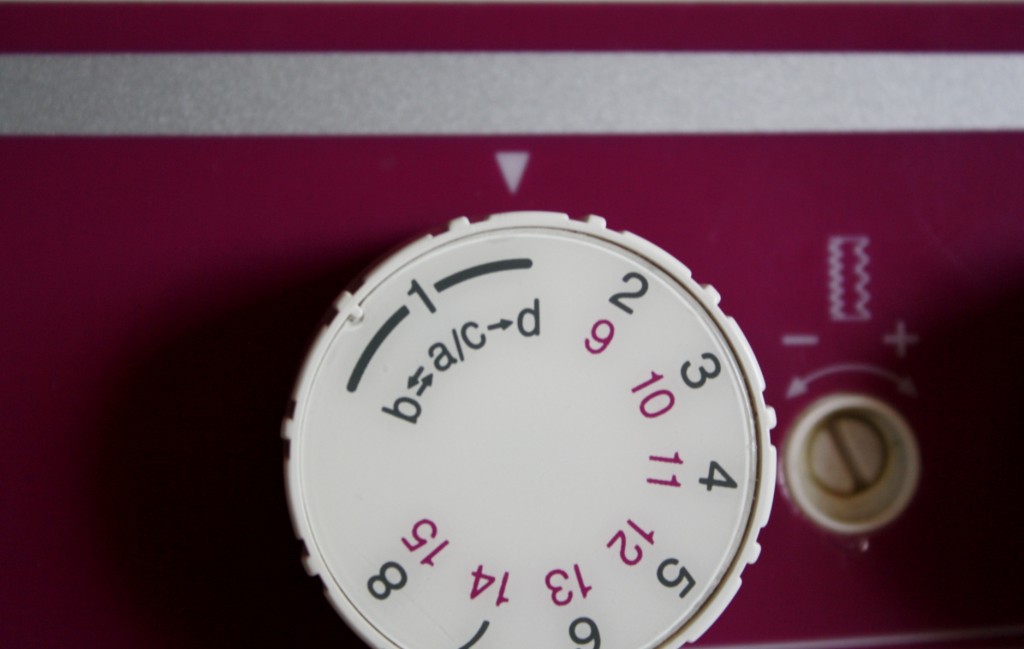
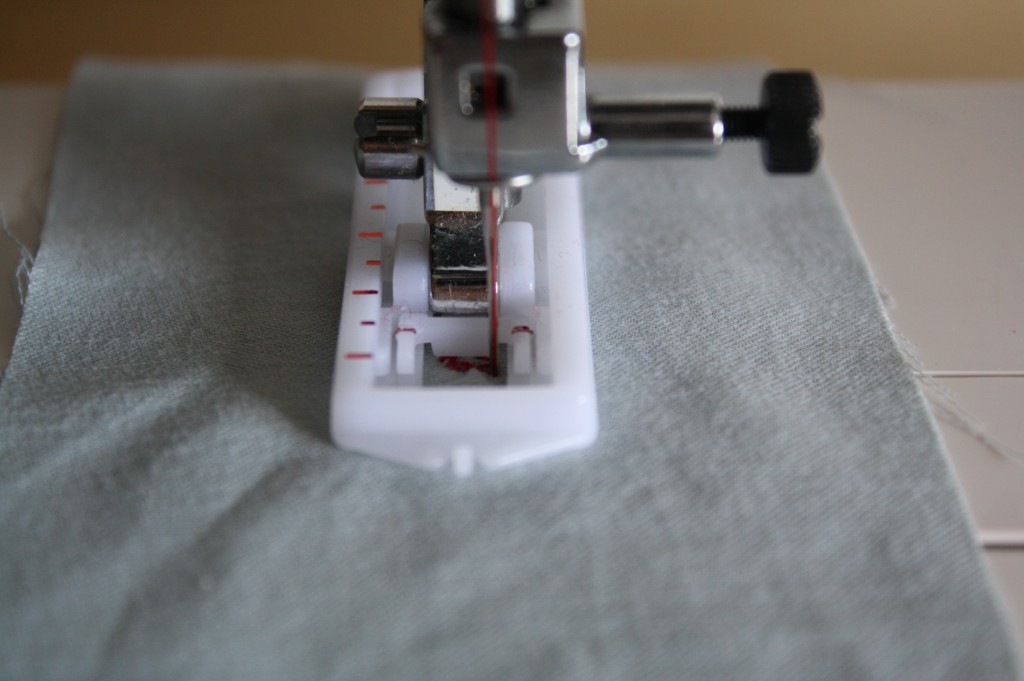
Some machines have a few additional steps, but overall, all standard buttonhole systems are basically the same. If you know your machine uses a standard buttonhole system, but it differs from this tutorial, check your users manual for instructions specific to your machine.
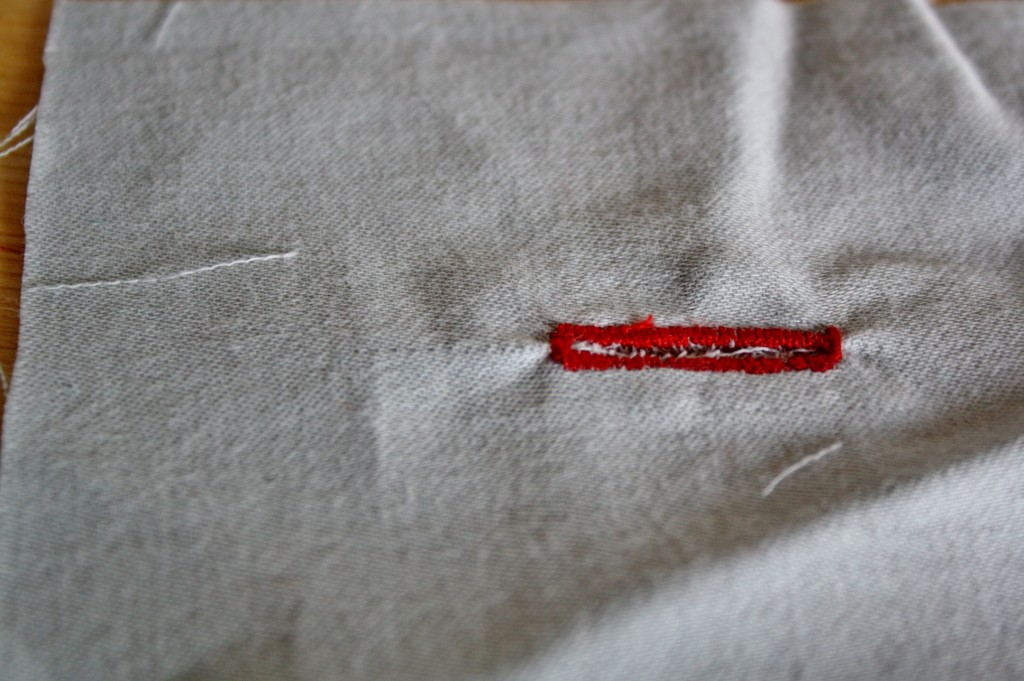
All that’s left to do is cut the buttonhole open. My favorite way to do this is to place a straight pin just inside the top bar. You’ll be opening the buttonhole with a seam ripper, and having this pin in place prevents you from accidentally ripping through any stitching.
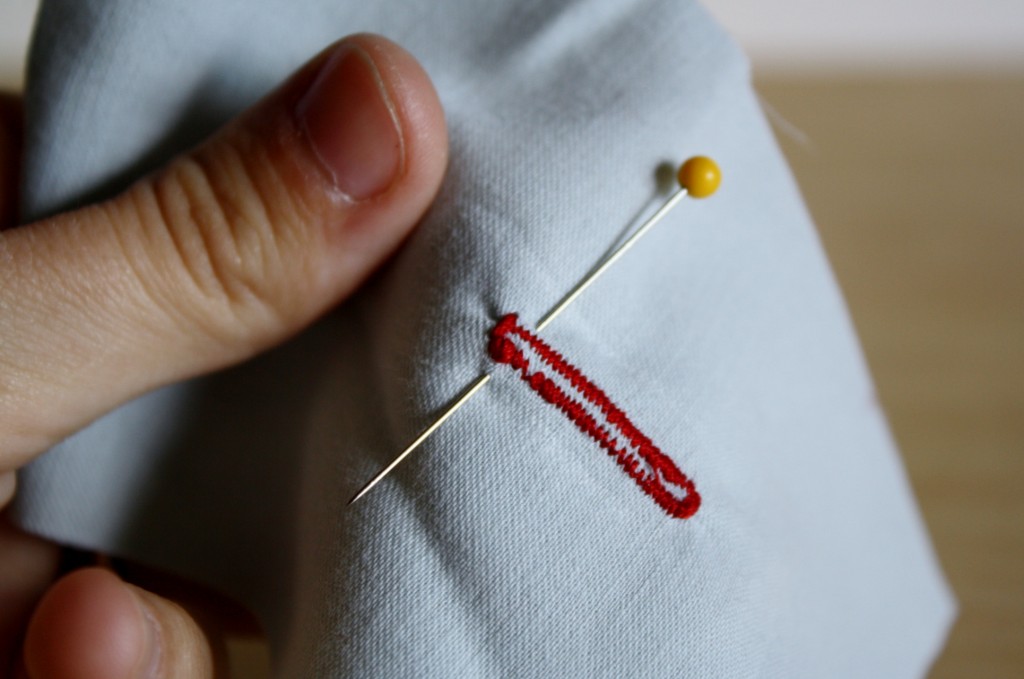
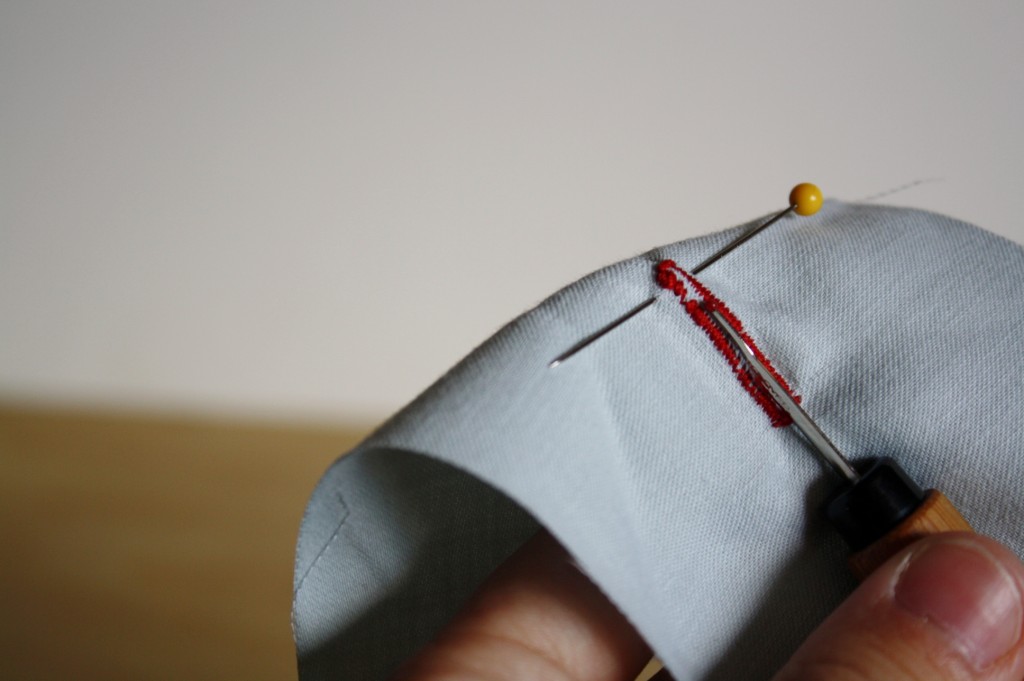
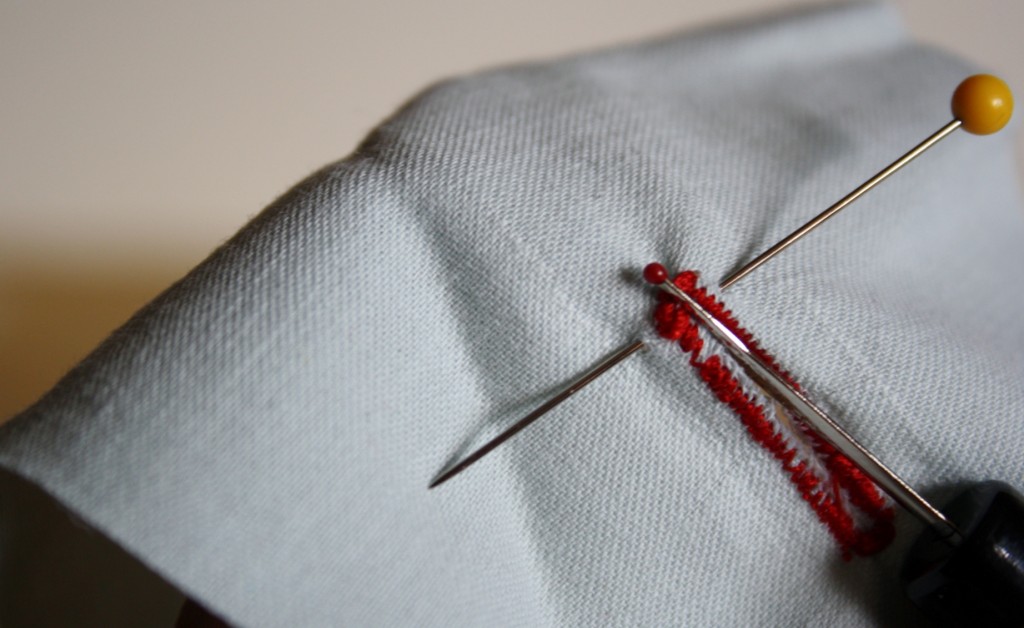
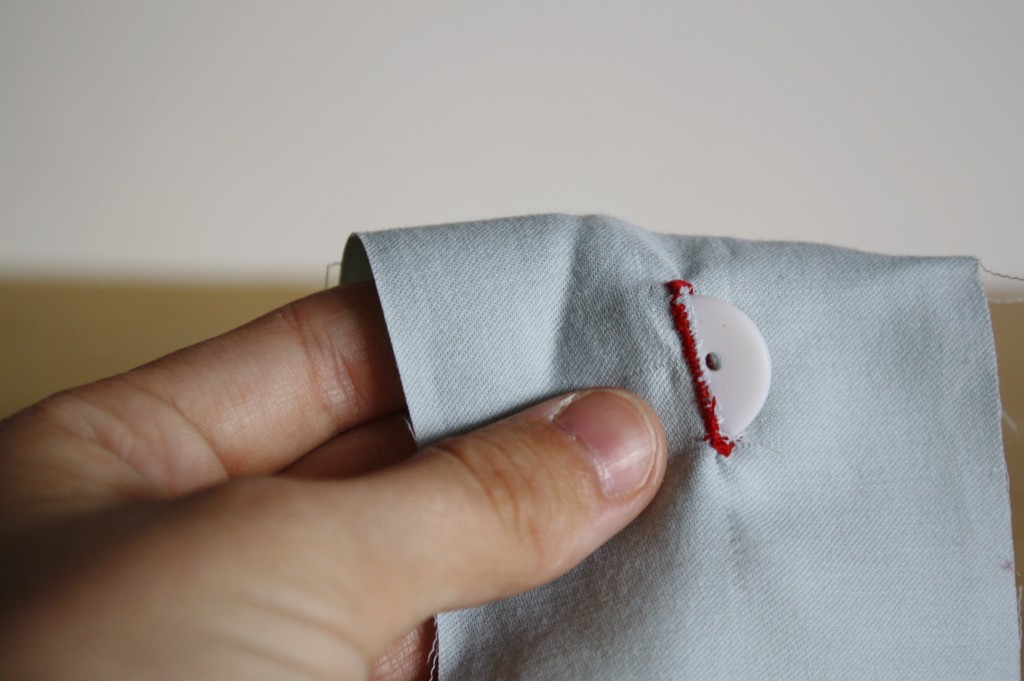
Then just make sure the button fits through!
Not the buttonhole tutorial you were looking for? Try these:
HOMEWORK
