There is only one truly sentimental item that I hang on to. We move every six months or so from school, to work, and back again. Because we always seem to be packing, I don’t like to keep more than I need, but my yellow spool is that something special. If you’ve never read up about me, you may not know why Yellow Spool is named such. I’ll give you a hint: it has to do with my husband, a pretty ring, and a big question.
It’s just a little something I like to stare at when I’m in a creative funk. Do you have something small and sweet that you like to keep around? Maybe you just have a neat spool or thimble of your own that you’d like to display?

MATERIALS NEEDED
2 or 3 embroidery hoops (all the same size)
wood glue
1 nail (if you’re displaying a spool of thread)
INSTRUCTIONS
Start with 2 or 3 embroidery hoops, all the same size. The more hoops you use, the deeper the shelf will be.
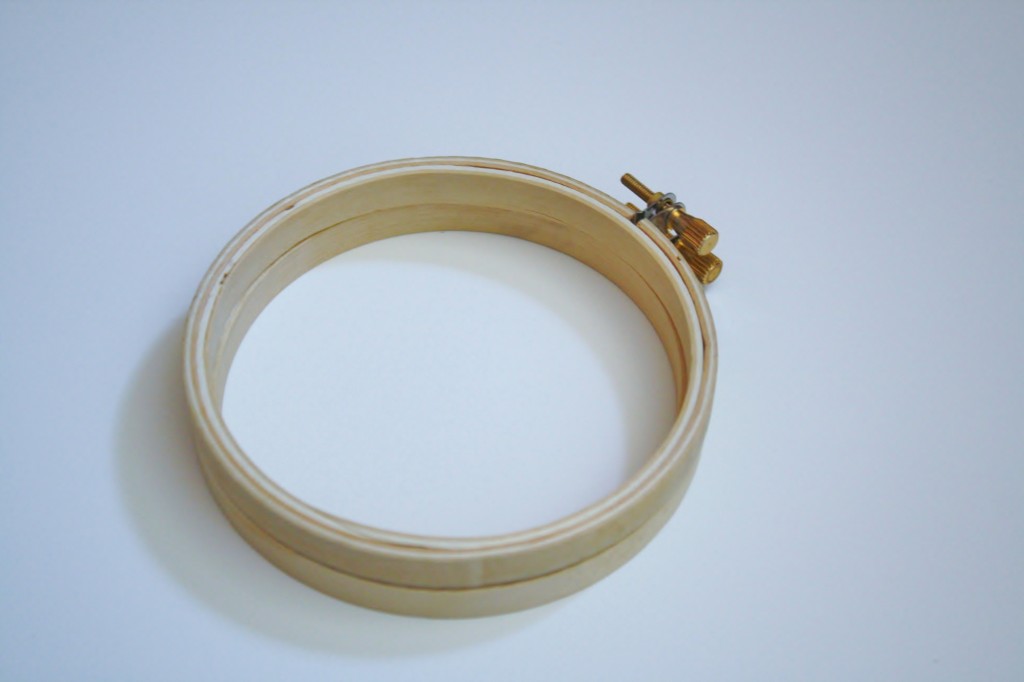
For a standard shelf, skip this next step. Because I keep a spool of thread on my shelf, I chose to nail through the bottom of the inner hoop on ONE embroidery hoop. That nail would help keep the spool of thread from falling off of the shelf.
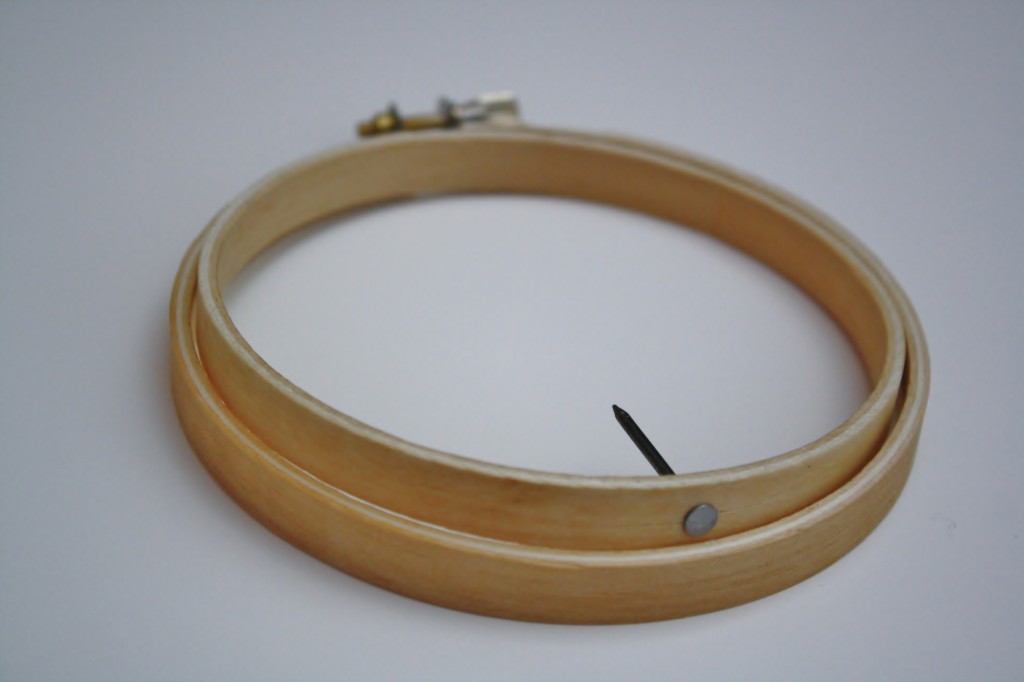
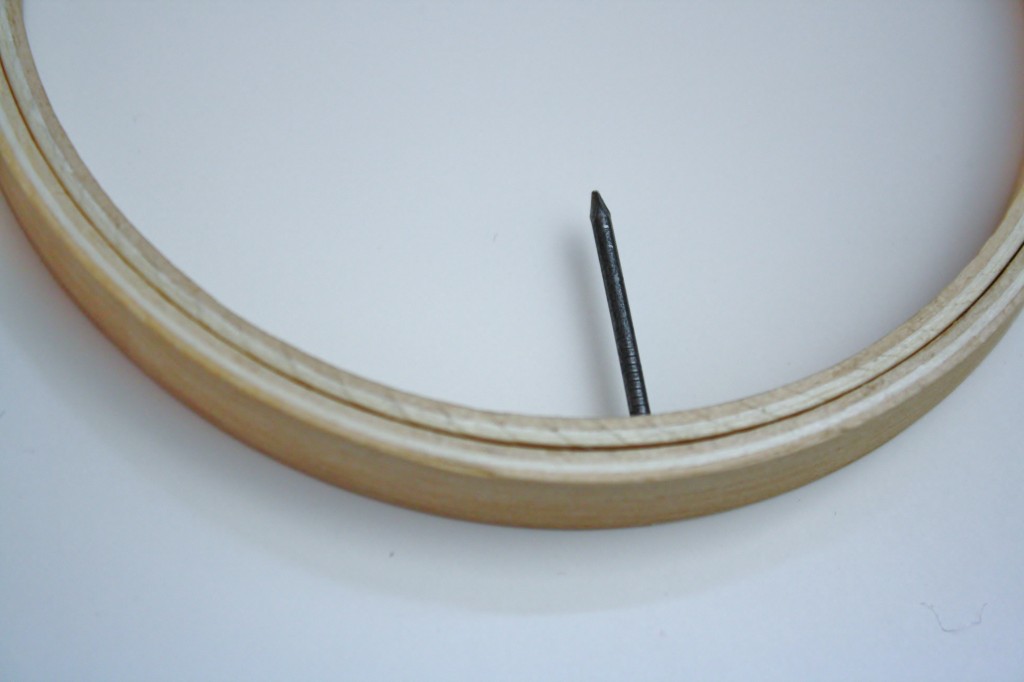
When you layer the shelf, the hoop with the nail should be either on top (for a 2-hoop shelf) or in the middle (for a 3-hoop shelf). Before you glue the layers together, make sure the fasteners at the top of each hoop are loosened enough to be able to hang onto a nail.

Glue the sides of the bottom layer of the shelf.
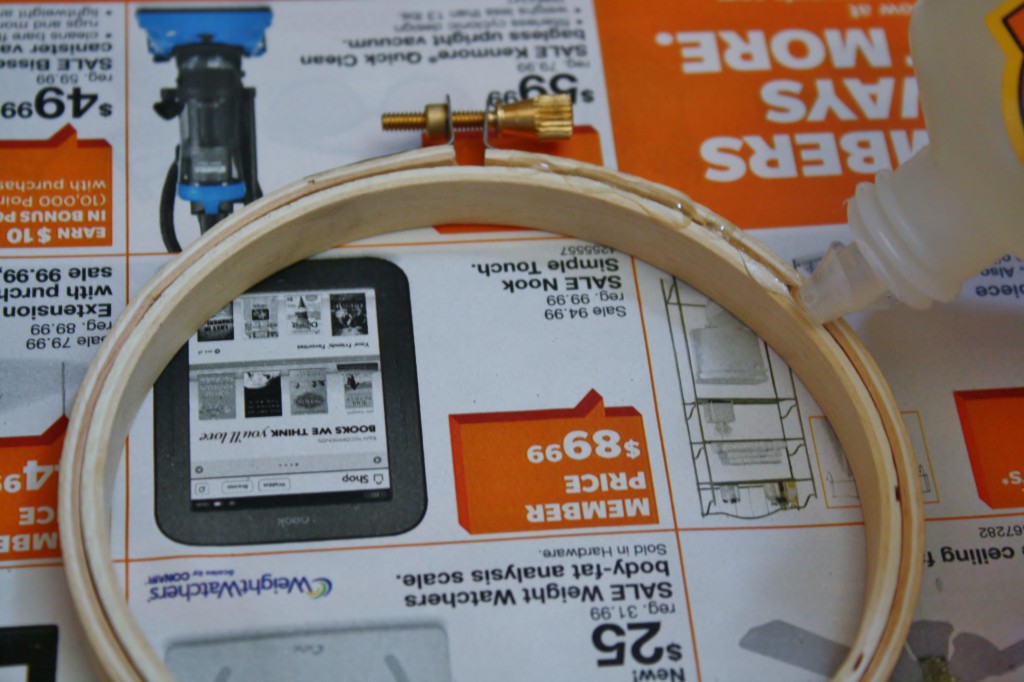
Layer the next hoop on top and press. Put a heavy book on top to “clamp” the glued pieces together. Let it dry for several hours, according to the instructions on your wood glue.
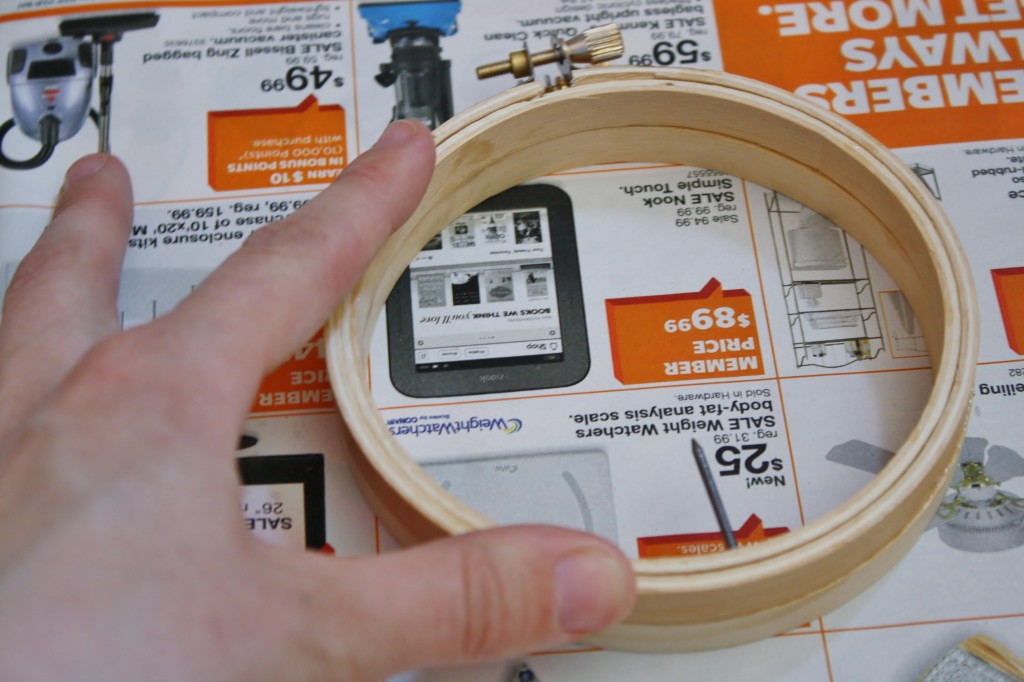
If you would like to add another hoop for extra depth, just repeat.
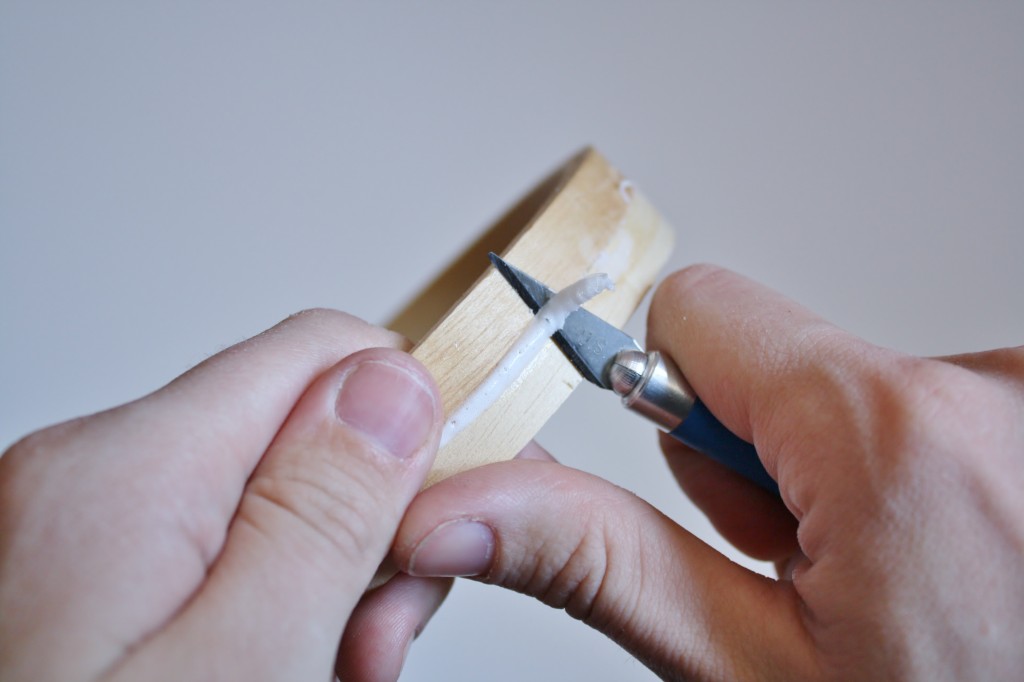
If you remove your heavy book and notice that you maybe might have gone a little glue happy, not that I can relate… ahem, just use a blade to cut off the excess. OR, you could skip a step, learn from my mistake, and go easy on the glue. Apparently it still does it’s job even if you don’t plaster it on in heaping mounds, who’da thunk?
***NOTE: Someone expressed concern about the way I cut towards my fingers. Bad habit, I know. For safety reasons, cut with the blade moving away from your body***
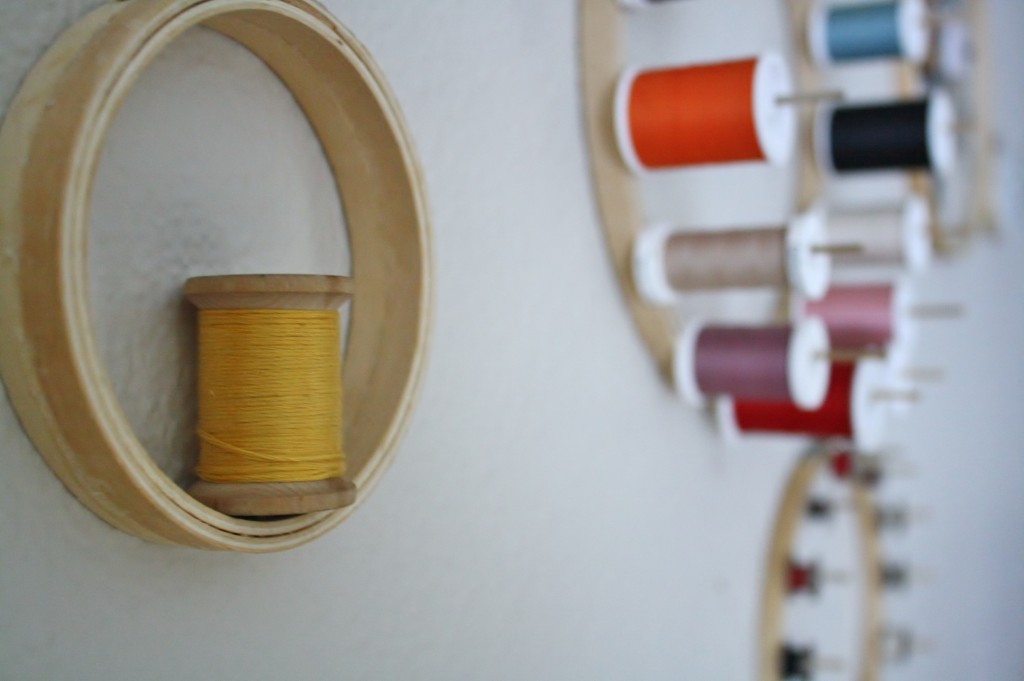
Hang the shelf in place, and display your favorite things.
Believe it or not this is the last of the Notions Wall tutorials. Has it felt endless? Tomorrow I show you how to hang them and announce the winner of the Notions Wall Giveaway.

I love how this looks … thank you for sharing. Okay time to go get those old embroidery hoops out.