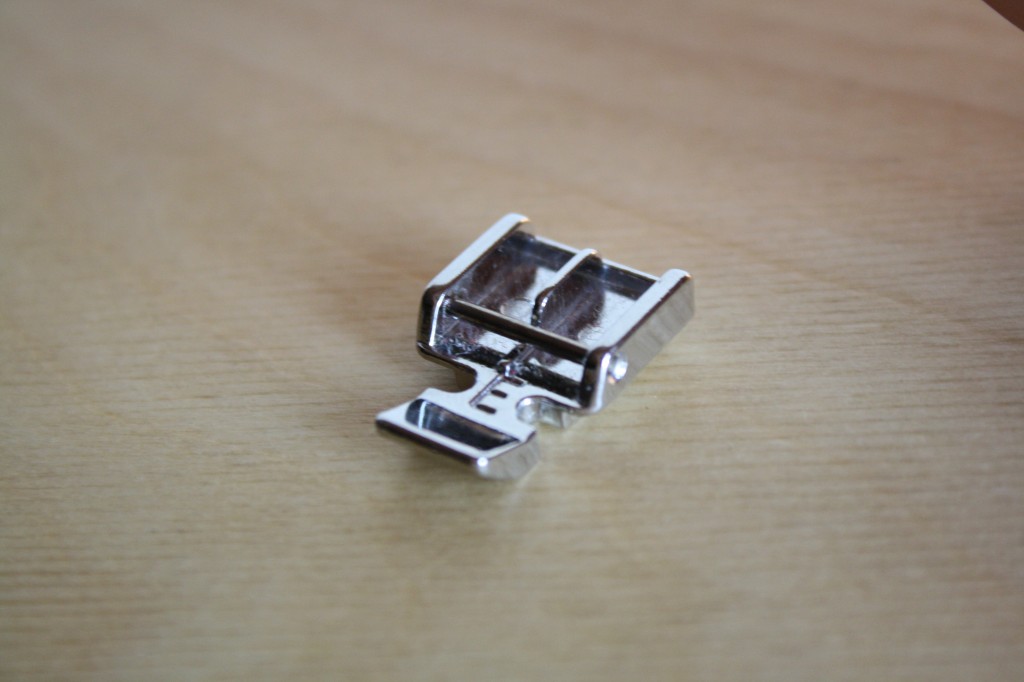
Ask anyone with little or no sewing experience what makes them the most nervous about sewing, and they’d tell you “zippers”. Maybe it’s the jagged teeth snarling at them? It does take a little bit of practice to get used to working with zippers, but I think you’ll find that you’re more qualified than you might think! The trick to sewing zippers is changing your presser foot. Putting in a zipper with a standard foot is an awful experience, but with a zipper foot, you’re smooth sailing. So go ahead and do that right now. The zipper foot is open on the left and the right to let you get closer to the bulky zipper teeth as you sew (I’m tempted to make a “they don’t bite” joke here, too cheesy?)
BUYING THE RIGHT ZIPPER
The first thing to identify when you’re buying a zipper is if you need a separating or a non-separating zipper. The zipper in your winter coat is separating, it isn’t attached at the bottom, so the left side pulls apart from the right size when you unzip it. The zipper in your skirt is non-separating, meaning it’s connected at the bottom. The zipper packaging will indicate if it is separating or non-separating.
Look at the types of zippers available. Invisible zippers work differently than standard zippers (we’ll go over both), so be careful when buying a zipper that you notice every characteristic.
The length of your zipper is very important. Obviously, you want it to be as long or longer than your project requires. The length of a zipper is marked on the package. Store-bought zippers don’t typically come any longer than about 22″, if you need something longer than that you will most likely need to order it online.
And, of course, you need the right color!
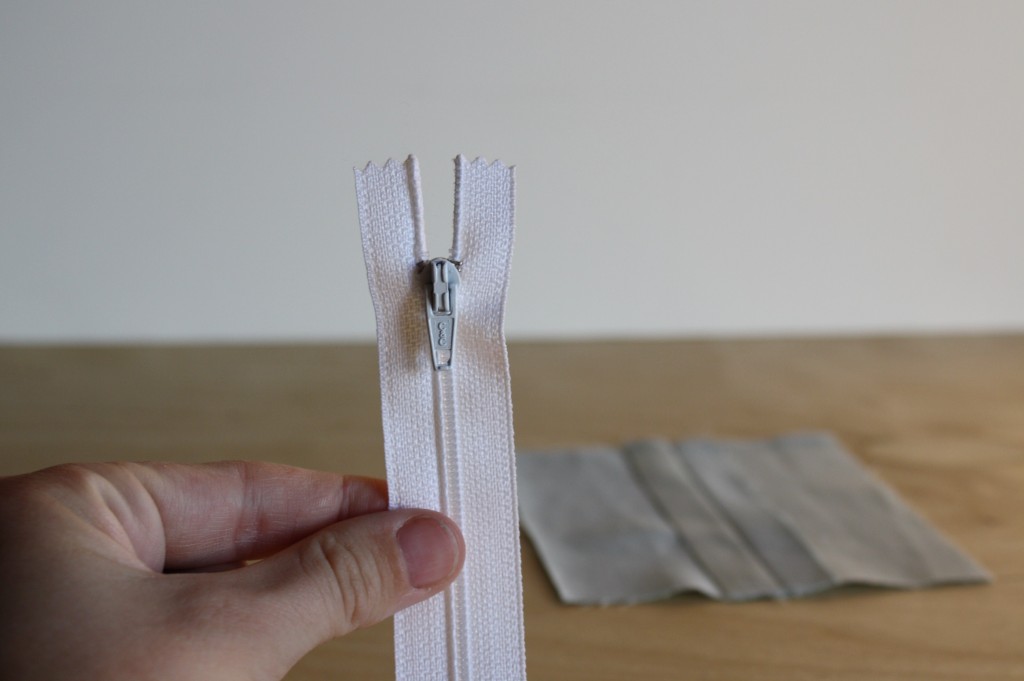
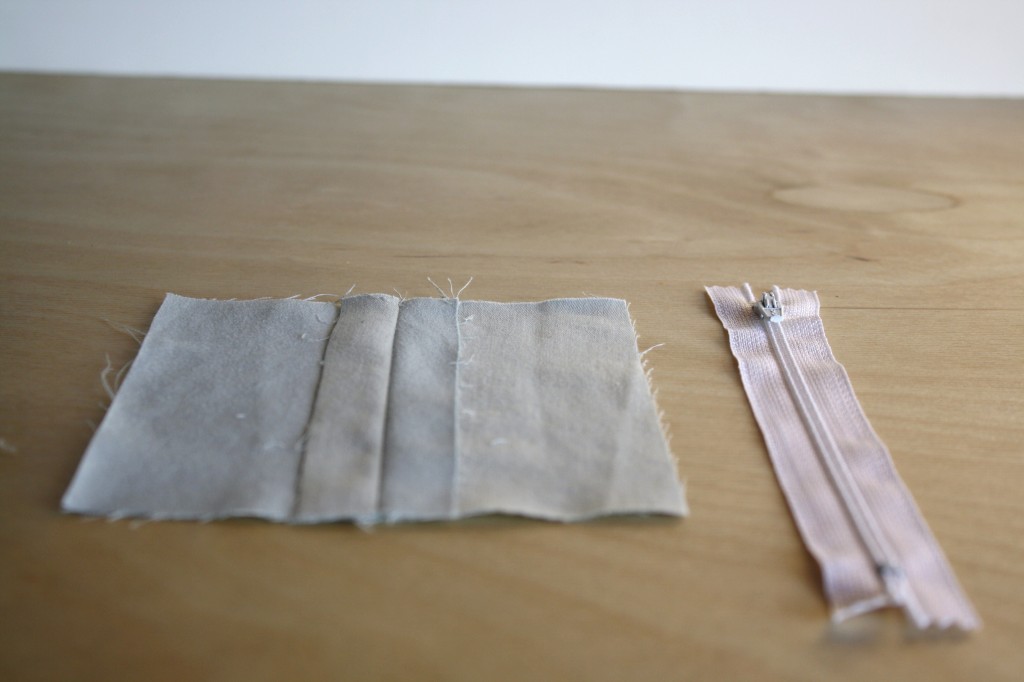
For our zipper samples you’ll want 1 regular, non-separating zipper and 1 invisible zipper at least 5″ long each, and 4 sample rectangles.
CENTERED ZIPPER
Centered zippers are done using standard, non-separating zippers.
Sew a seam where you will put your zipper using a 5/8″ seam allowance. Just sew the first 4″ of your seam using a basting stitch, and then set the stitch length back to normal to finish the last 1″ of the seam on your sample. Press the seam open with an iron.
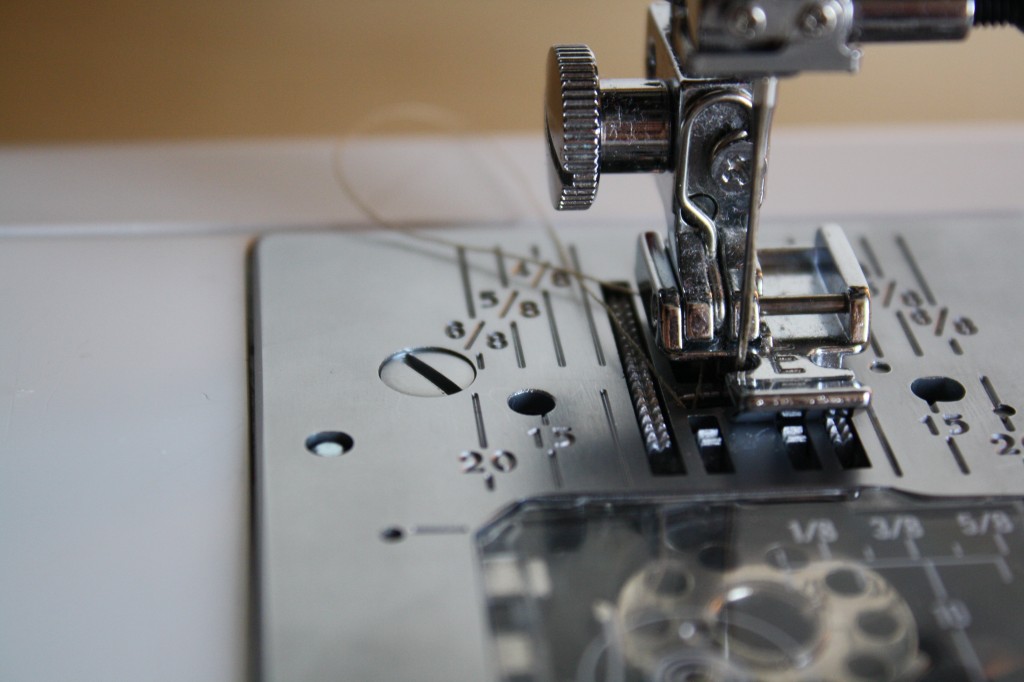
Put the zipper foot on your sewing machine with the foot off-centered to the right.
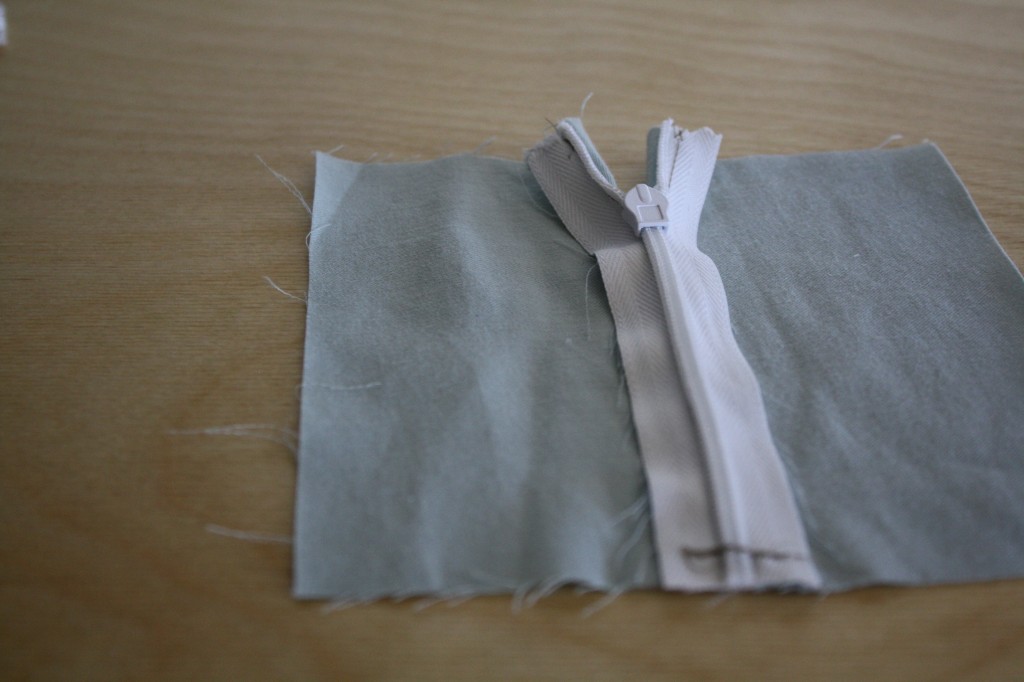
With the wrong side of the fabric facing up and the right side of the zipper facing down, center the zipper over the basted part of the seam and pin it in place.
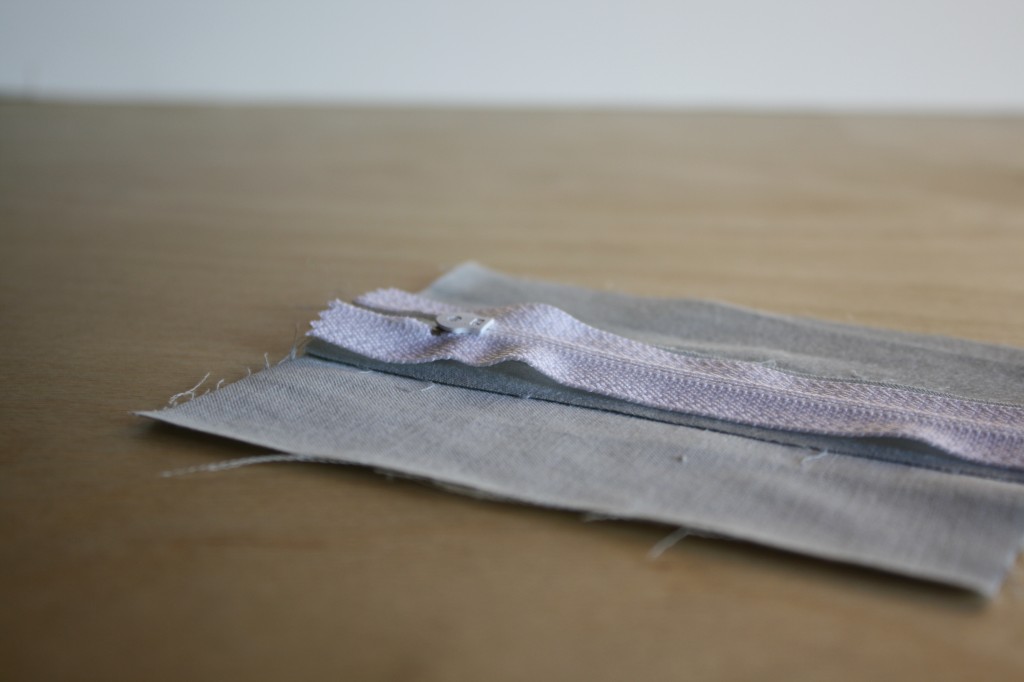
Start at the top right of the zipper and sew down the length (4″ for our sample).
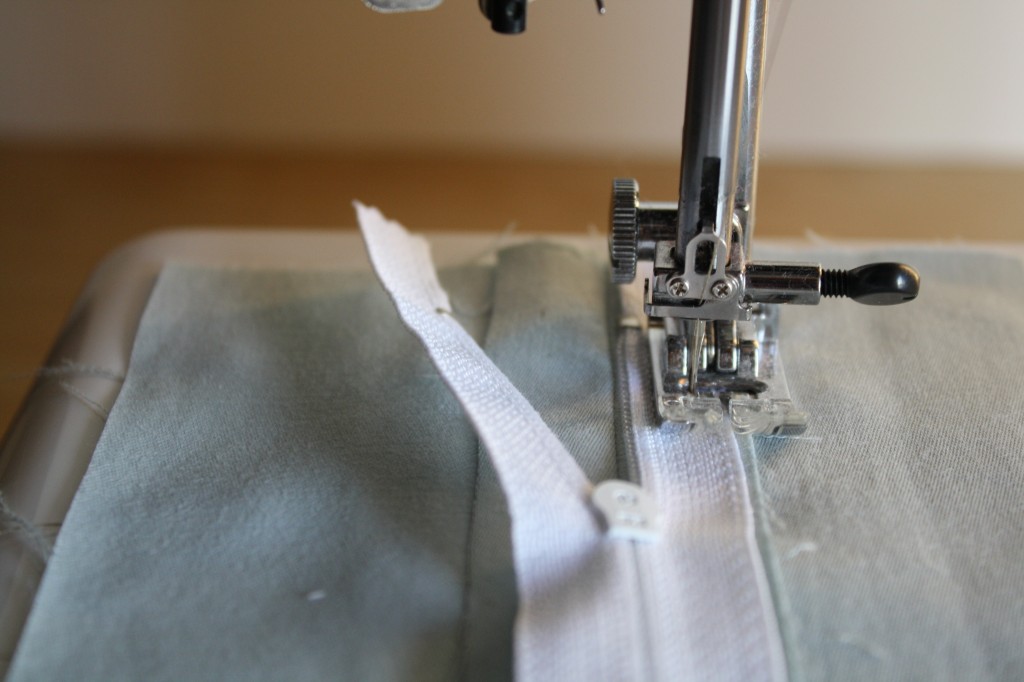
If the zipper head gets in the way of the presser foot (especially if you aren’t using a zipper foot)- lower the needle, lift the presser foot, zip the zipper head out of the way, lower the presser foot, and continue sewing.
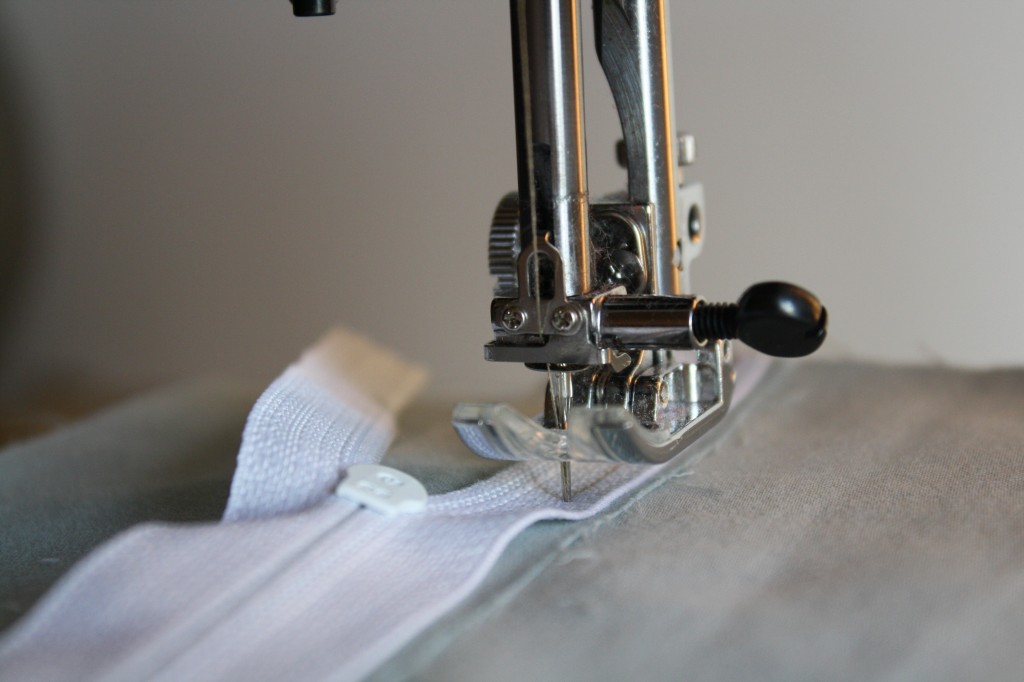
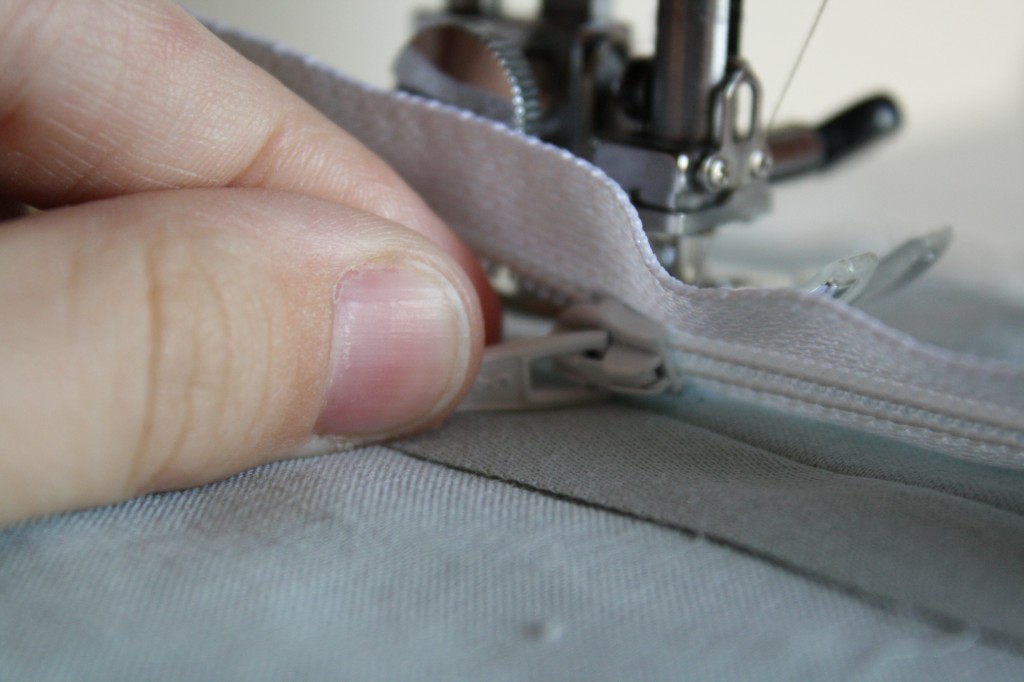
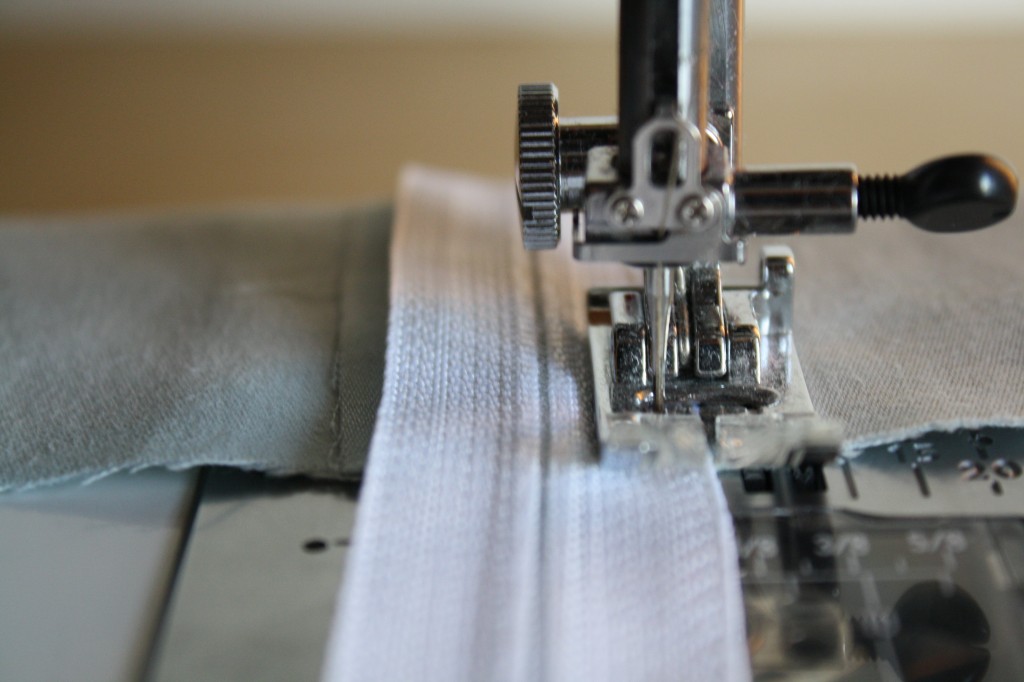
At the end of the zipper, about 1″ from the bottom, pivot the fabric and zipper to sew across the bottom of the zipper. Do this carefully, possibly with the hand wheel, to avoid breaking the needle when sewing over the zipper teeth. Pivot once more to sew back up the other side of the zipper.
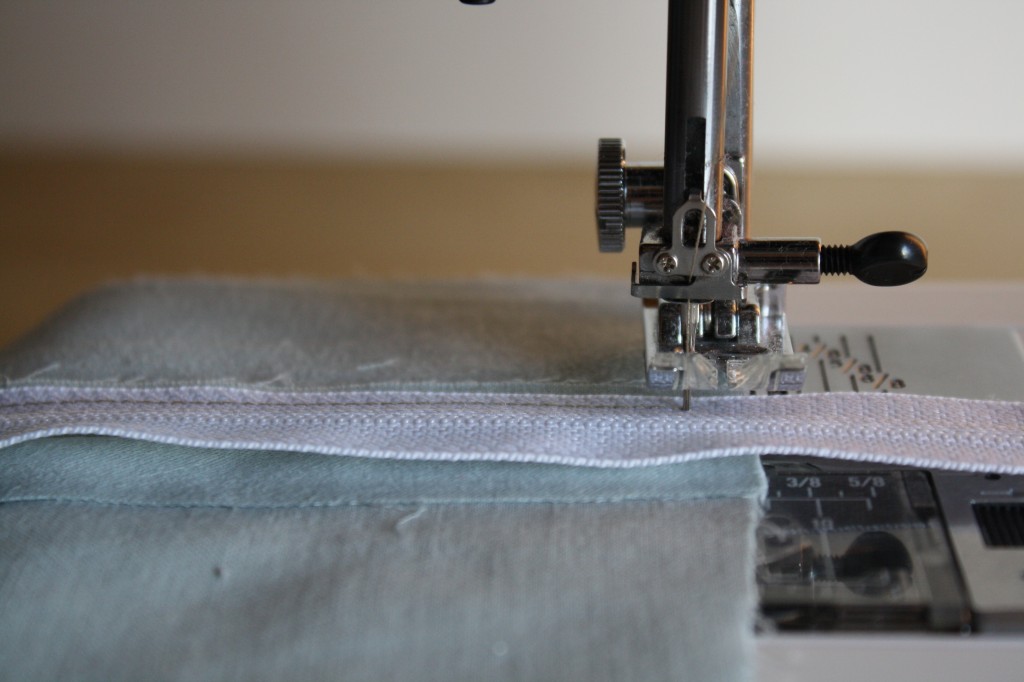
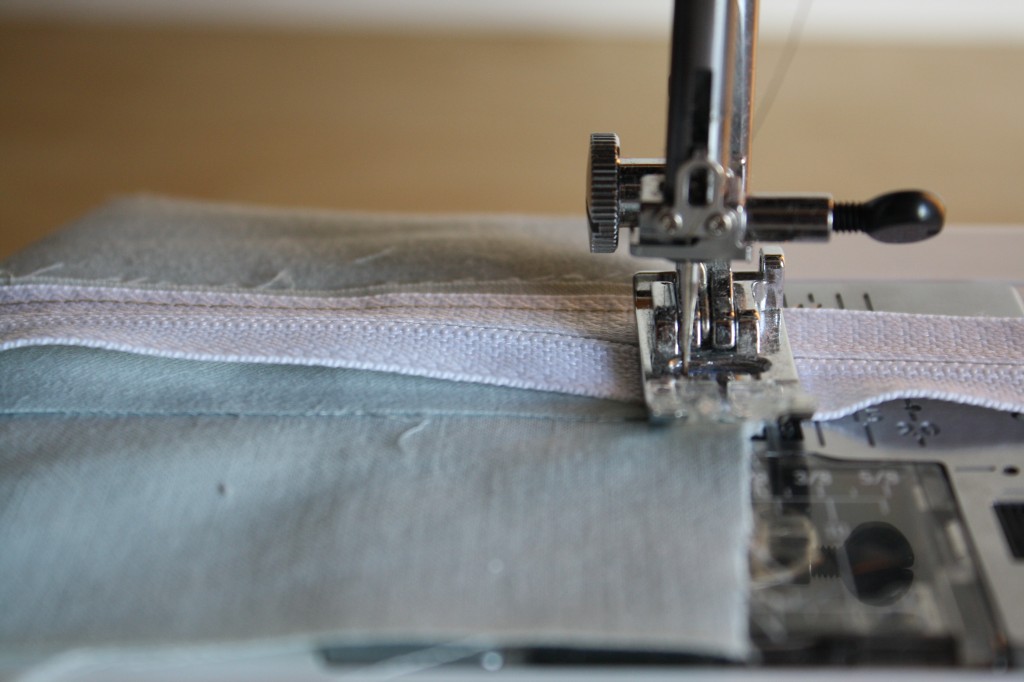
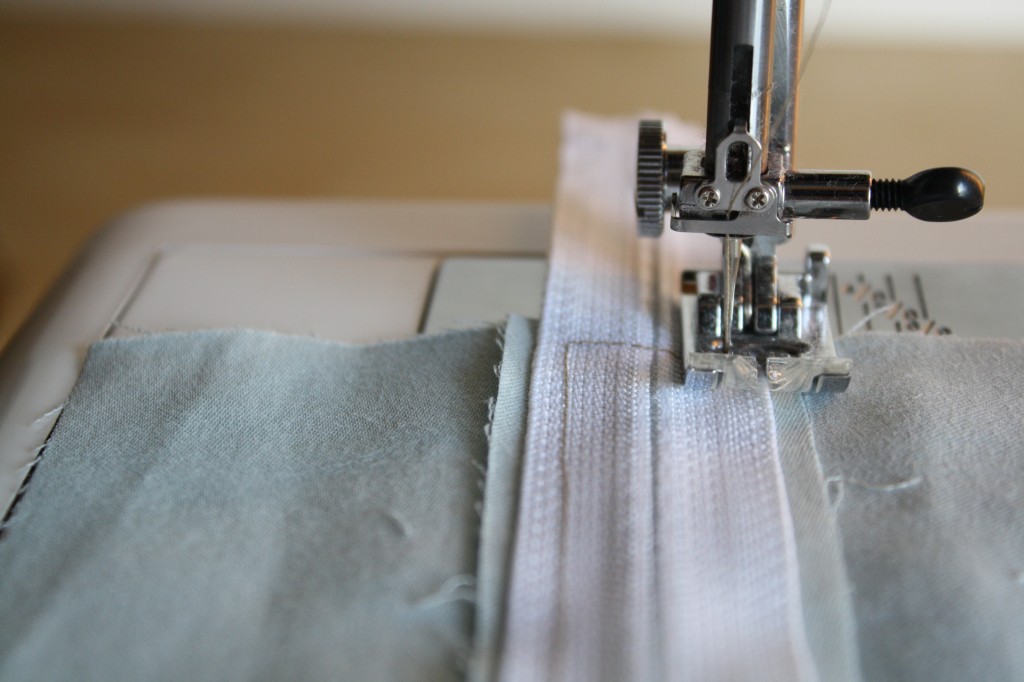
Once again, if the zipper head is in the way of the presser foot, lower the needle and lift the presser foot to zip it out of the way.
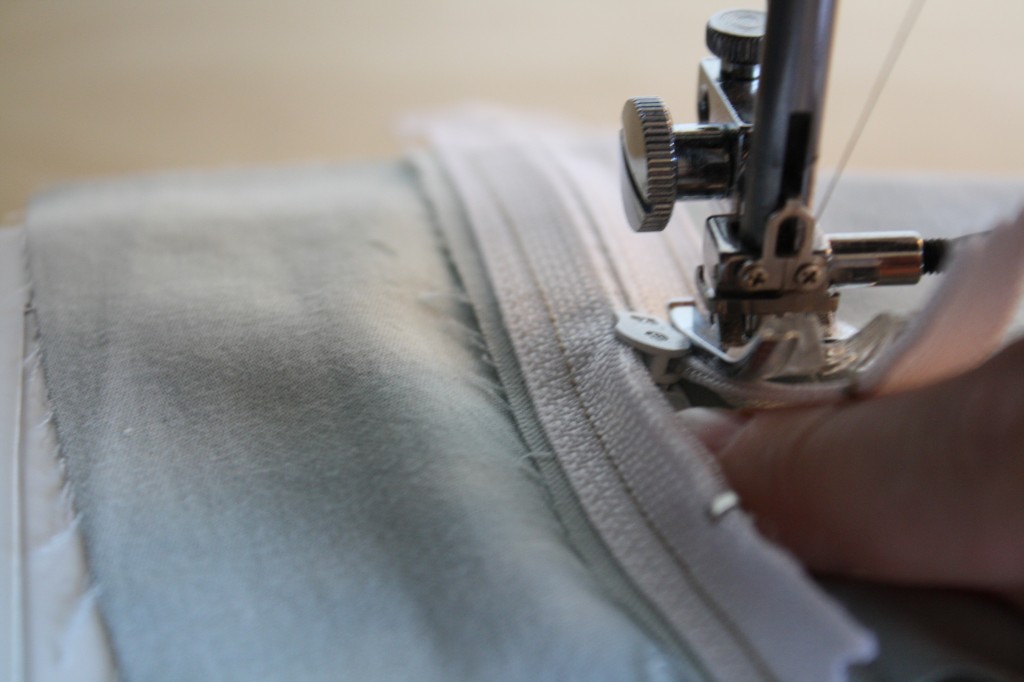
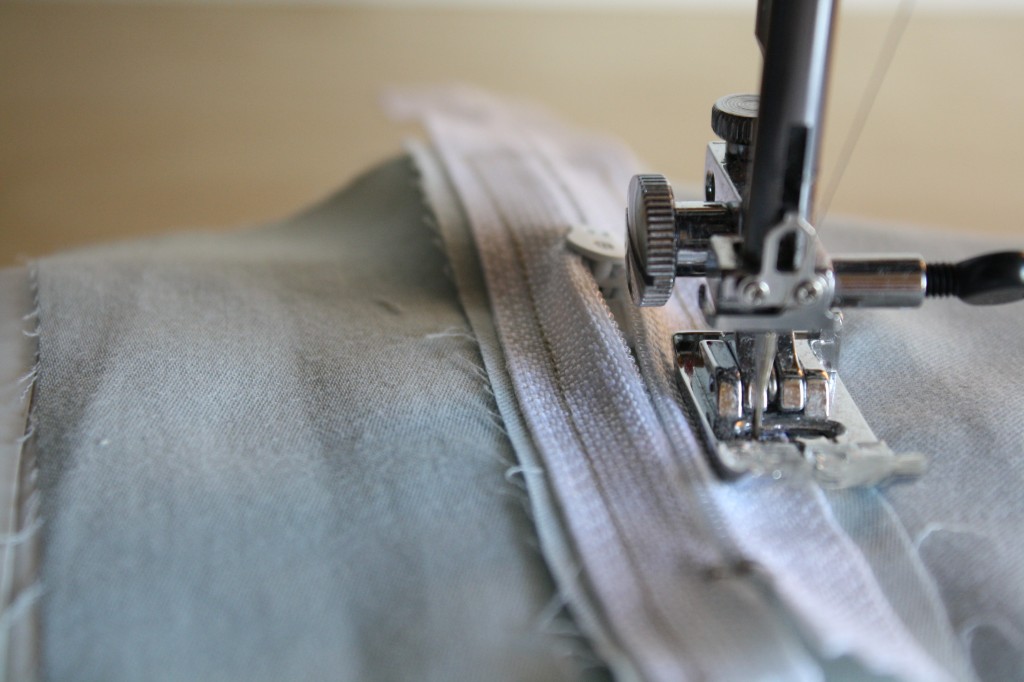
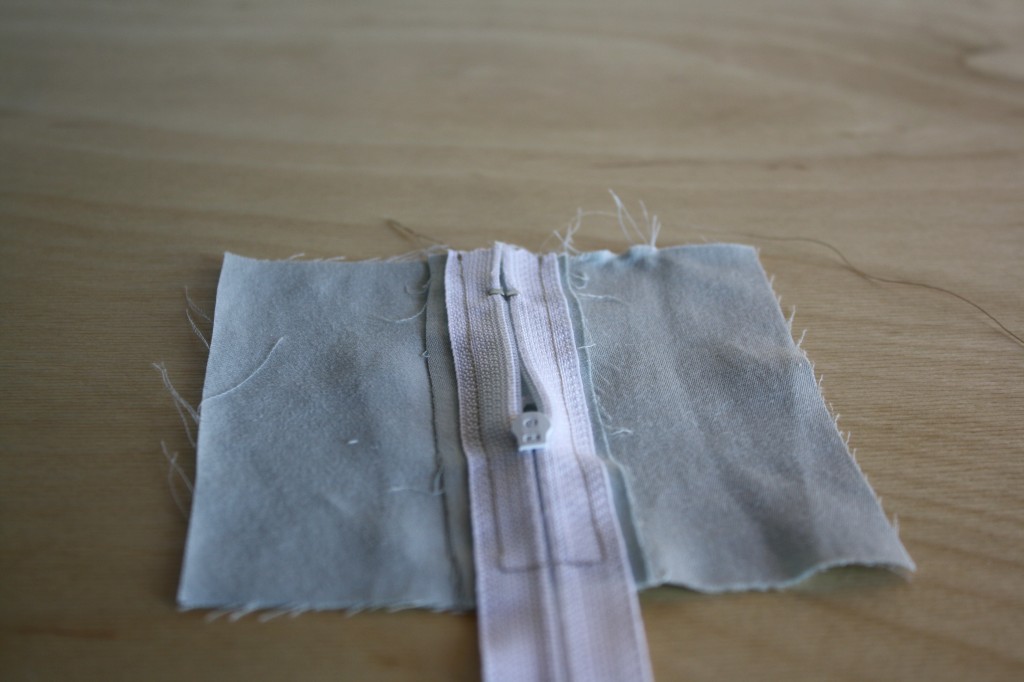
When the zipper is in place, use a seam ripper to take out the baste stitching and open the zipper.
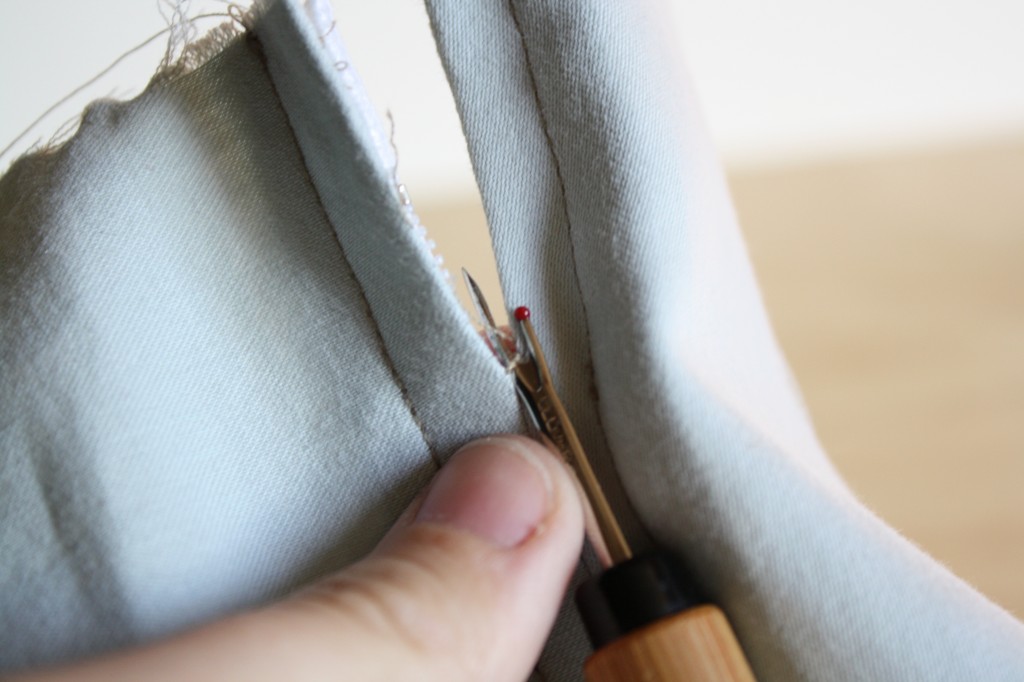
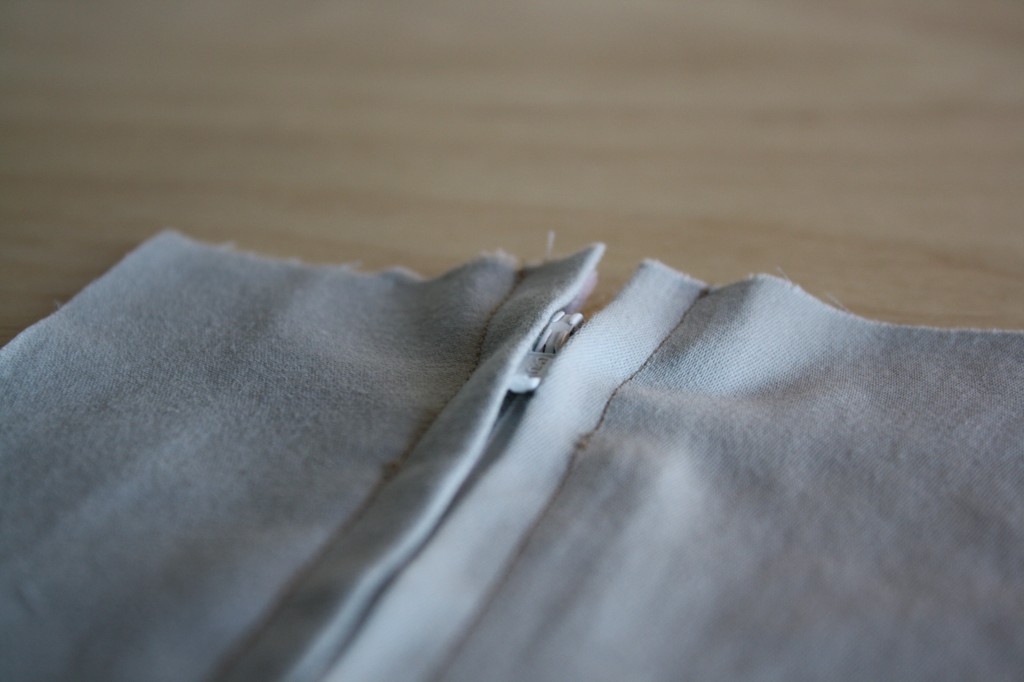
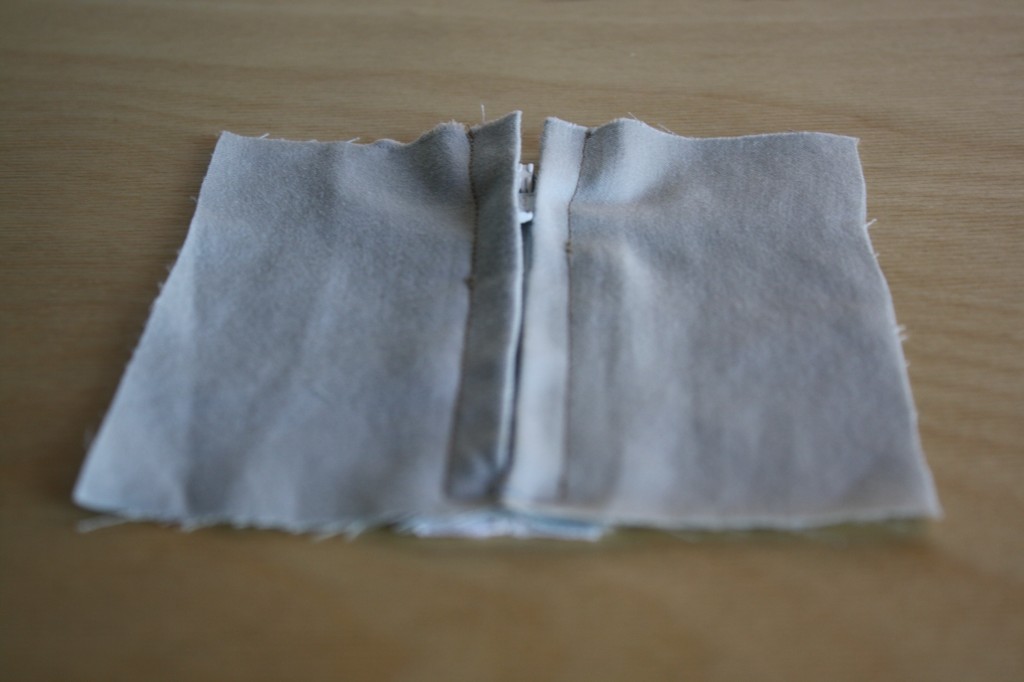
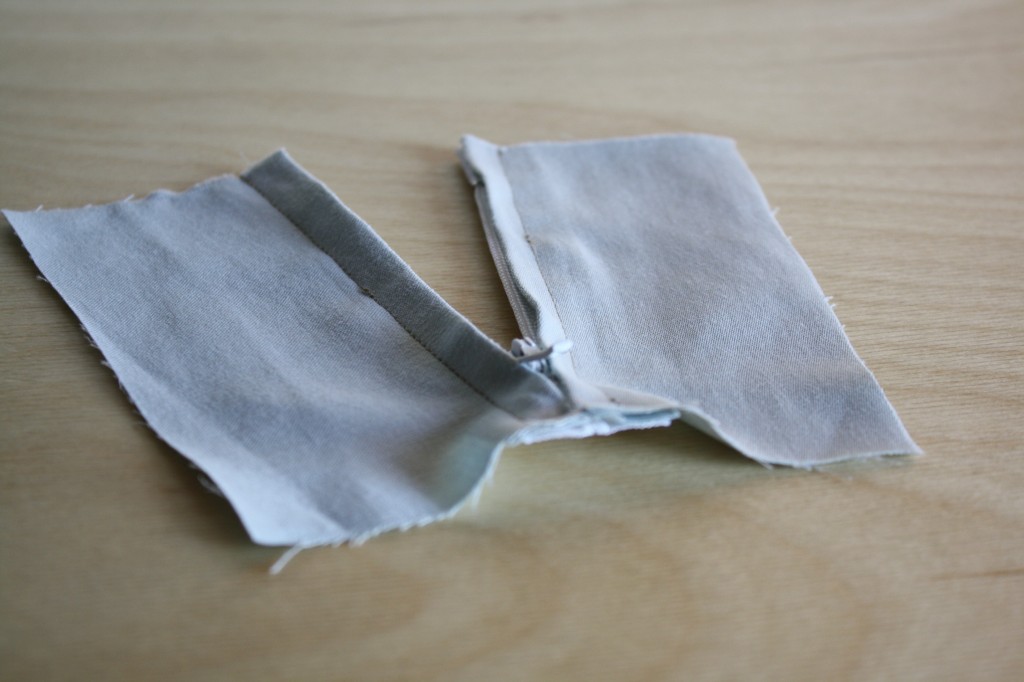
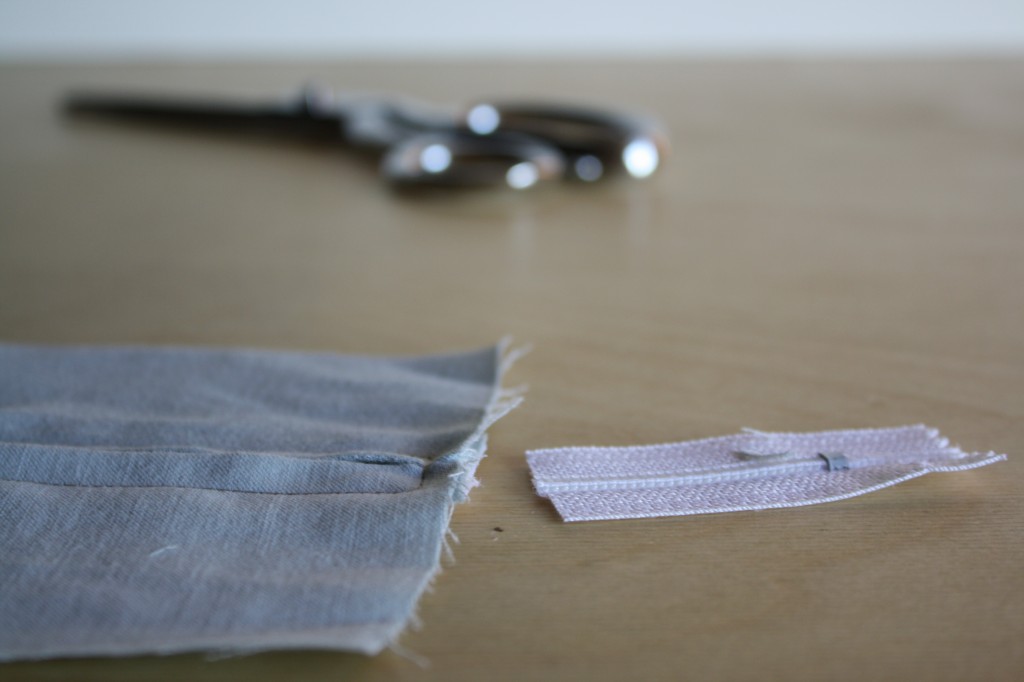
If there is excess zipper below the sewn portion, you can cut it off below the stitching.
INVISIBLE ZIPPER
Put the invisible zipper foot on your sewing machine (you can also use a standard presser foot or zipper foot, as long as you sew about 1/8″ from the zipper’s teeth).
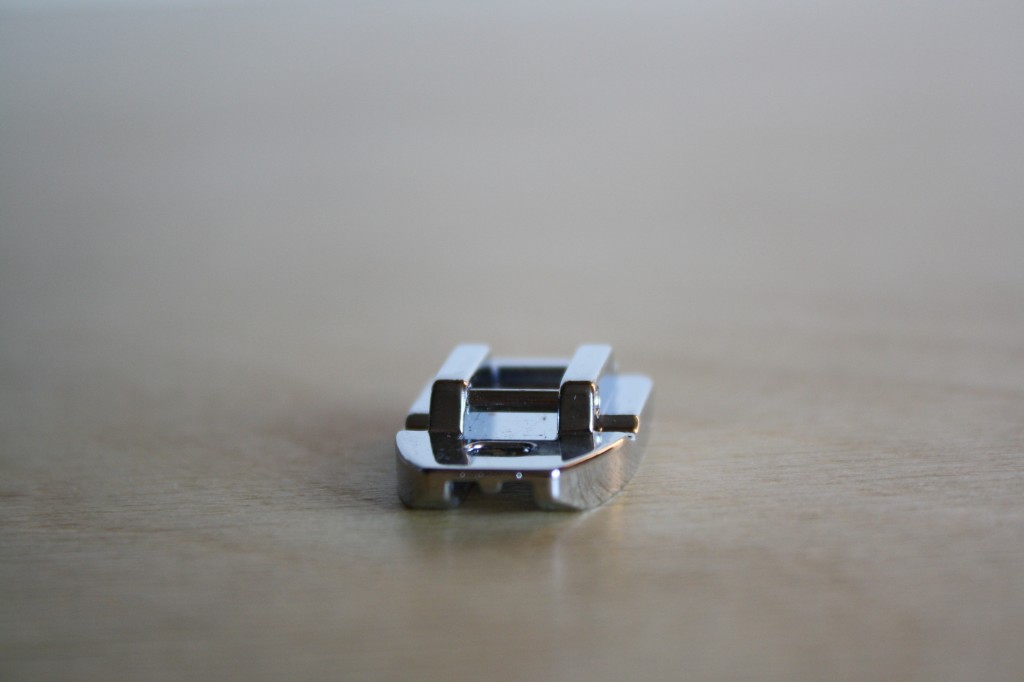
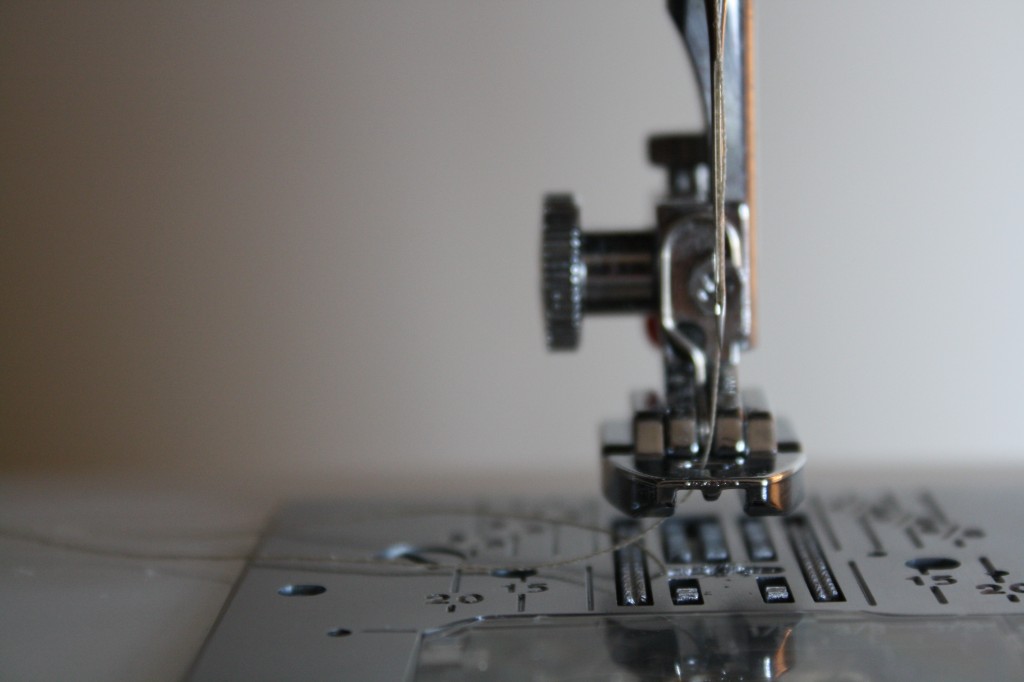
Place the invisible zipper face down on the ironing board. The teeth on an invisible zipper curl in, you’ll want to iron them flat.
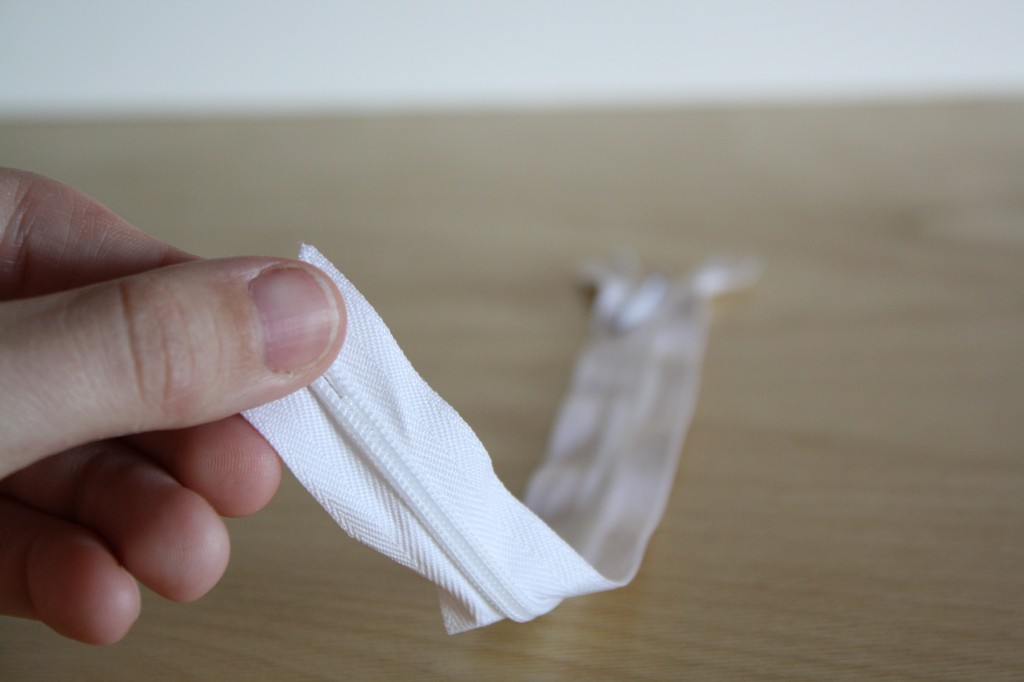
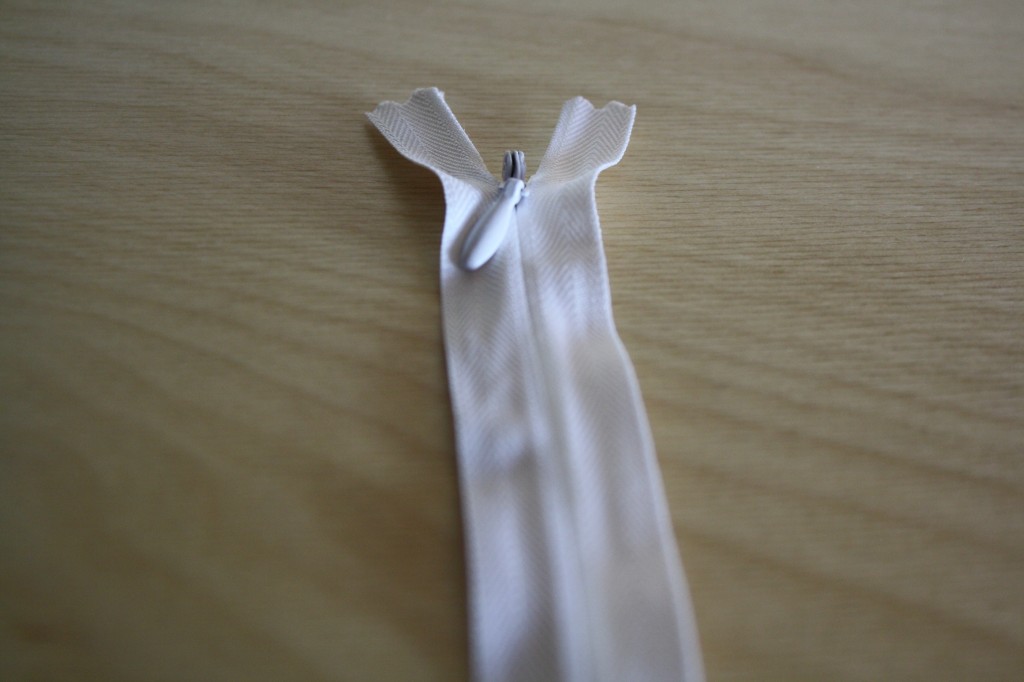
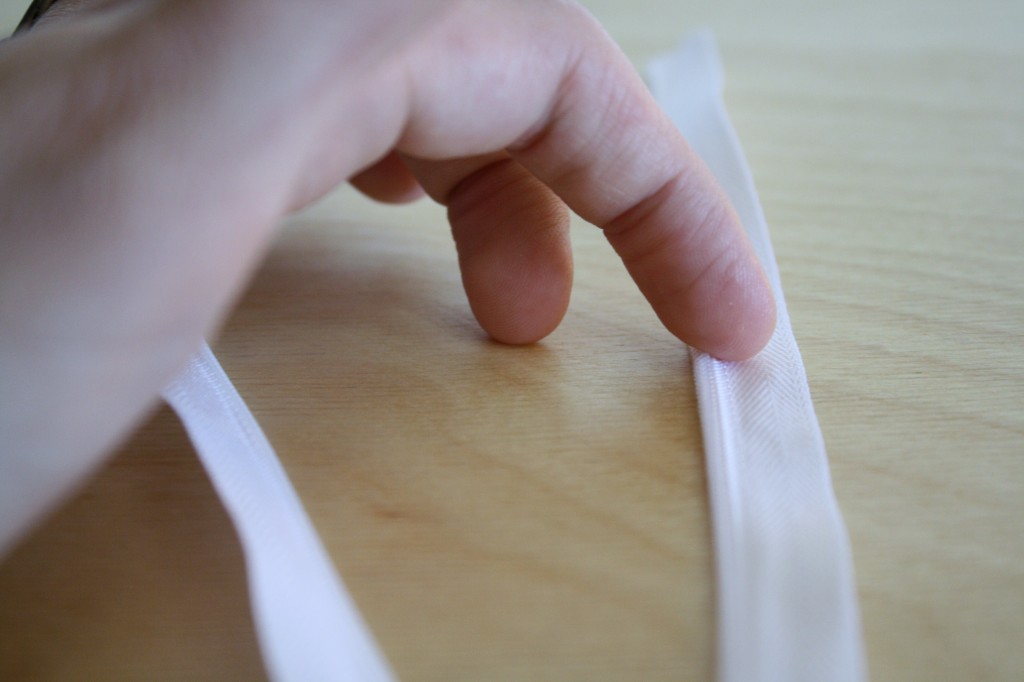
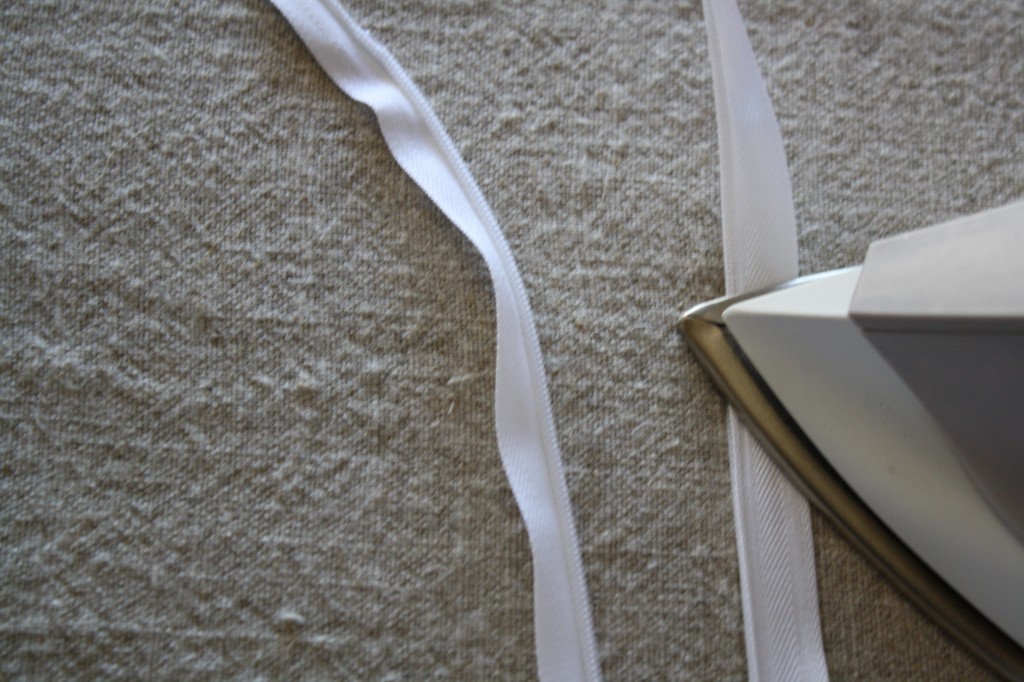
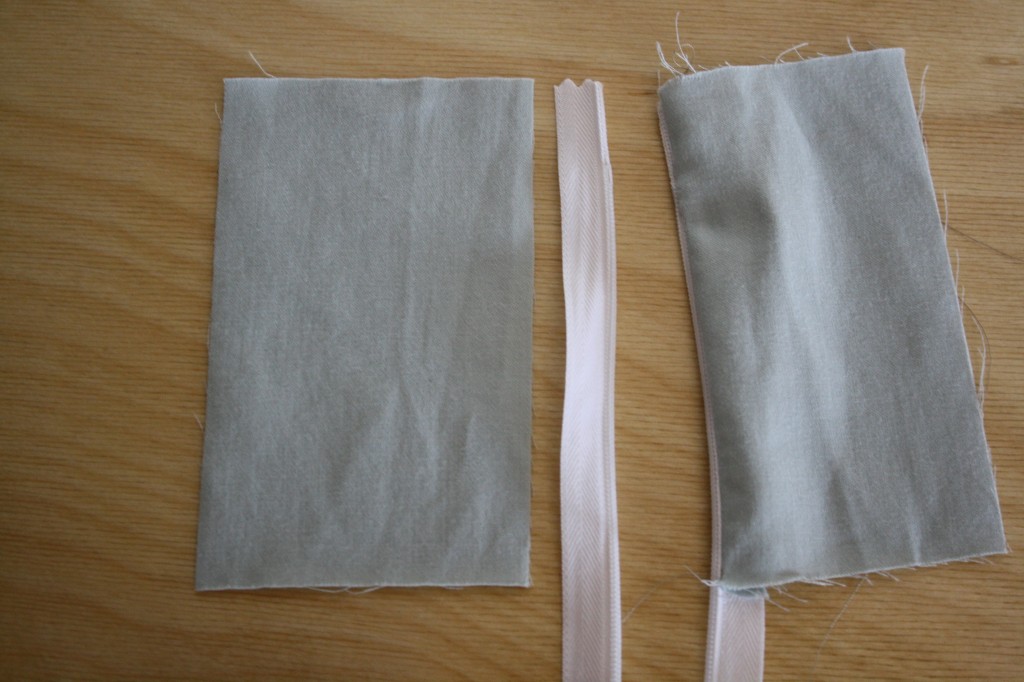
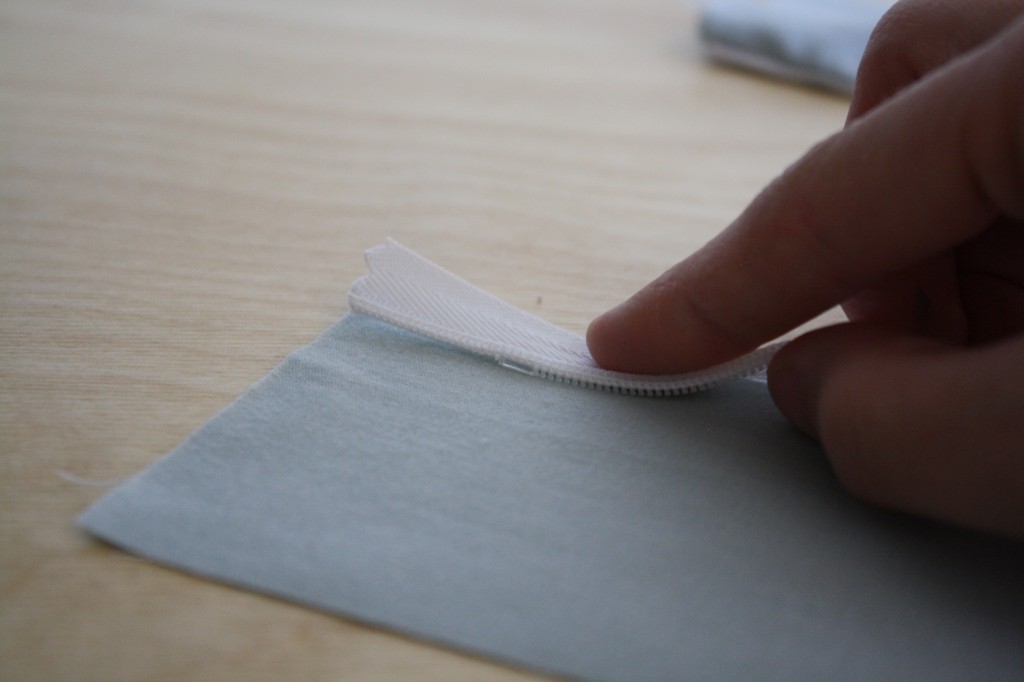
Lay both pieces of fabric right-side up, with the zipper between them, also right side up. Unzip the zipper, and flip the right side of the zipper over to the fabric on the right, lining them with right-sides-together, lined along the edge of the fabric.
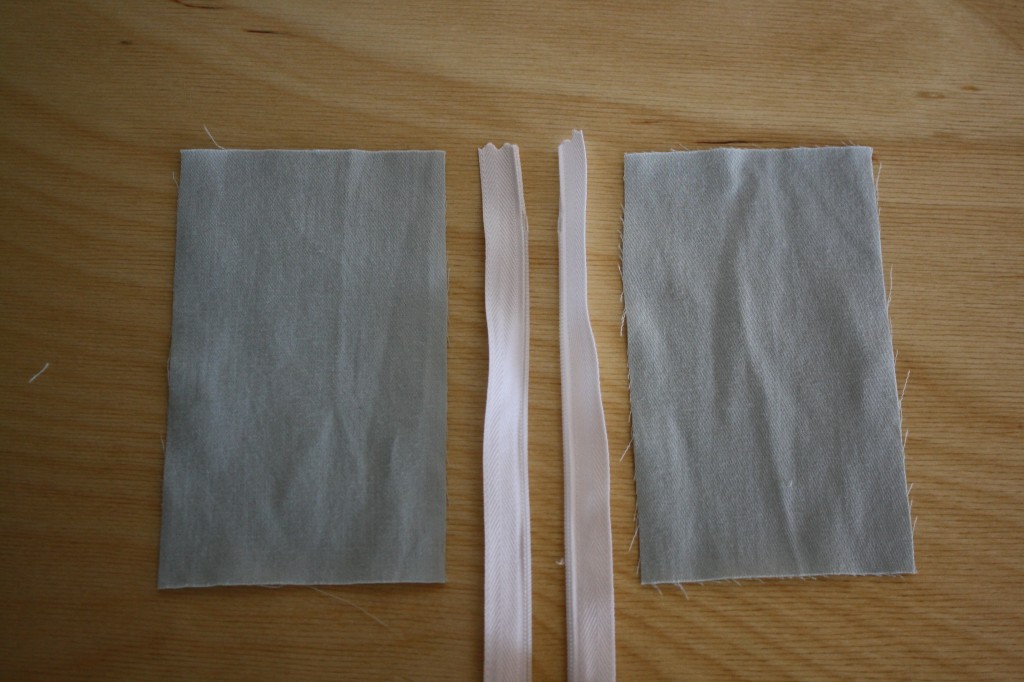
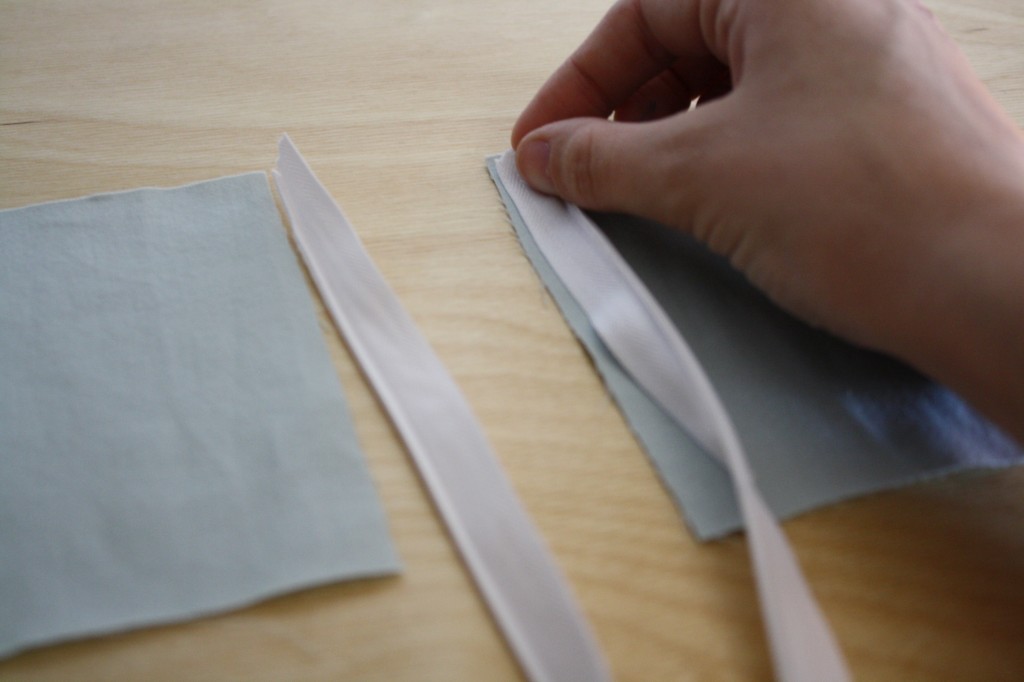
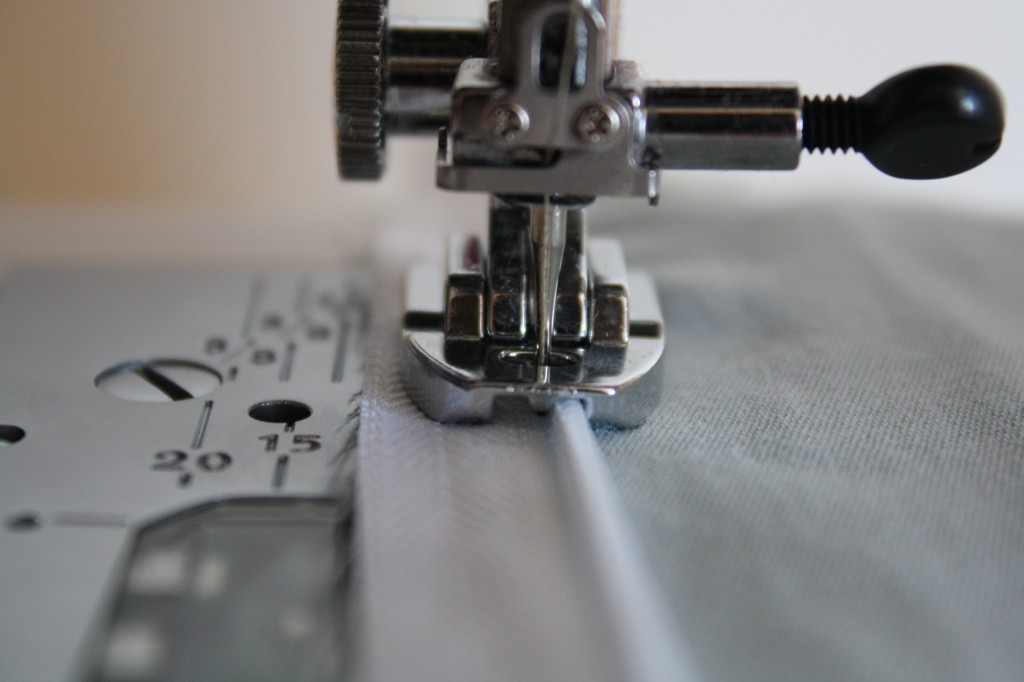
Sew as close to the zipper teeth as you can down the length of the zipper. With an invisible zipper foot, simple feed the zipper teeth through the guide on the right side of the zipper foot.
Lay the zipper next to the other piece of fabric, with right sides up. Line the remaining zipper and fabric with right-sides-together.
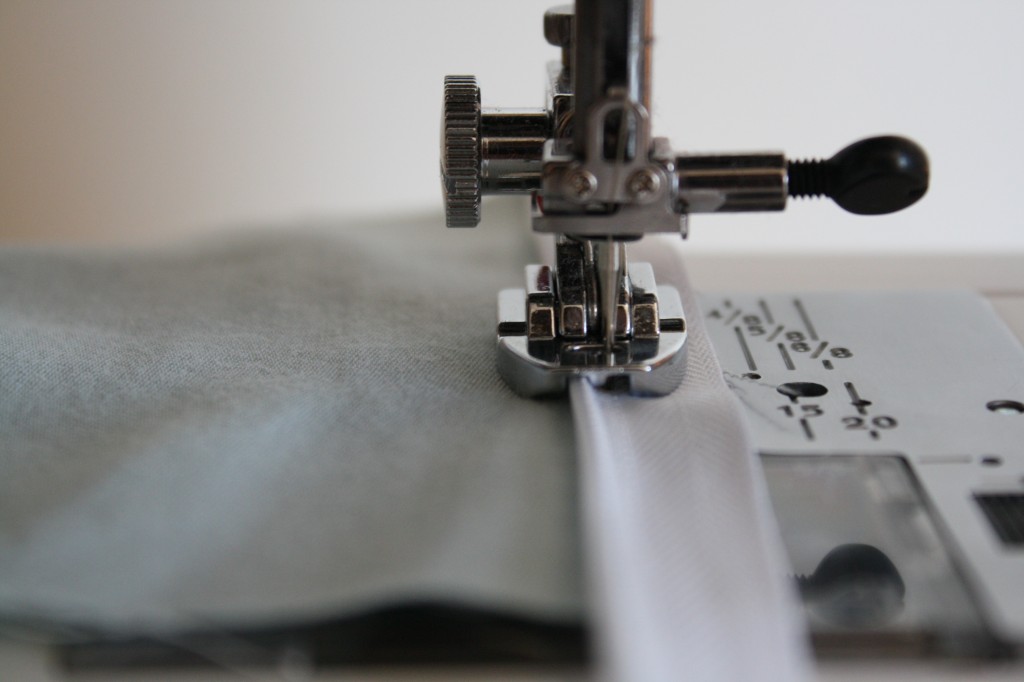
Sew down the length of the zipper as close to the teeth as you can. With an invisible zipper foot, feed the zipper teeth through the left guide on the presser foot.
Sew across the bottom of the zipper a few times to secure the stopping point at the bottom and cut the excess zipper off of the bottom.
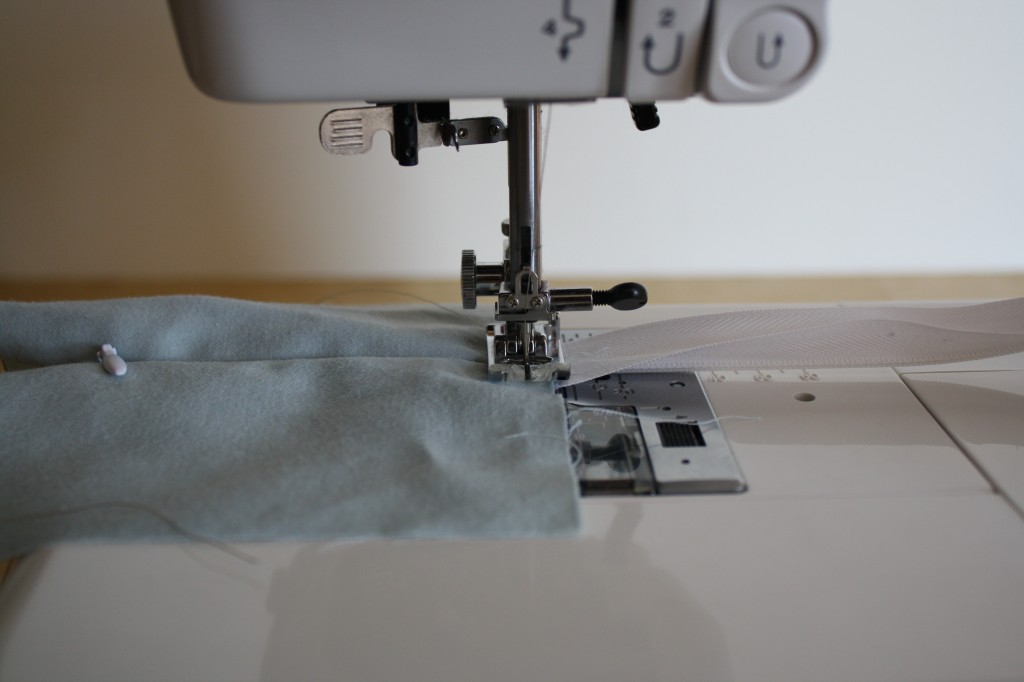
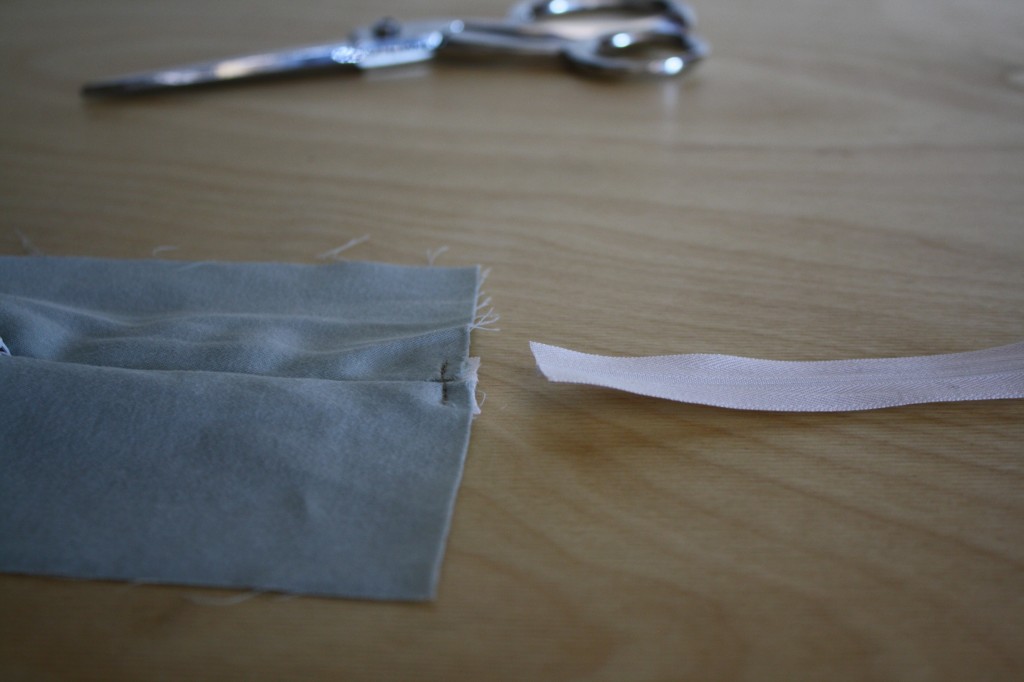
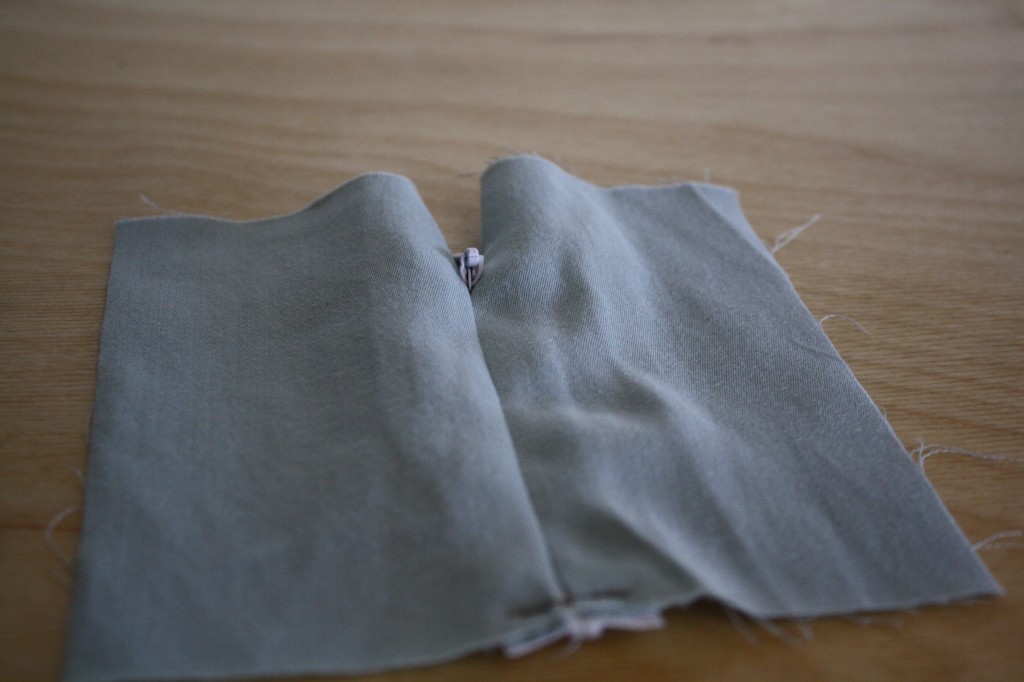
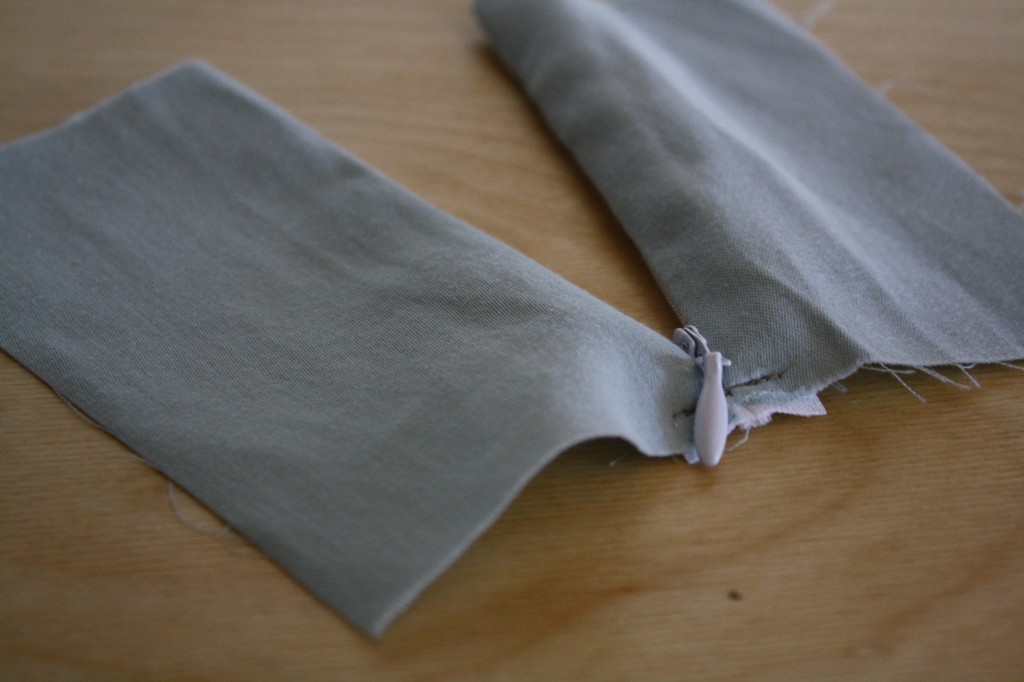
On the right side, the zipper should be completely hidden in what looks like a seam, and on the back side, you see the exposed zipper.
HOMEWORK
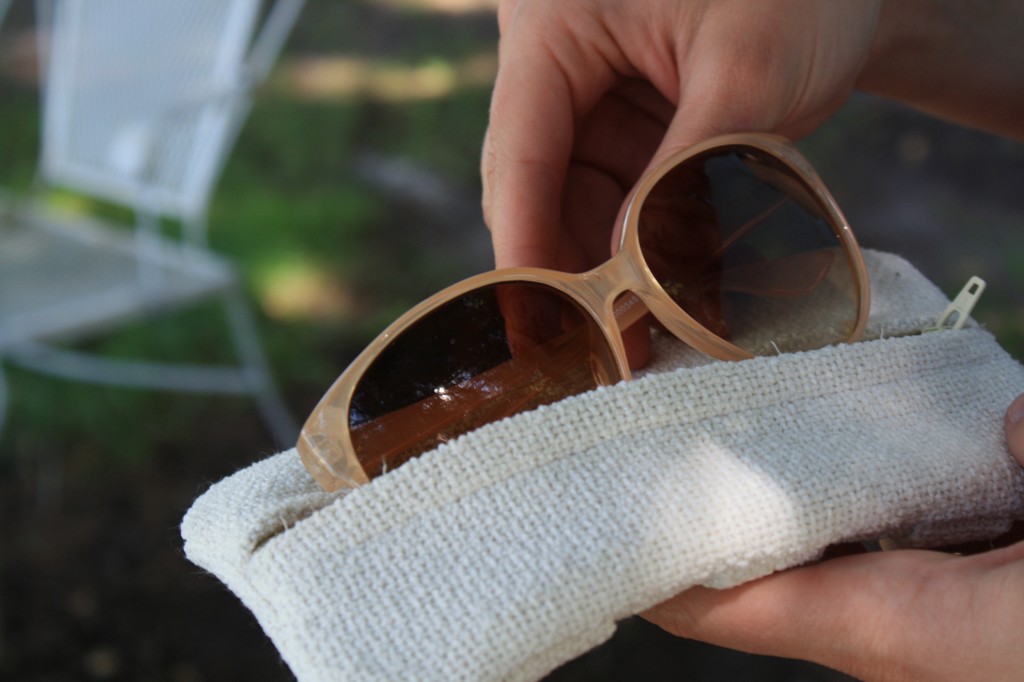
[…] to take the time and learn how to put in a zipper properly. It really is quite rewarding! Check out this great tutorial by yellow […]