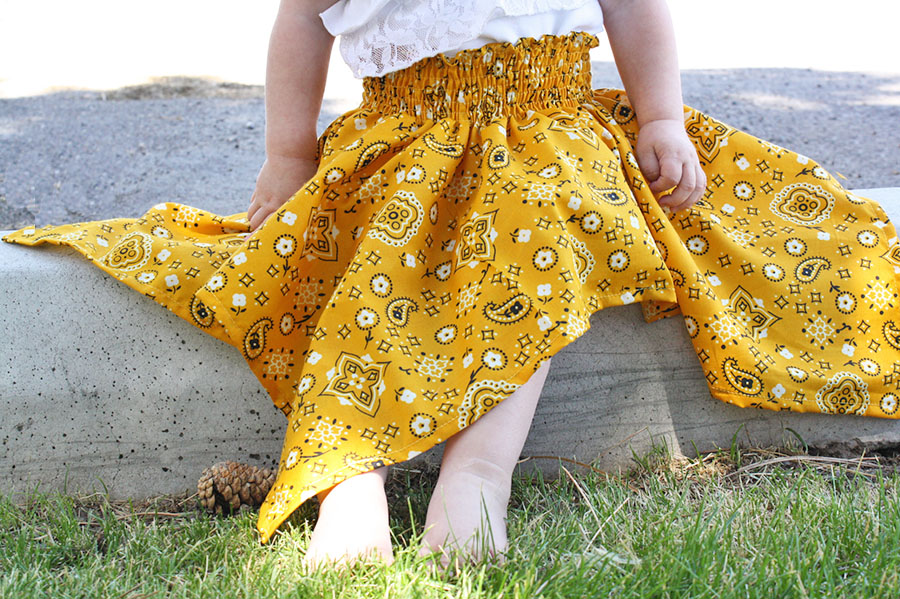
When I was pregnant with Lenna I had a little stash of random bandanas that I was just dying to make into tiny little dresses. When I started to look for tutorials for bandana dresses, all I could find were patterns that used more than one bandana. The problem was, none of my bandanas matched. I laid a bandana out and stared at it. It seemed like enough fabric to cover a tiny little baby, I just needed to find a way to do it.
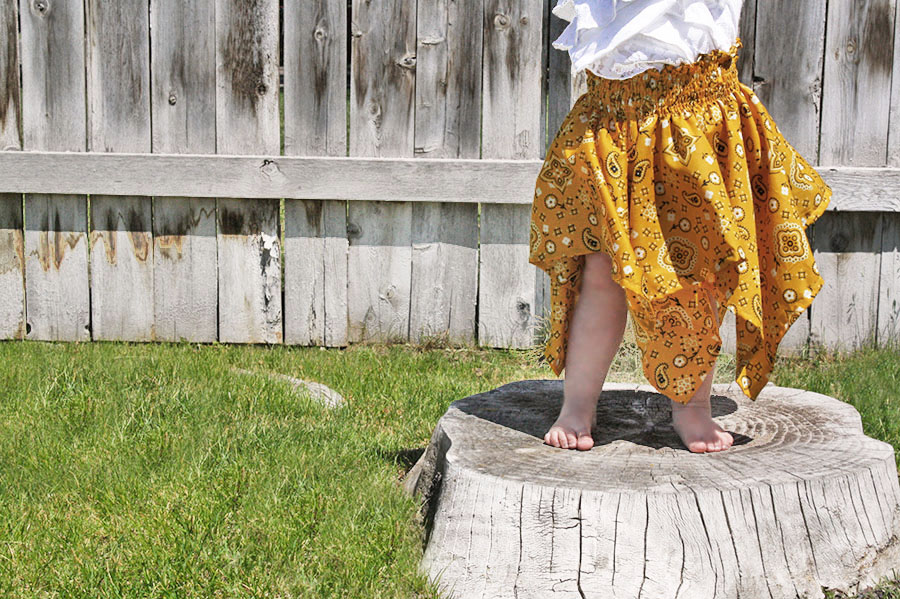
That was when I came up with my shirred bandana dress. I realized if I cut a hole from the center of the bandana for a waistband, I could make a “circle skirt”, or in this case, a square skirt, using a single bandana!
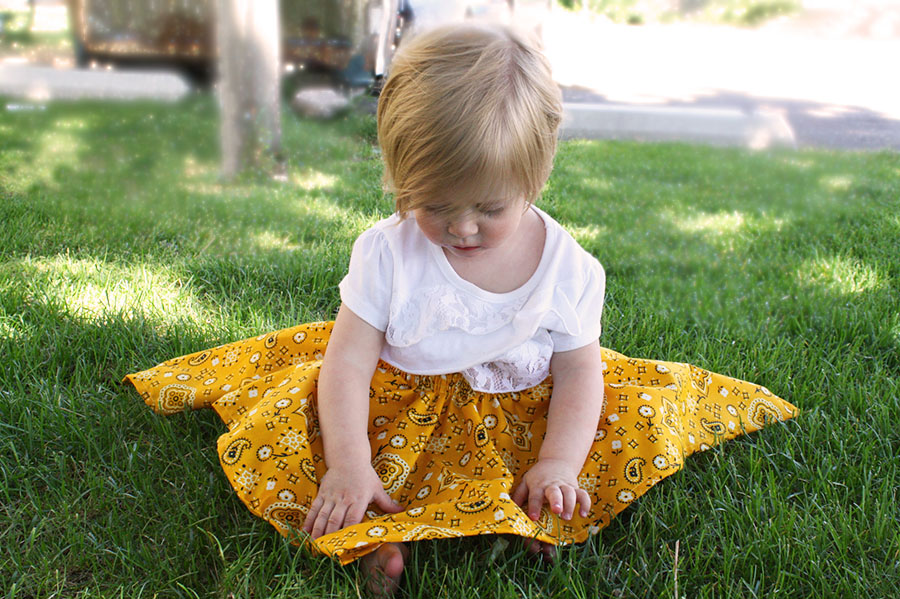
The shirring at the top of the skirt makes it stretch enough for your little one to wear for a LONG time. I would use the same dresses for one baby to wear as a dress, and the other to wear as a skirt.
I made a ton of them and gave them away as baby gifts, because they cost about $1 to make, and can be put together in about 15 minutes.
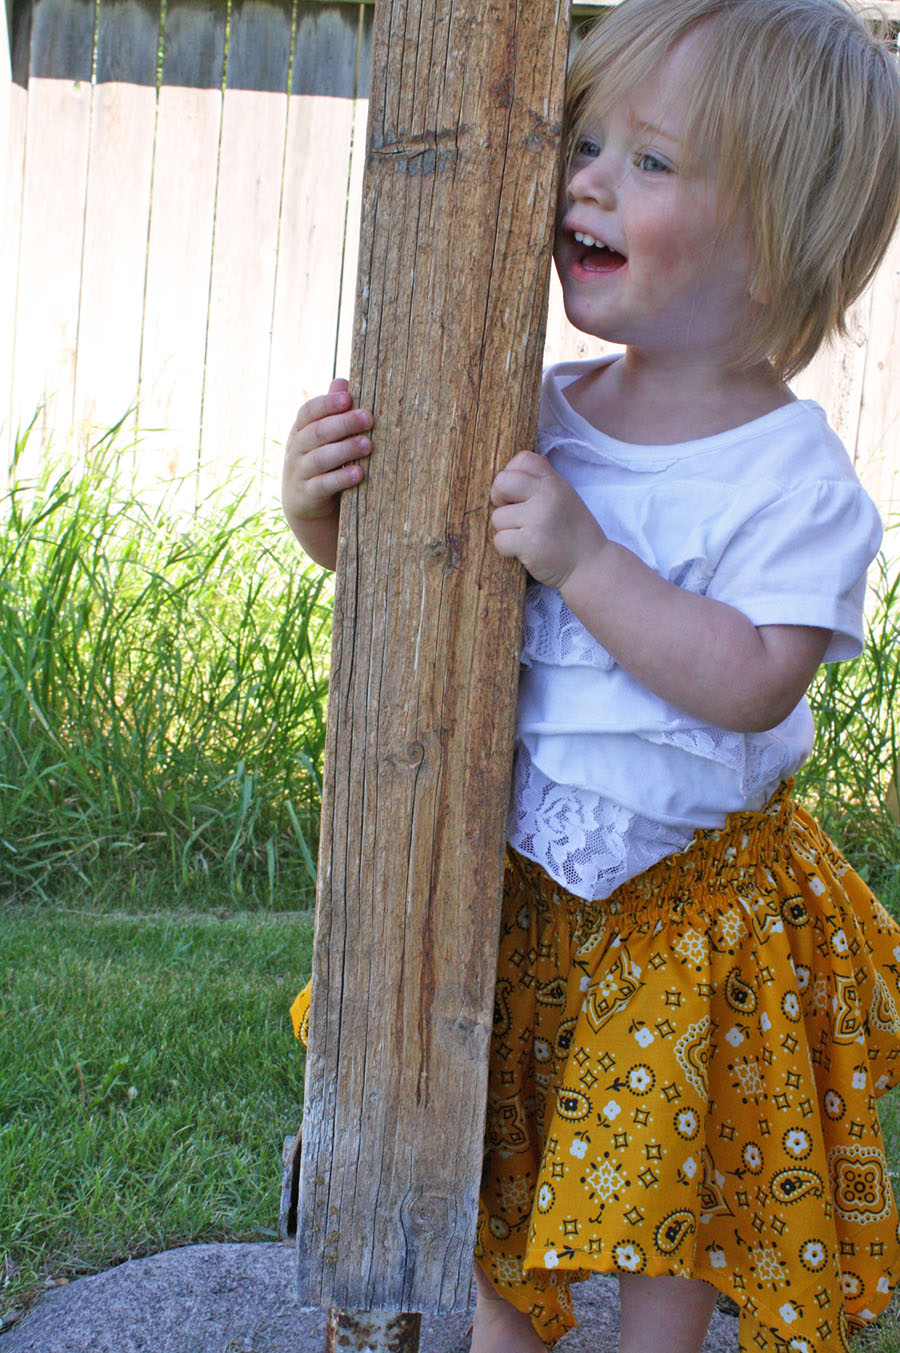
I haven’t thought about these dresses for a long time, because my girls have grown out of them, but then I saw some bandana fabric recently and thought, I can make my own, bigger bandana, and make a bigger bandana dress!
And I did just that.
MATERIALS NEEDED:
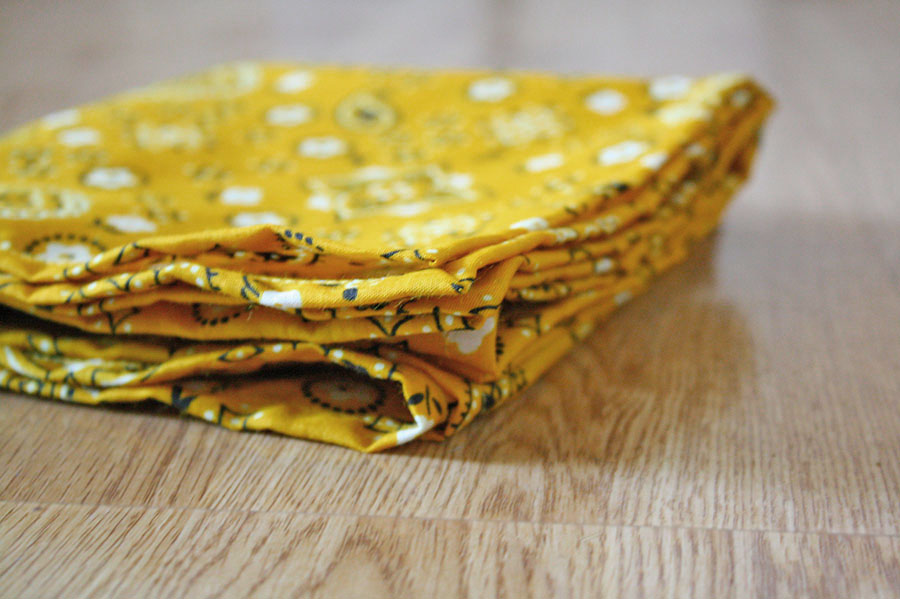
1 Bandana (or a piece of square fabric)
Matching thread
Elastic thread
Ribbon (for dress option)
INSTRUCTIONS:
Start with your bandana. If you’re making a dress/skirt for an infant, a standard bandana works perfectly. If you’re hoping to make one for a little girl, older than about 12 months, you can make a larger “bandana” by sewing a double hem around all four sides of a piece of square fabric, or by zigzagging 4 bandanas together into a larger square.
Use a bowl with a circumference slightly larger than your child’s waist to cut a circle from the center of the bandana.
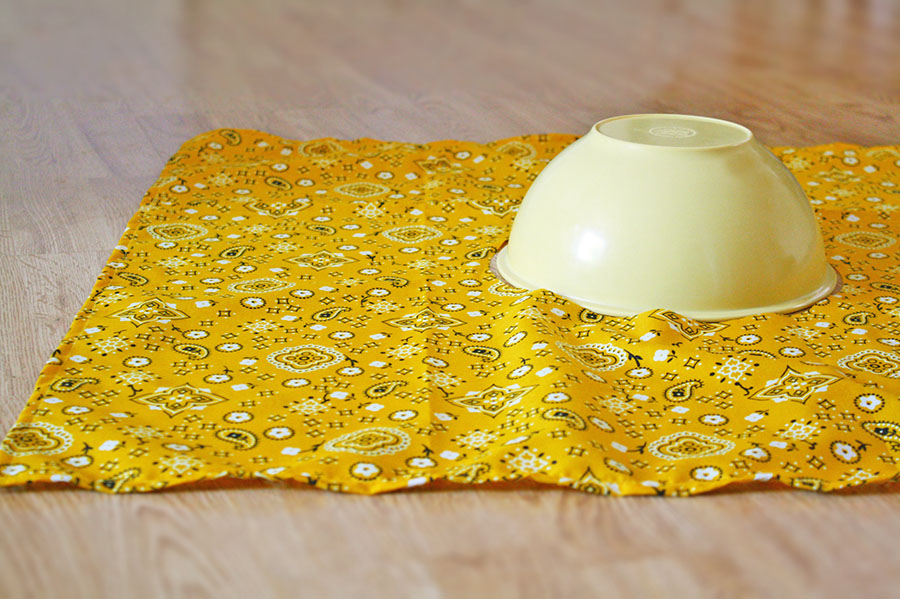
Double hem around the raw edge of that circle using a zigzag. It doesn’t matter if this looks perfect (it won’t because you’re folding under a rounded edge), because it’s going to be gathered and no one will ever know it.
Wind elastic thread onto a bobbin. You’ll want to pull the elastic slightly, about 1/4 of it’s stretching capability, as you wind it.
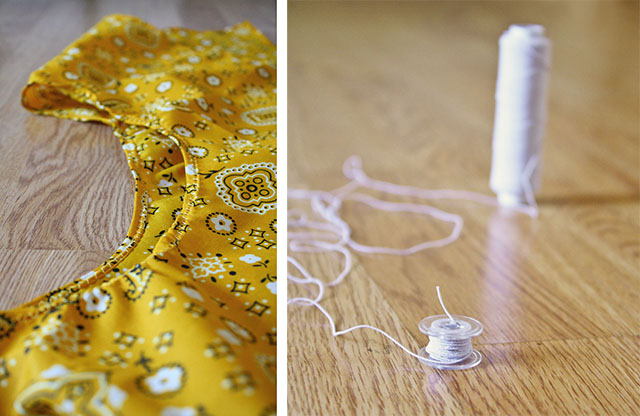
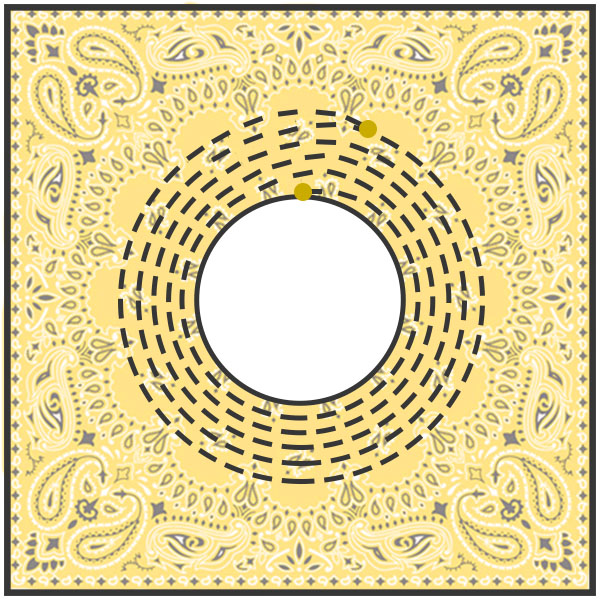
Set your stitch length to the longest setting. Start at the very upper edge of the waistline, and start sewing in a spiral, using the edge of the presser foot as your guide. Spiral around 6 or 8 times, until you have a nice little “waistband”. Reinforce at the beginning and end of the spiral.
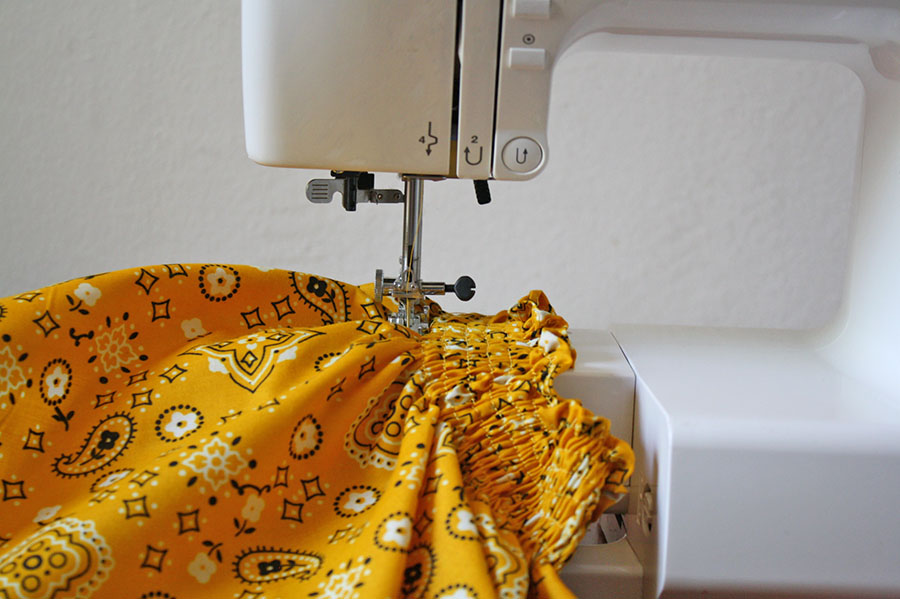
That’s it! Unless you want to add some quick ribbon straps, which really work best with the infant size.


This is genius! I love super simple and super cute. Thanks so much!