**Note** If you are unfamiliar with any of the parts of the sewing machine, you can see the previous lesson, HERE.
The first step when dealing with your bobbin is to wind the thread onto the bobbin. This should be essentially the same on most machines, but if yours differs from mine refer to your user manual.
WINDING THE BOBBIN
Secure your spool of thread on the spool pin and then bring the thread around the bobbin winding tension slot (the round metal piece). Just once should be fine.
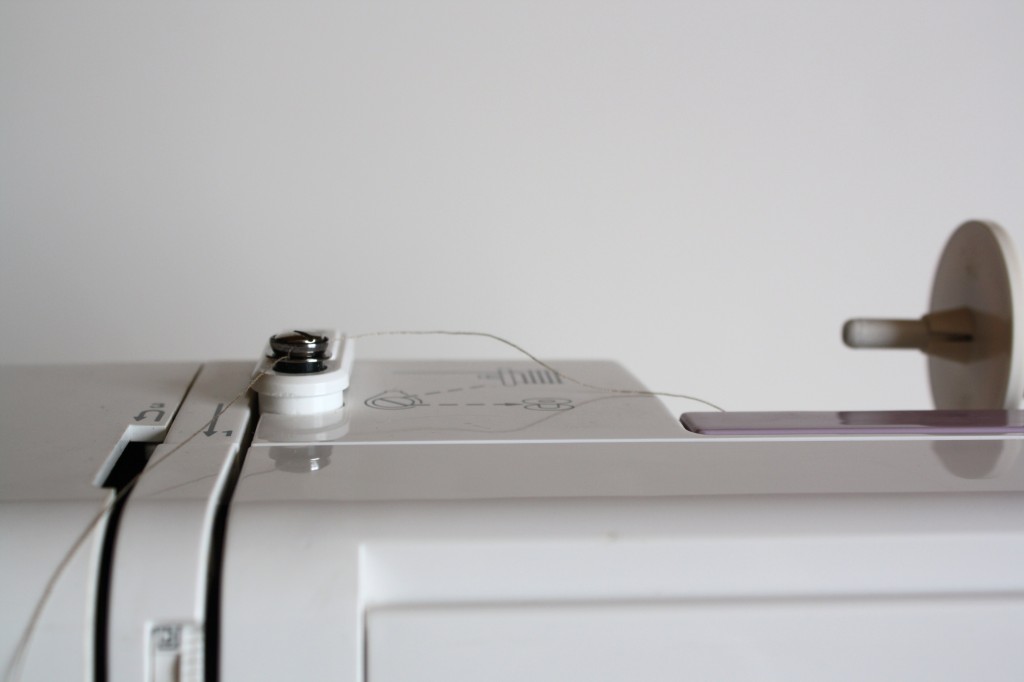
Next feed the end of the tread through the hole in the bobbin OR wrap the tread around the bobbin two or three times to secure it.
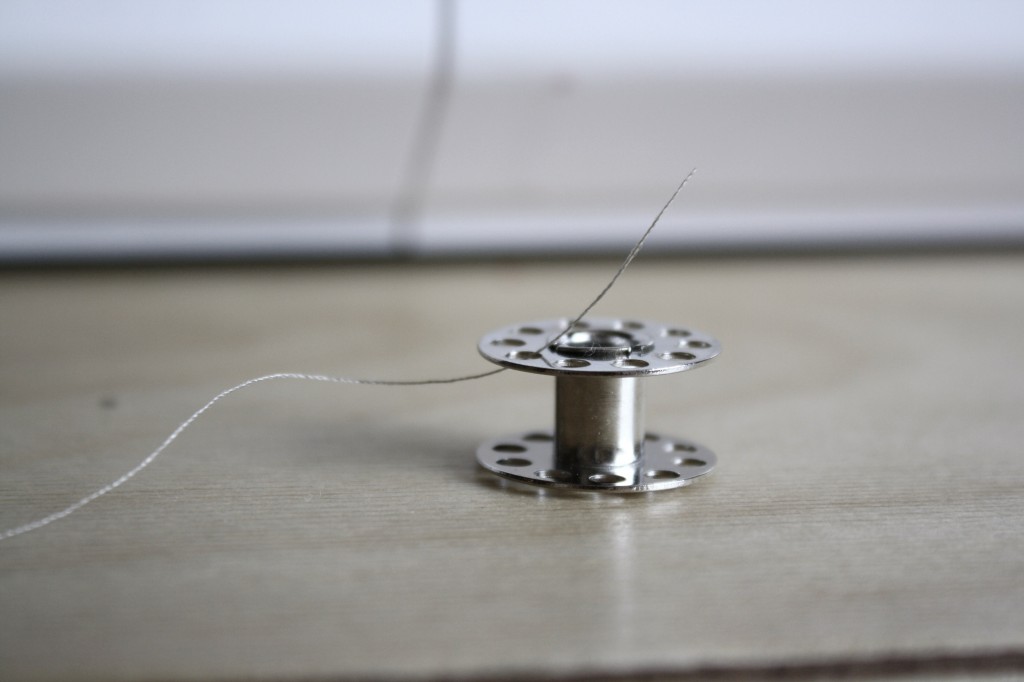
Place the bobbin onto the bobbin winder and slide the bobbin winder into place. Some machines require you to push a button or pull the hand wheel out to put it into bobbin winding mode. If you’re unsure if your machine has one of these features, check the user’s manual.
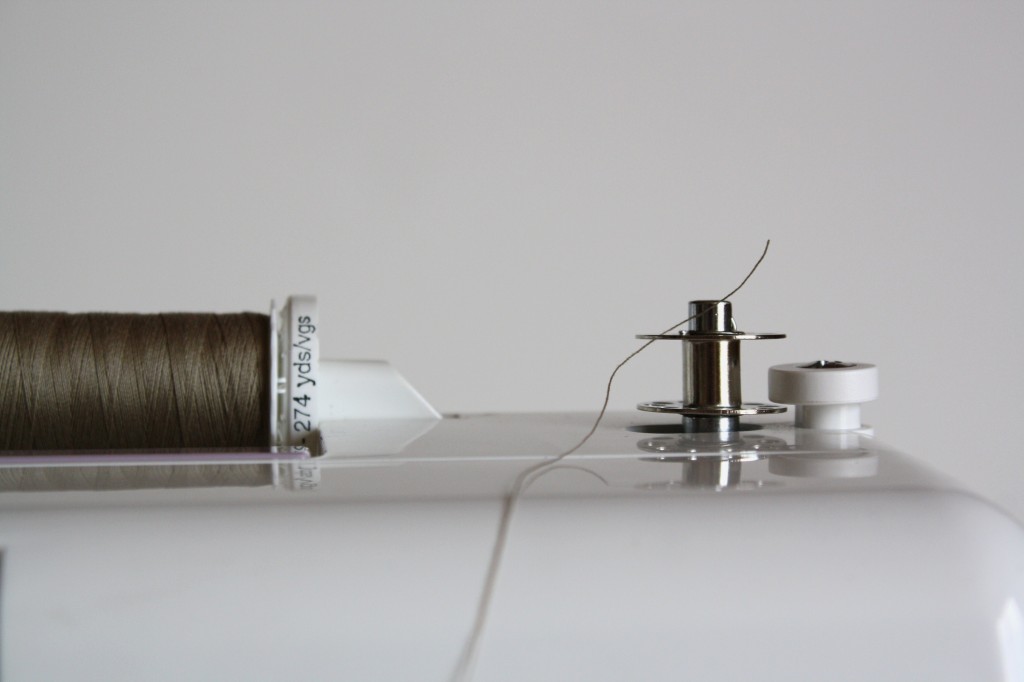
Wile holding the end of the thread, push on the foot pedal, do this until you have 2 or three layers of thread wound onto your bobbin.
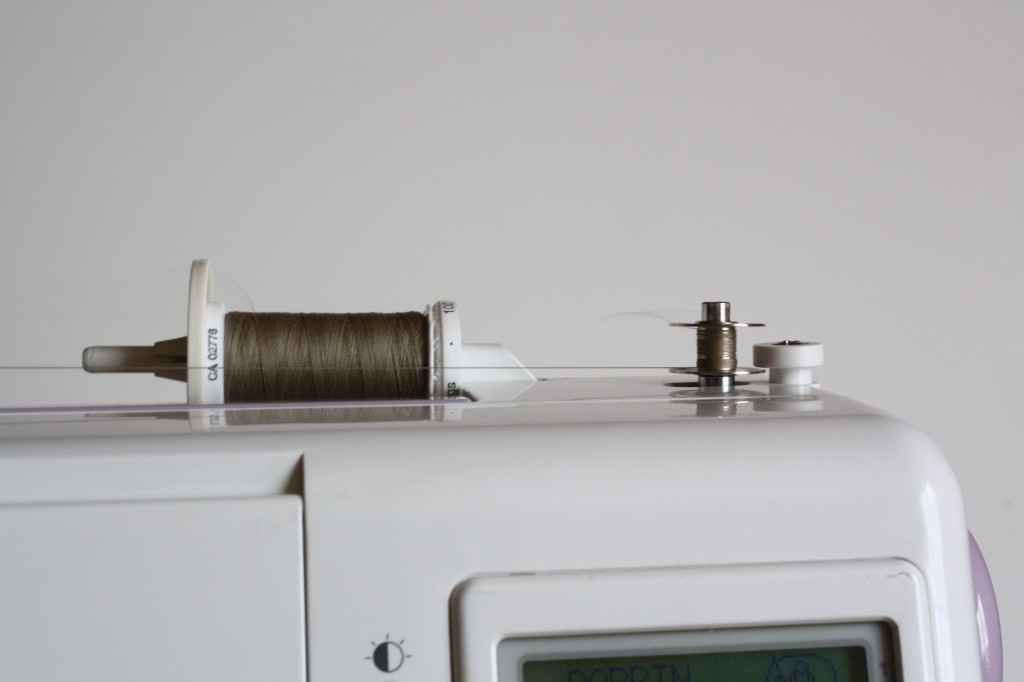
At this point you can let go of your thread tail. Some machines can fill a bobbin automatically, allowing you to wind your bobbin hands-free (pictured above), while others require you to guide the thread up and down as the bobbin is being wound to distribute the thread evenly (pictured below).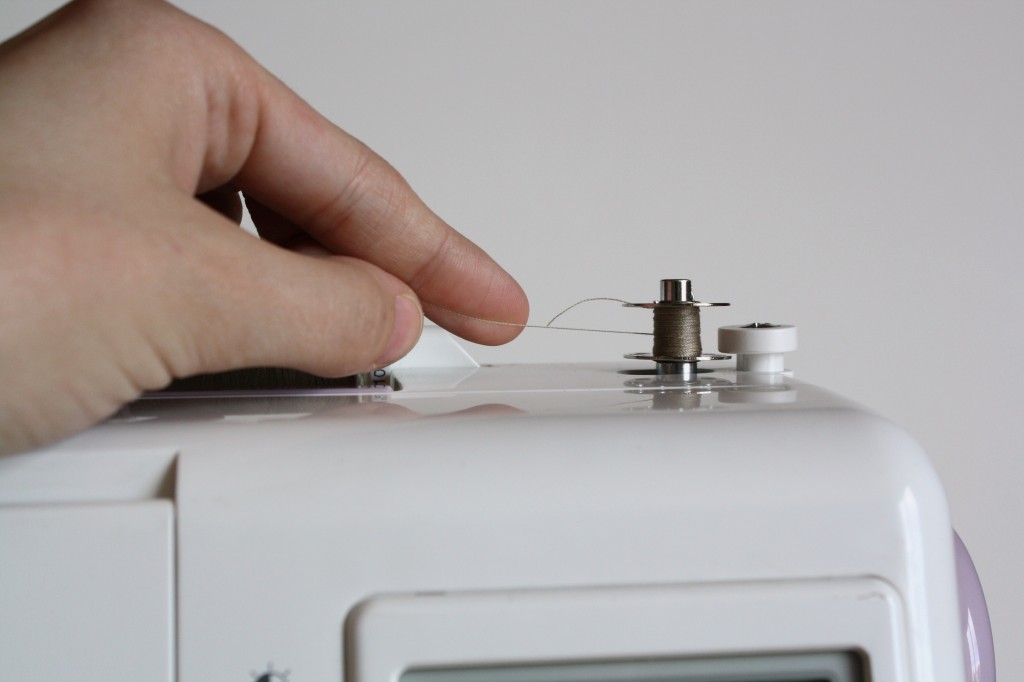
When the bobbin is full, cut the thread between the bobbin winding tension slot and the bobbin and cut the tail from the top of the bobbin.
Thread the upper thread. If you don’t know how to do this, you can find the tutorial HERE.
Now that your bobbin is wound, it is time to insert it into the machine. This is where different machines really start to differ, but I will go over the two most common types of machines: a top loading without a bobbin case; and a front loading with a bobbin case.
CLICK ON THE IMAGE THAT RELATES TO YOUR SEWING MACHINE:
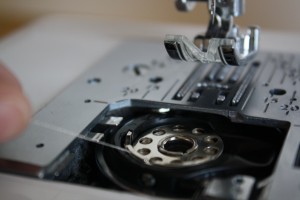
without bobbin case
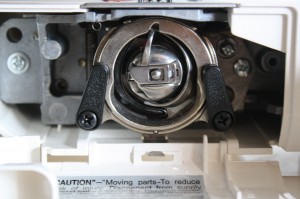
with bobbin case